You can use a Signature field to capture a signature when a barcode is scanned. Orca Scan automatically records the GPS location and date/time with each signature.
How to add a Signature field on the Mobile App
- Scan a barcode or tap to edit an item in the list
- Tap the cog icon next to any of the fields
- Tap Add new field
- Name the field Signature
- Set the data type to Signature
- Tap Save to add the field
After adding the field, pull down to refresh the mobile app. You can now scan a barcode (or tap an item) to add a signature.
How to add a Signature field on the Web App
- Right-click on a column and select Add Column
- Name the column Signature
- Set the data type to Signature
- Click Add to create the column
Your Signature field is now ready to use.
Using Signatures
To use the signature field:
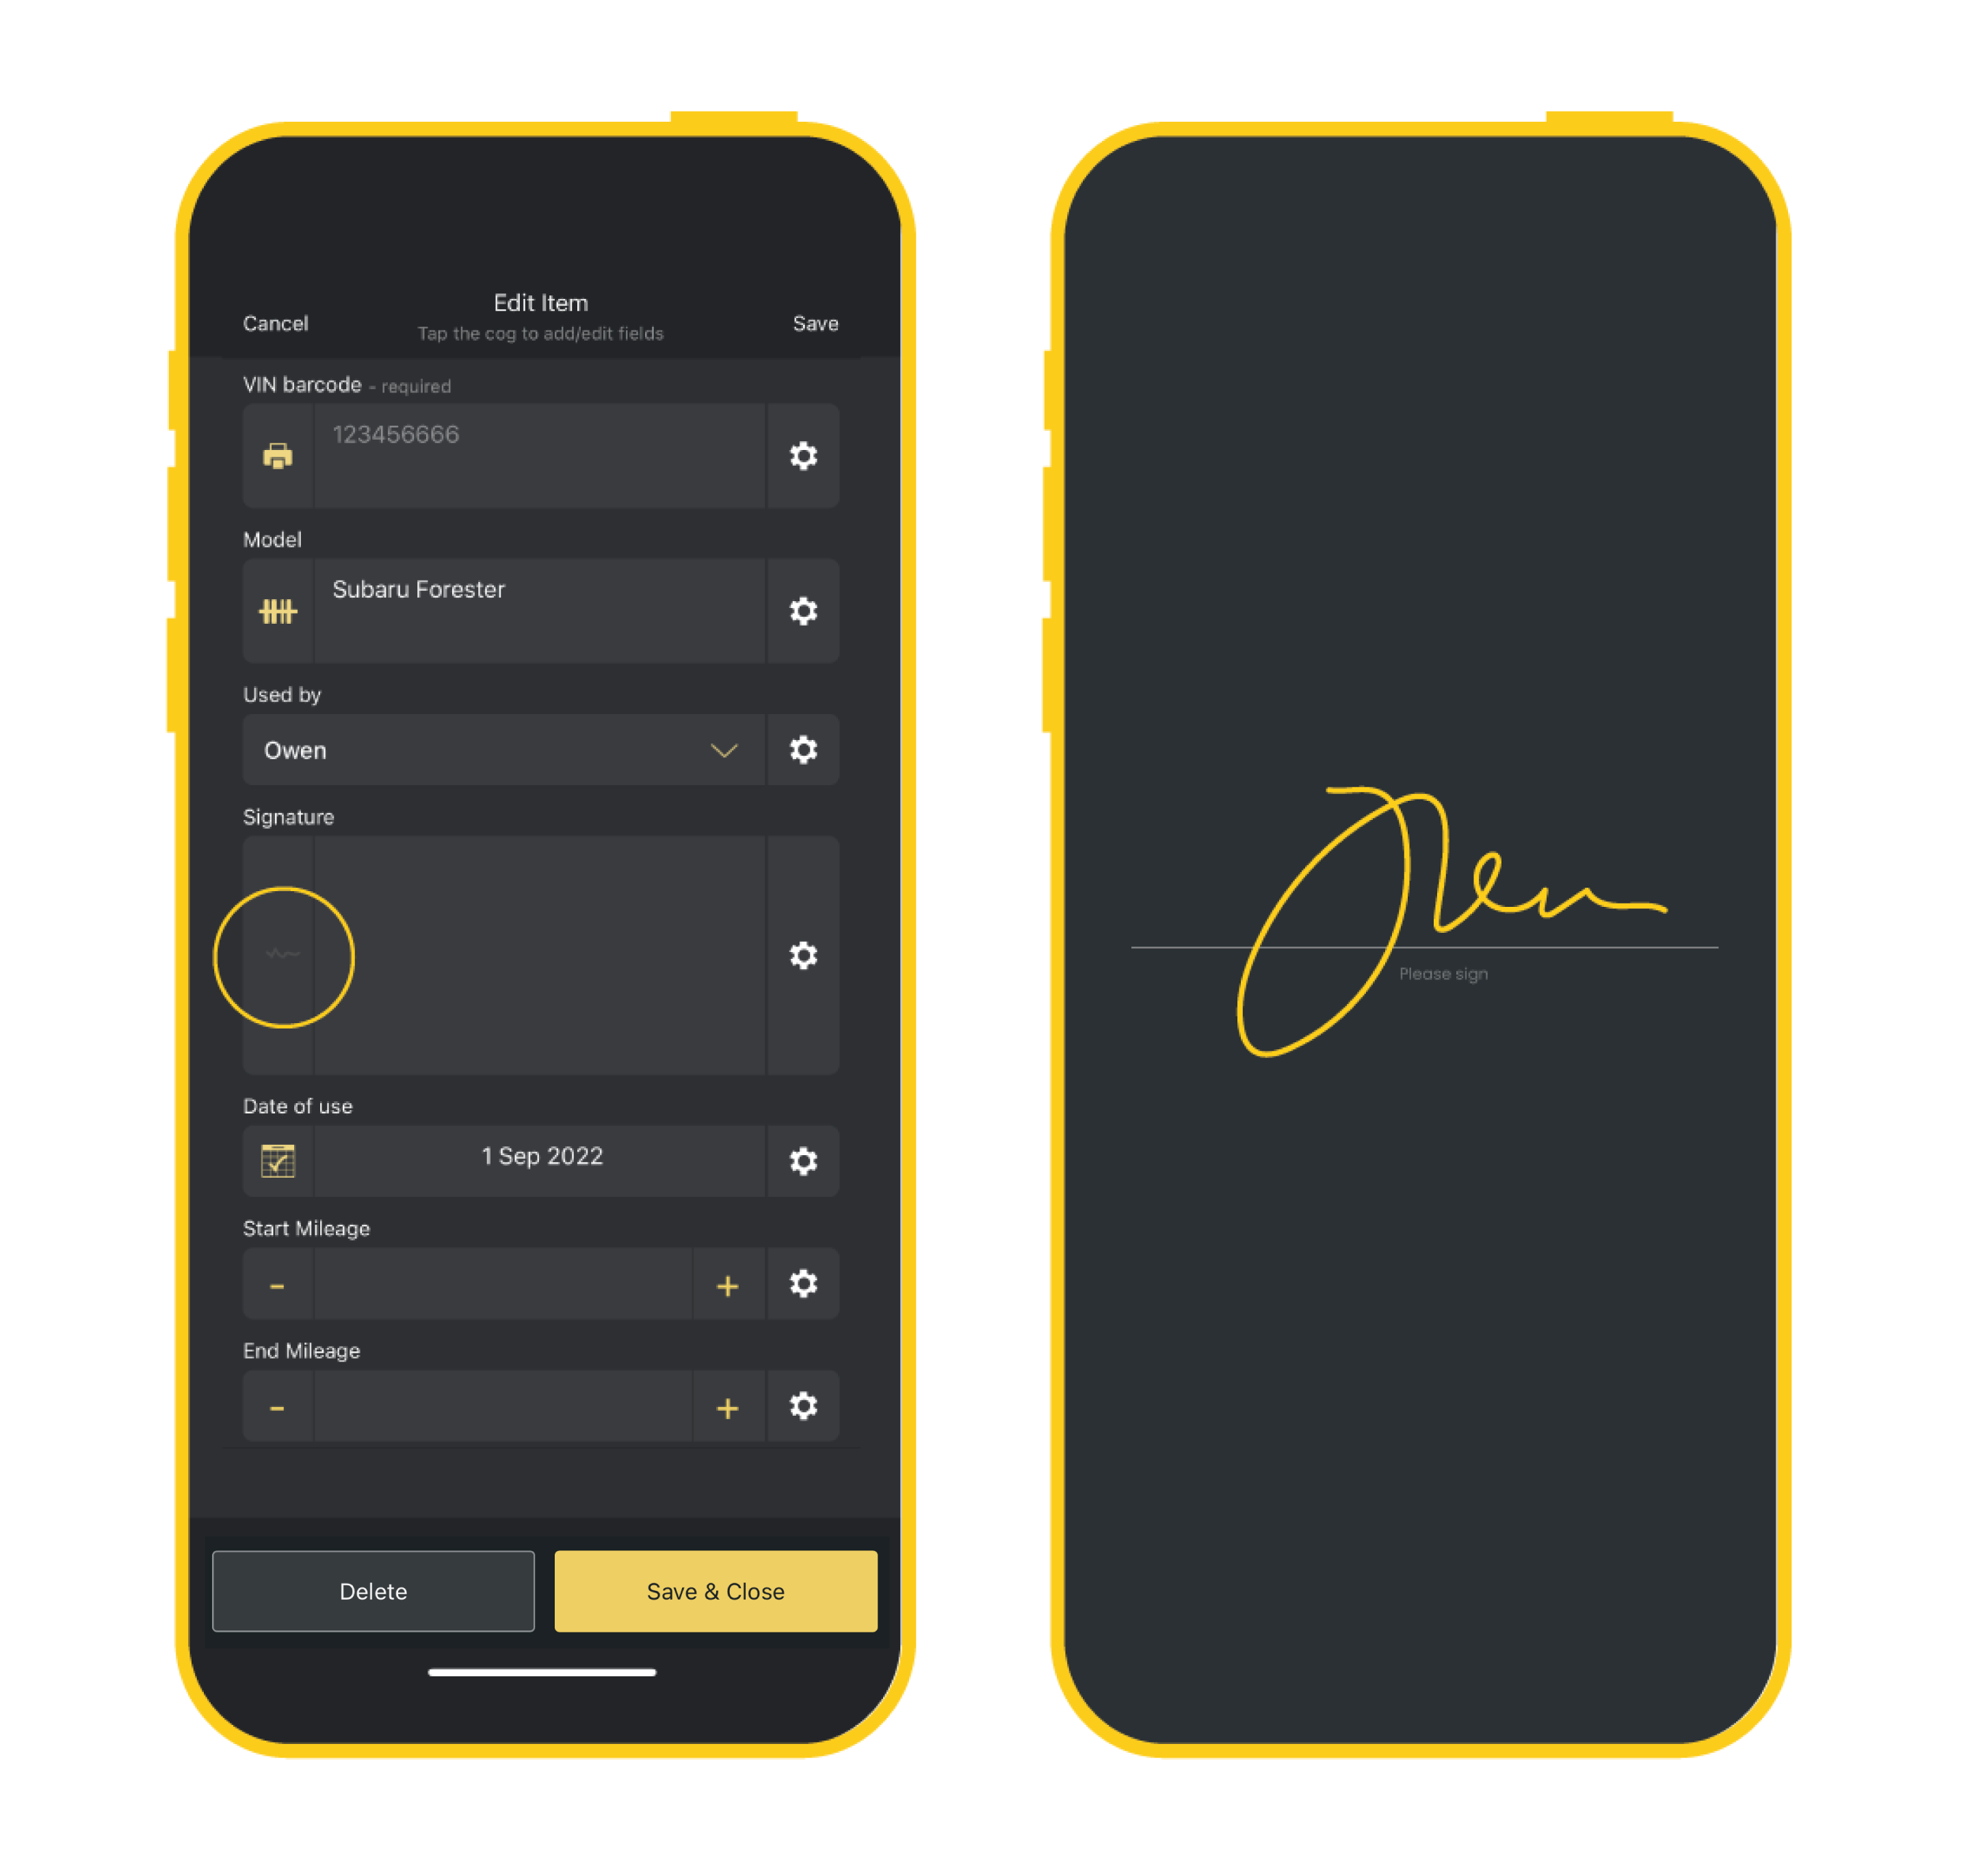
- Tap the squiggle to the left of the field to open
- Sign on the dotted line and press Done
- Save
GPS and Timestamp
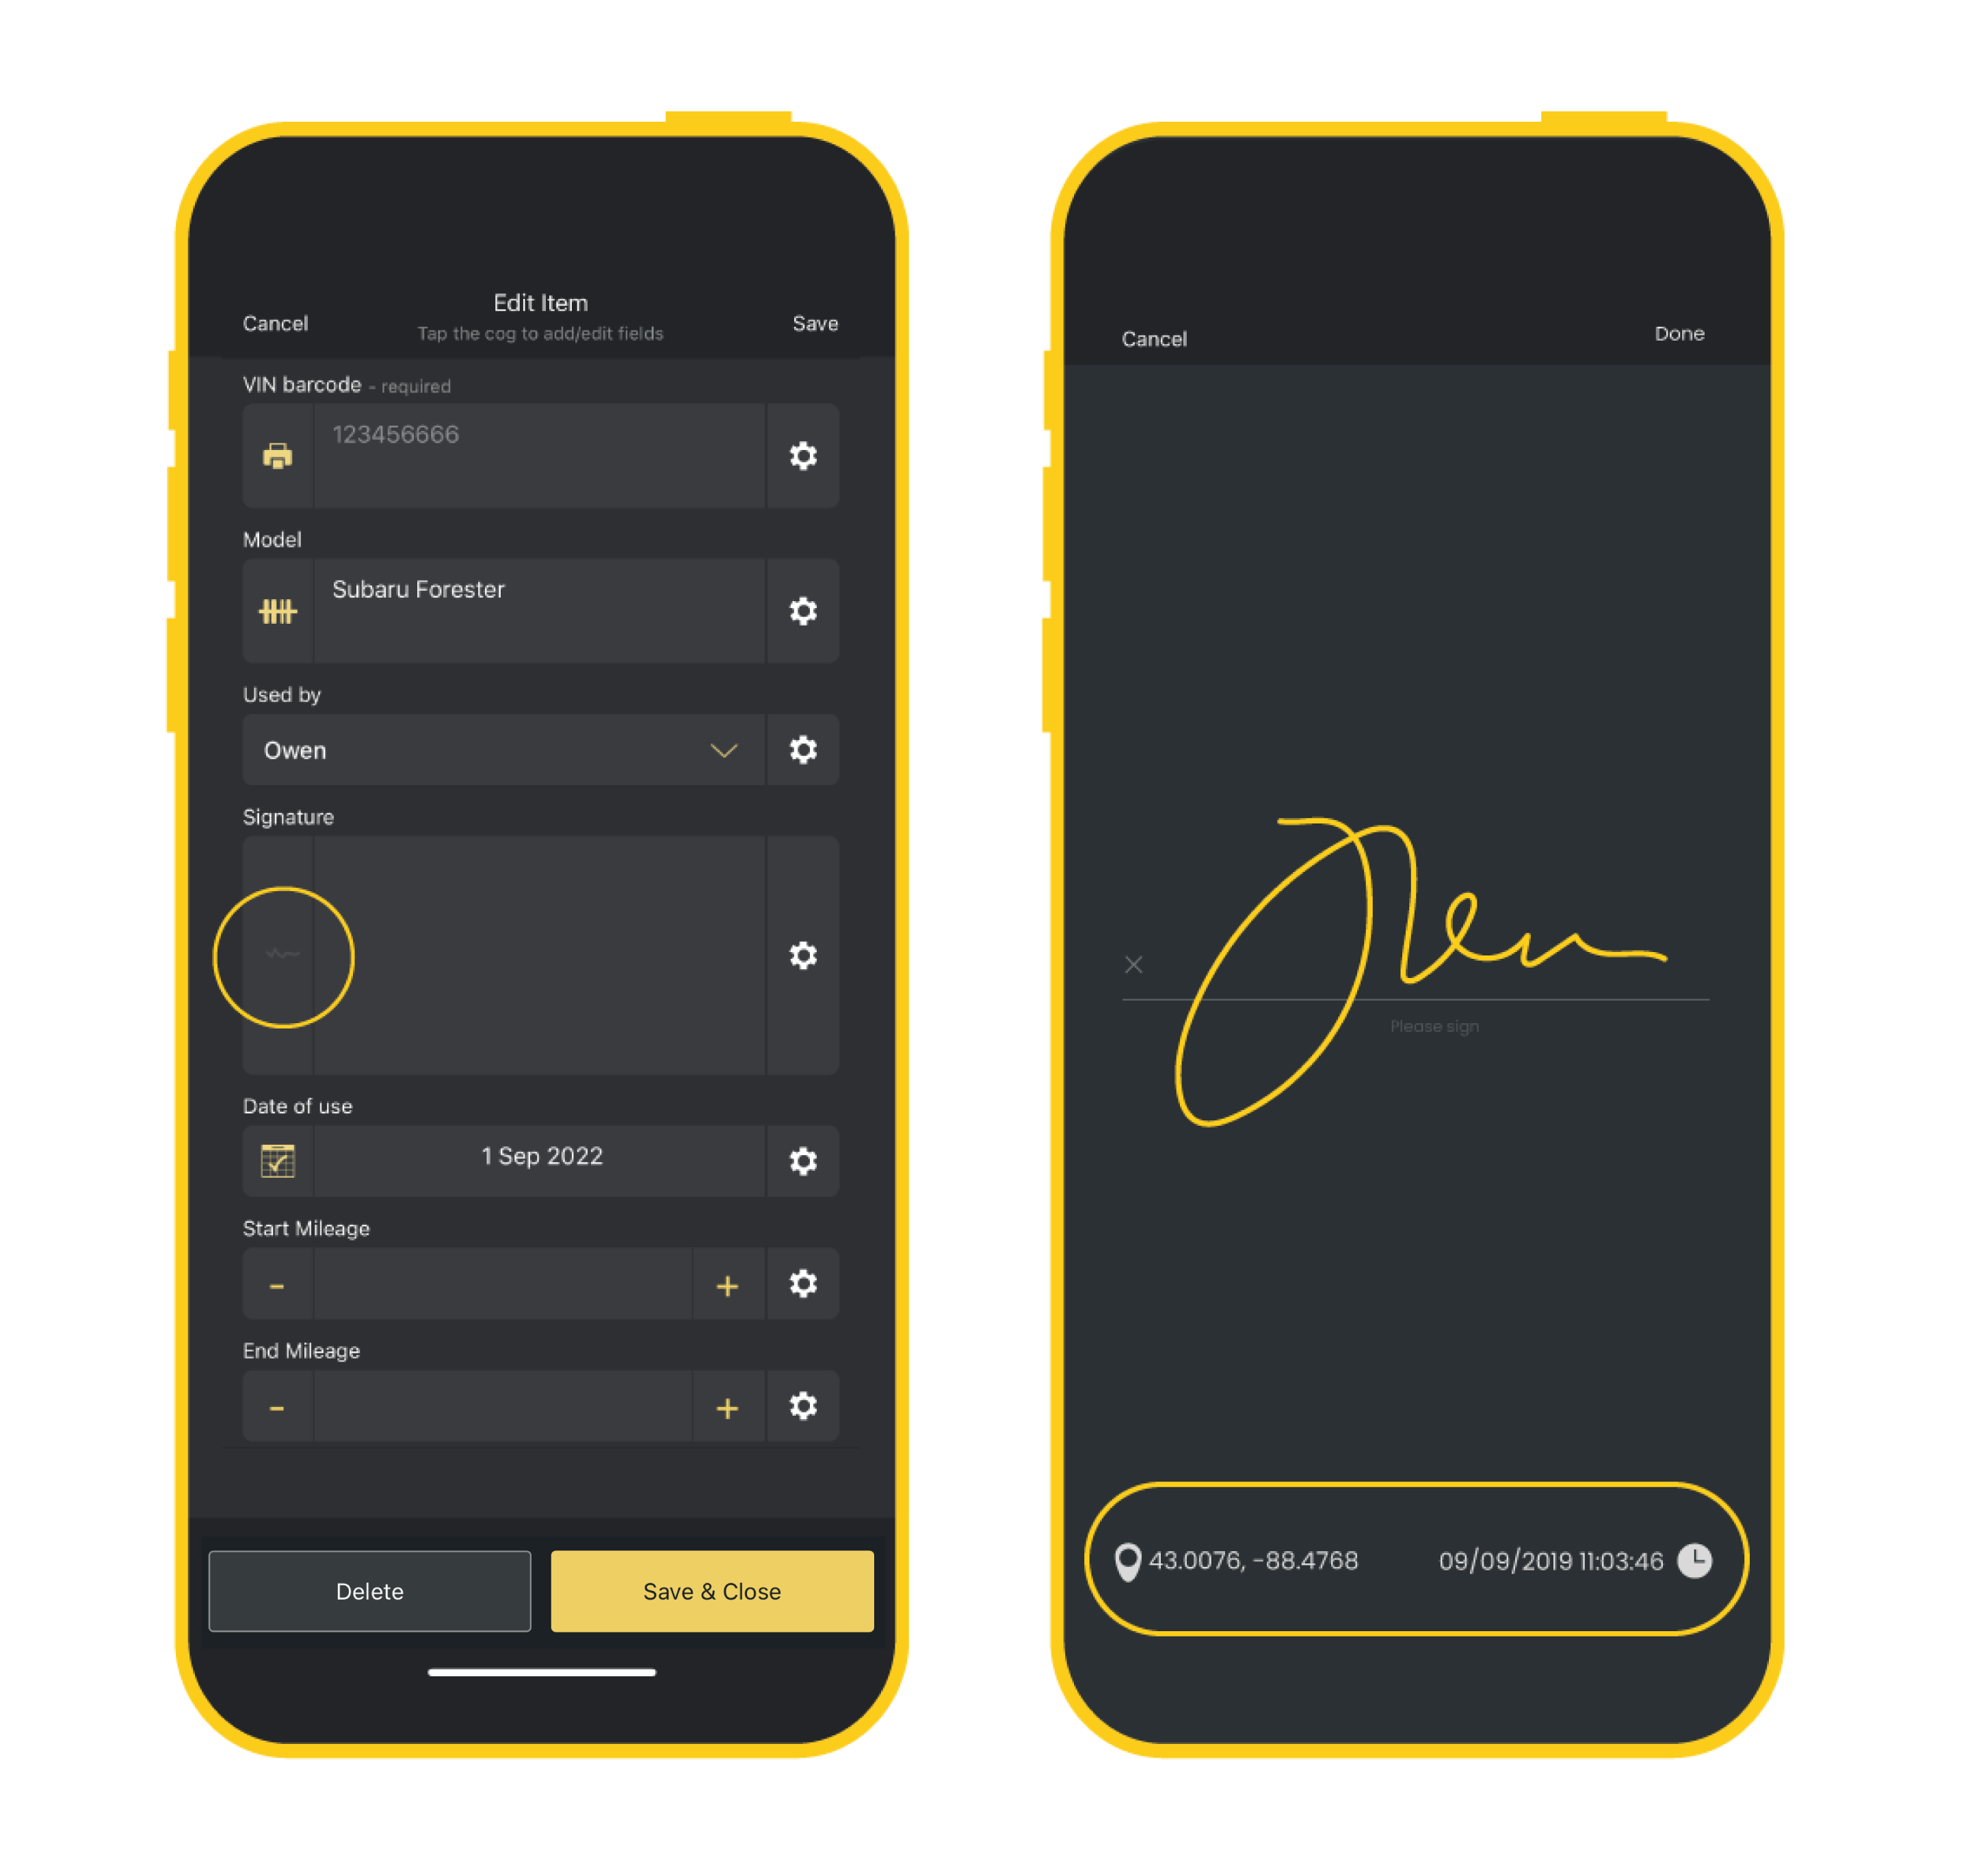
Orca Scan automatically captures the GPS location and date/time upon signing. To view these:
- Tap the central field to open
- View the bottom of the screen for the automatically captured information
- GPS details are found in the bottom left of the screen
- Date and timestamp details are found in the bottom right of the screen
Viewing Signatures
A signature (or proof of delivery) can be viewed using the Orca Scan Web App. Click the magnifying glass next to the signed date/time.
Exporting Signatures
When you export a sheet containing signatures, each signature is exported as an image URL, allowing you to quickly view or share it outside Orca Scan.
Questions about Signatures?
We’re always happy to help; chat with us live or drop us an email.