You can easily import your asset or inventory data into Orca Scan using a Microsoft Excel .xlsx file. To ensure a smooth import, make sure your data is on the first sheet and ideally includes a named Barcode column. Orca Scan will only process data from this sheet and will use the barcodes to match and retrieve relevant information.
Before you get started
Only Excel .xlsx files are supported, which is the standard format for Microsoft Excel spreadsheets.
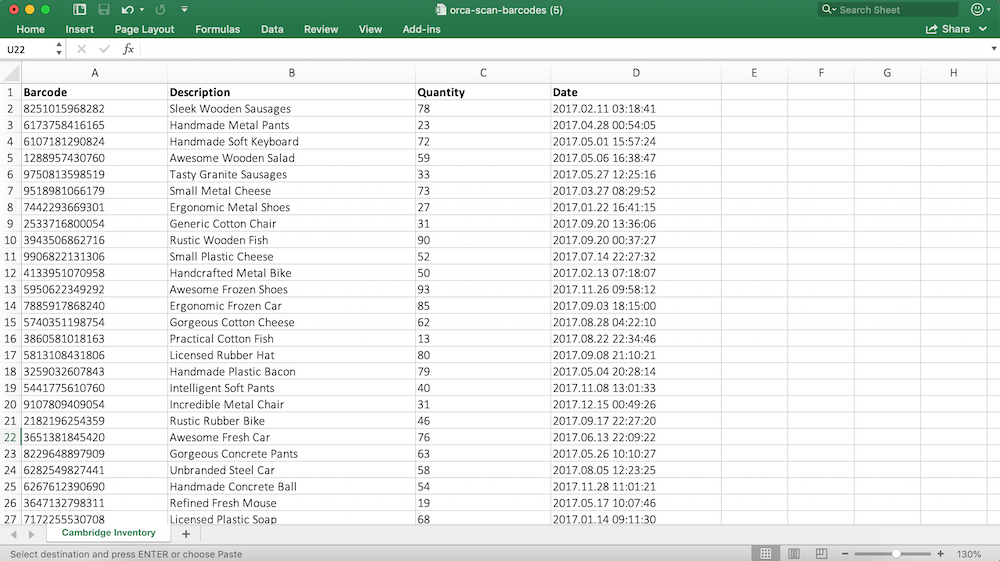
- Make sure your data is on the first sheet of the Excel file as Orca Scan only imports from this sheet.
- Ensure every column has a title, as files with empty column names cannot be imported.
- Remove logos, merged cells, and unnecessary formatting so your file is clean and structured like the example below.
How to import data into Orca Scan
- Go to the Orca Scan sheet you want to populate
- Click Import on the toolbar
- Select the Excel file you want to upload
- Choose to Add to existing rows or Replace existing rows (Note: ‘Replace existing rows’ will overwrite the current data in your sheet)
- Click Import to start the importing process
Note: If no barcode column is found, you can choose to auto-generate one or match it to an existing column in your Excel file.
Once complete, you’ll see a summary of what was imported. Click OK to finish.
Troubleshooting
Import error: “Failed to fetch”
Reload your browser and then try to import the file again.
Import error: “No barcode column found”
You will be presented with an option to auto-generate barcodes, or choose which column in your file to use as the Barcode column.
Next steps
Questions about importing files?
We’re always happy to help, chat with us live or drop us an email.