Filters make it easier to focus on the data you actually need. Instead of scrolling through every record in a busy sheet, you can create filters to display only the items that match specific conditions.
Whether you want to view expired stock, assets in a specific location, or scans assigned to a certain team, filters help you narrow down your data in seconds.
How to create a filter in your sheet
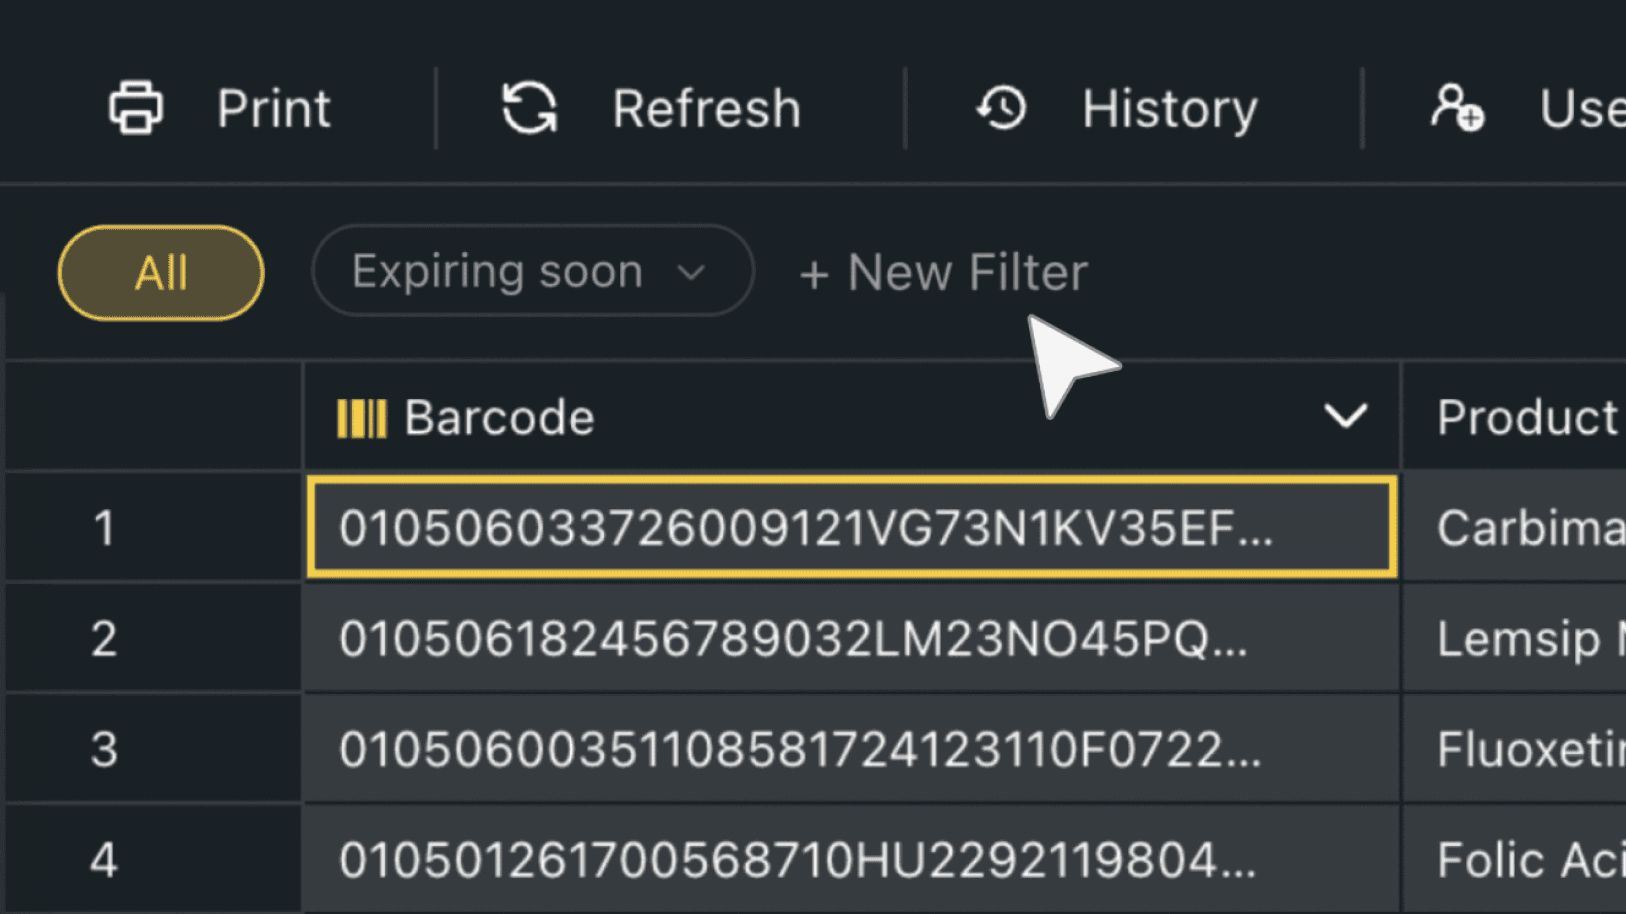
To create a new filter in Orca Scan, you need to configure it within the web app:
- Log into cloud.orcascan.com
- Open the sheet you want to filter
- Tap New Filter in the menu bar
- Enter a name for your filter
- Select which field you want to filter, this is simply choosing the column from your sheet
- Choose how you want to filter it
- Add the value
- Tap Save
Once saved, your filter will display only the records that match the conditions you selected.
Filter Conditions
Each filter can include up to 3 conditions, allowing you to create simple or more advanced filtered views of your data.
For example, you could create a filter that shows:
- Assets in a specific location
- Stock expiring this month
- Records assigned to a certain team
- Items marked as damaged
- Scans created within a date range
Available Filter Conditions
| Condition | Description |
|---|---|
| Is empty | Shows records where the field has no value |
| Is not empty | Shows records where the field contains a value |
| Contains | Finds records containing specific text or values |
| Does not contain | Excludes records containing specific text or values |
| Starts with | Finds values that begin with a specific text or number |
| Does not start with | Excludes values that begin with a specific text or number |
| Ends with | Finds values that end with a specific text or number |
| Does not end with | Excludes values that end with a specific text or number |
| Equals | Matches records with the exact value entered |
| Does not equal | Excludes records with the exact value entered |
| Is greater than | Shows values greater than the value entered |
| Is less than | Shows values less than the value entered |
| Is before | Shows scans before the selected date |
| Is after | Shows scans after the selected date |
| Is true | Shows records where the value is set to true |
| Is false | Shows records where the value is set to false |
| Is | Matches records with the selected option or value |
| Is not | Excludes records with the selected option or value |
How do I edit or remove a filter?
You can edit a filter at any time to update the conditions or rename it. If you no longer need a filter, you can delete it without affecting the data in your sheet.
- Go to cloud.orcascan.com
- Click the arrow next to your filter
- Select Edit or Delete
- If you select Edit, update your conditions and click save
- If you select Delete, confirm your choice to permanently remove the filter
This makes it easy to create temporary filtered views for stock checks, audits, or inspections without changing the data in your sheet.
How many filters can I create per sheet?
There is a limit of 20 filters per sheet, and each filter can have up to 3 conditions.
Can I see the filters on mobile and desktop?
Yes, once you’ve configured the filter in the web app, you can view the filtered data across all Orca Scan products, including the mobile and desktop apps.
If I create a filter, can my team see it?
Yes. Once you create a filter in the web app, anyone who has access to the sheet will be able to see and use that filter.
Questions about Filters?
We’re always happy to help; chat with us live or drop us an email.