You can build real-time custom workflows using events that occur in Orca Scan to trigger actions in over 1,000 apps in Make’s library or use Make built-in tools, control and parsers.
1. Sign up for Make (formerly Integromat)
Make runs on the browser without needing installation, so that you can use it on either macOS or Windows. Head over to make.com to get started.

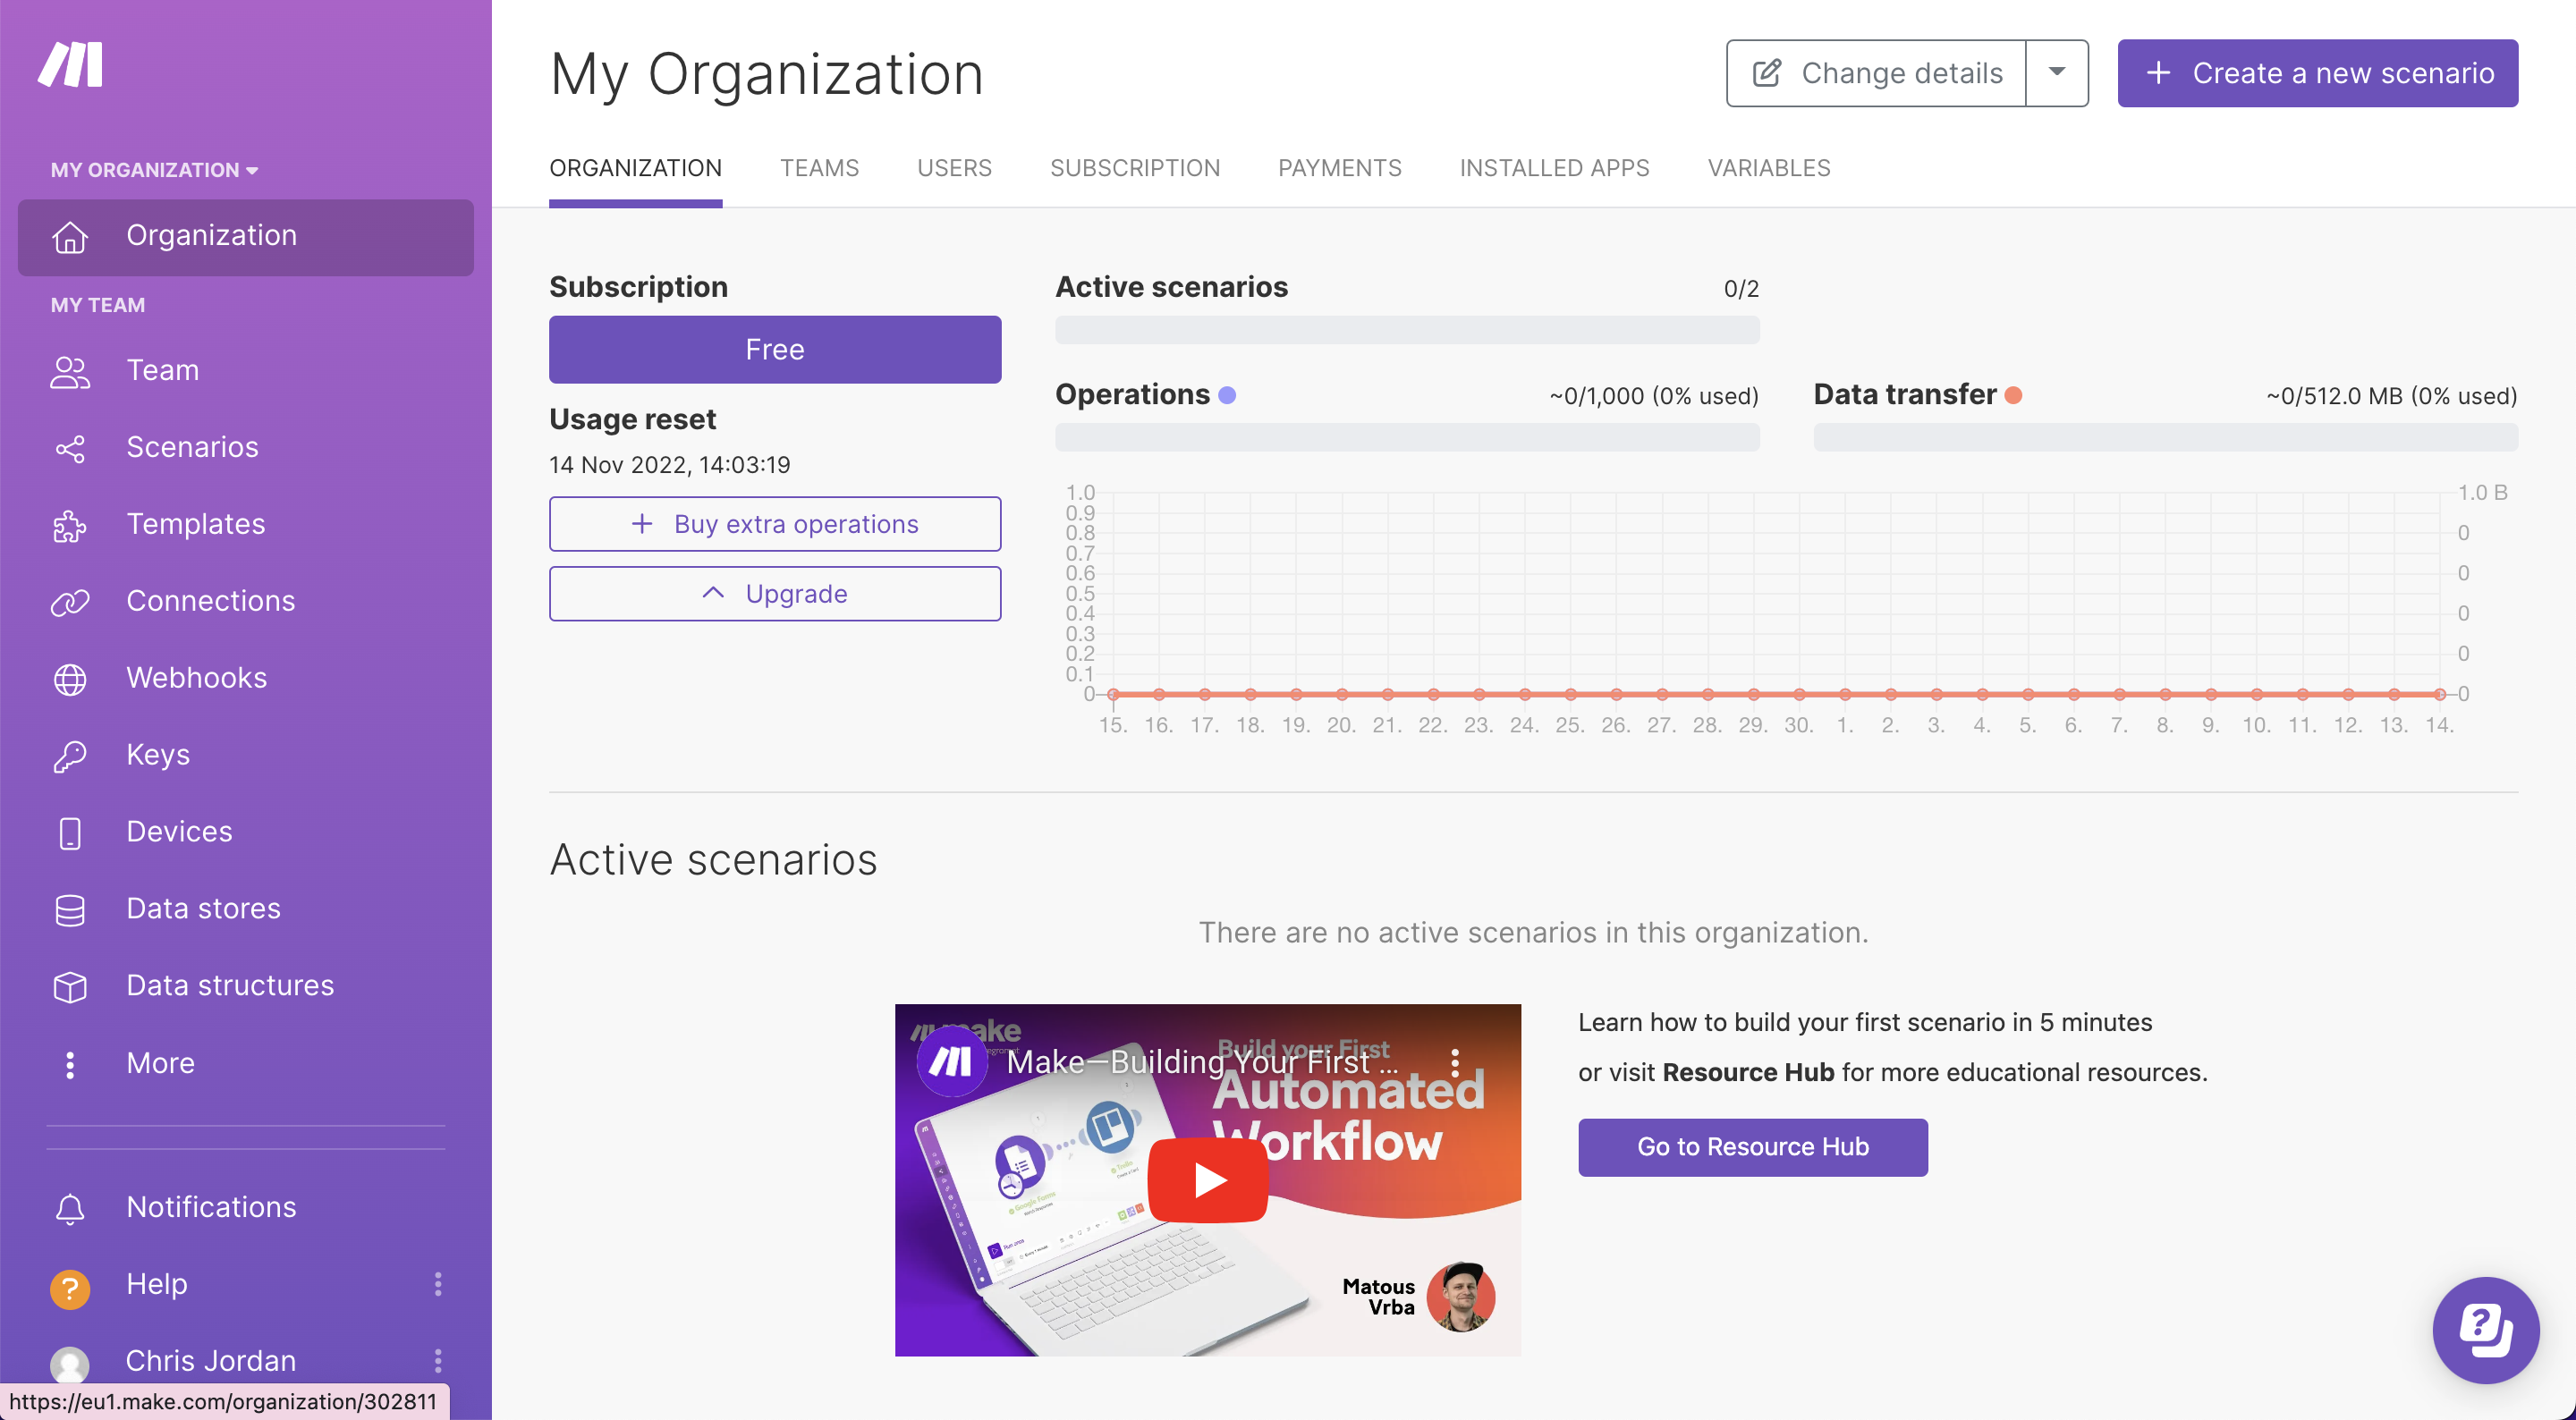
2. Create a new scenario
Once you’ve created your account and logged into Make, head to the Create a new scenario option to begin building your custom workflow
3. Add a custom webhook trigger module
The first step is to create the first module in a scenario, which is used as the trigger in the workflow. The first module listens for events and pulls through data associated with the event from any chosen app - this is where Orca Scan will come in
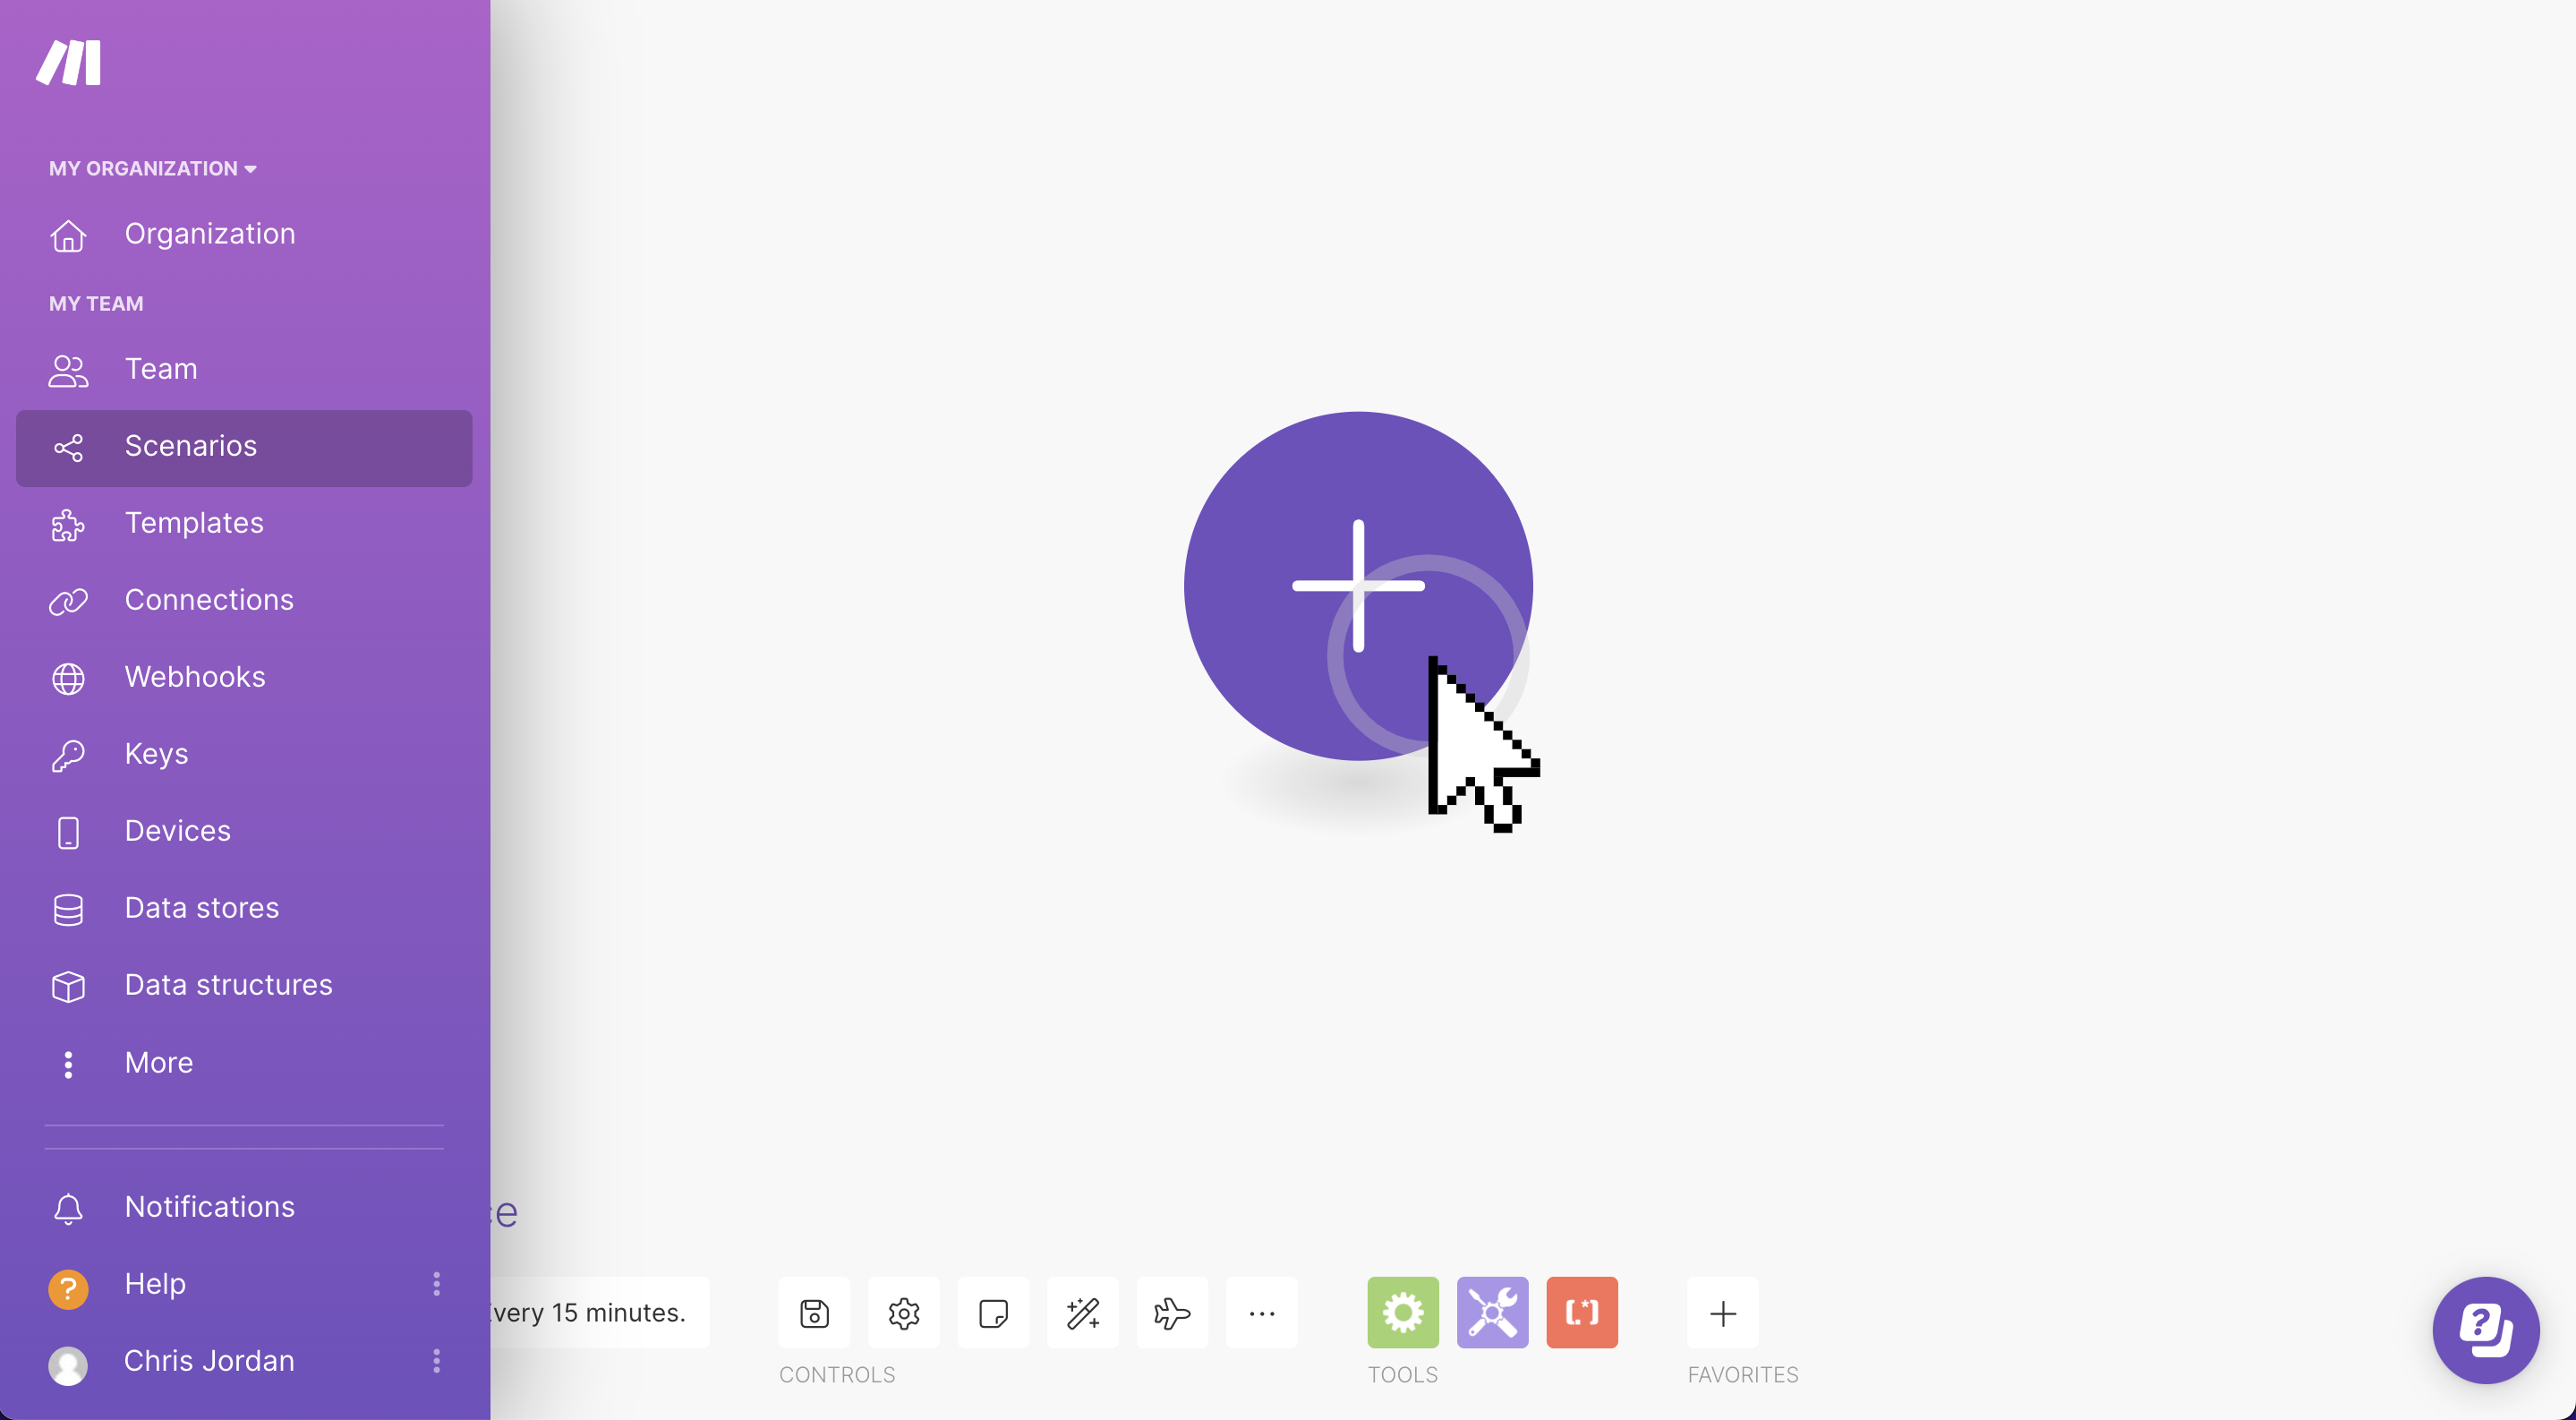
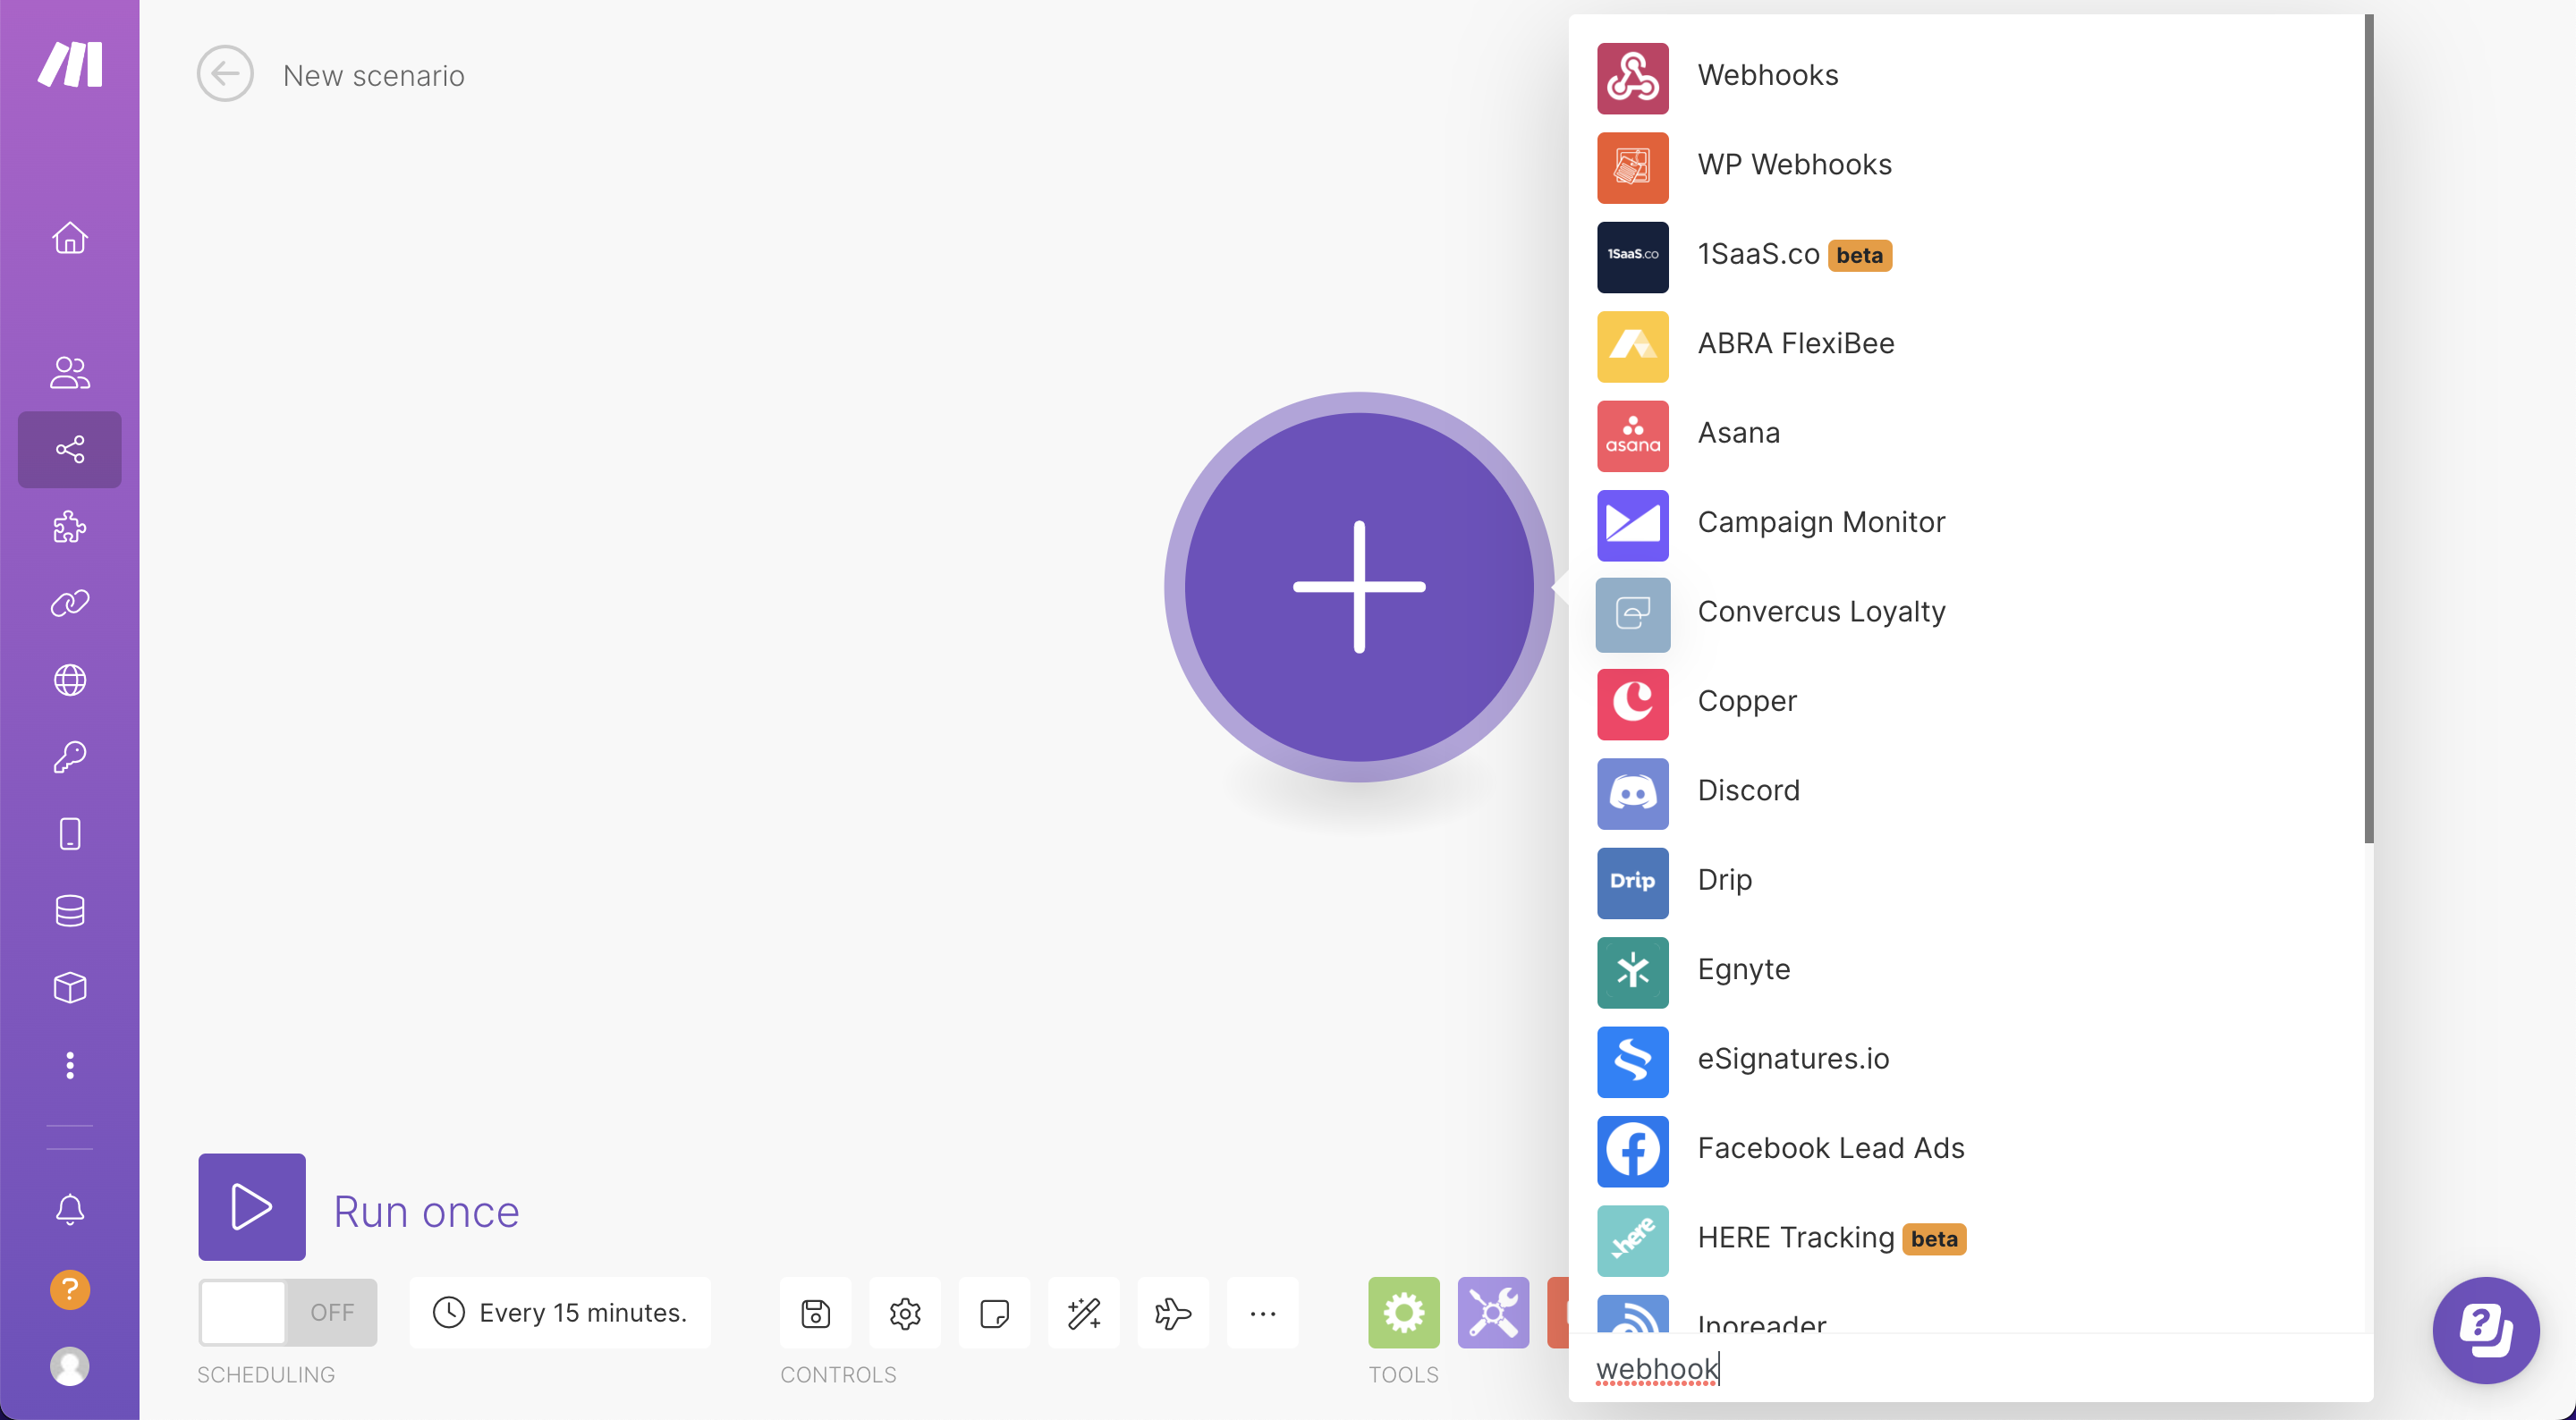
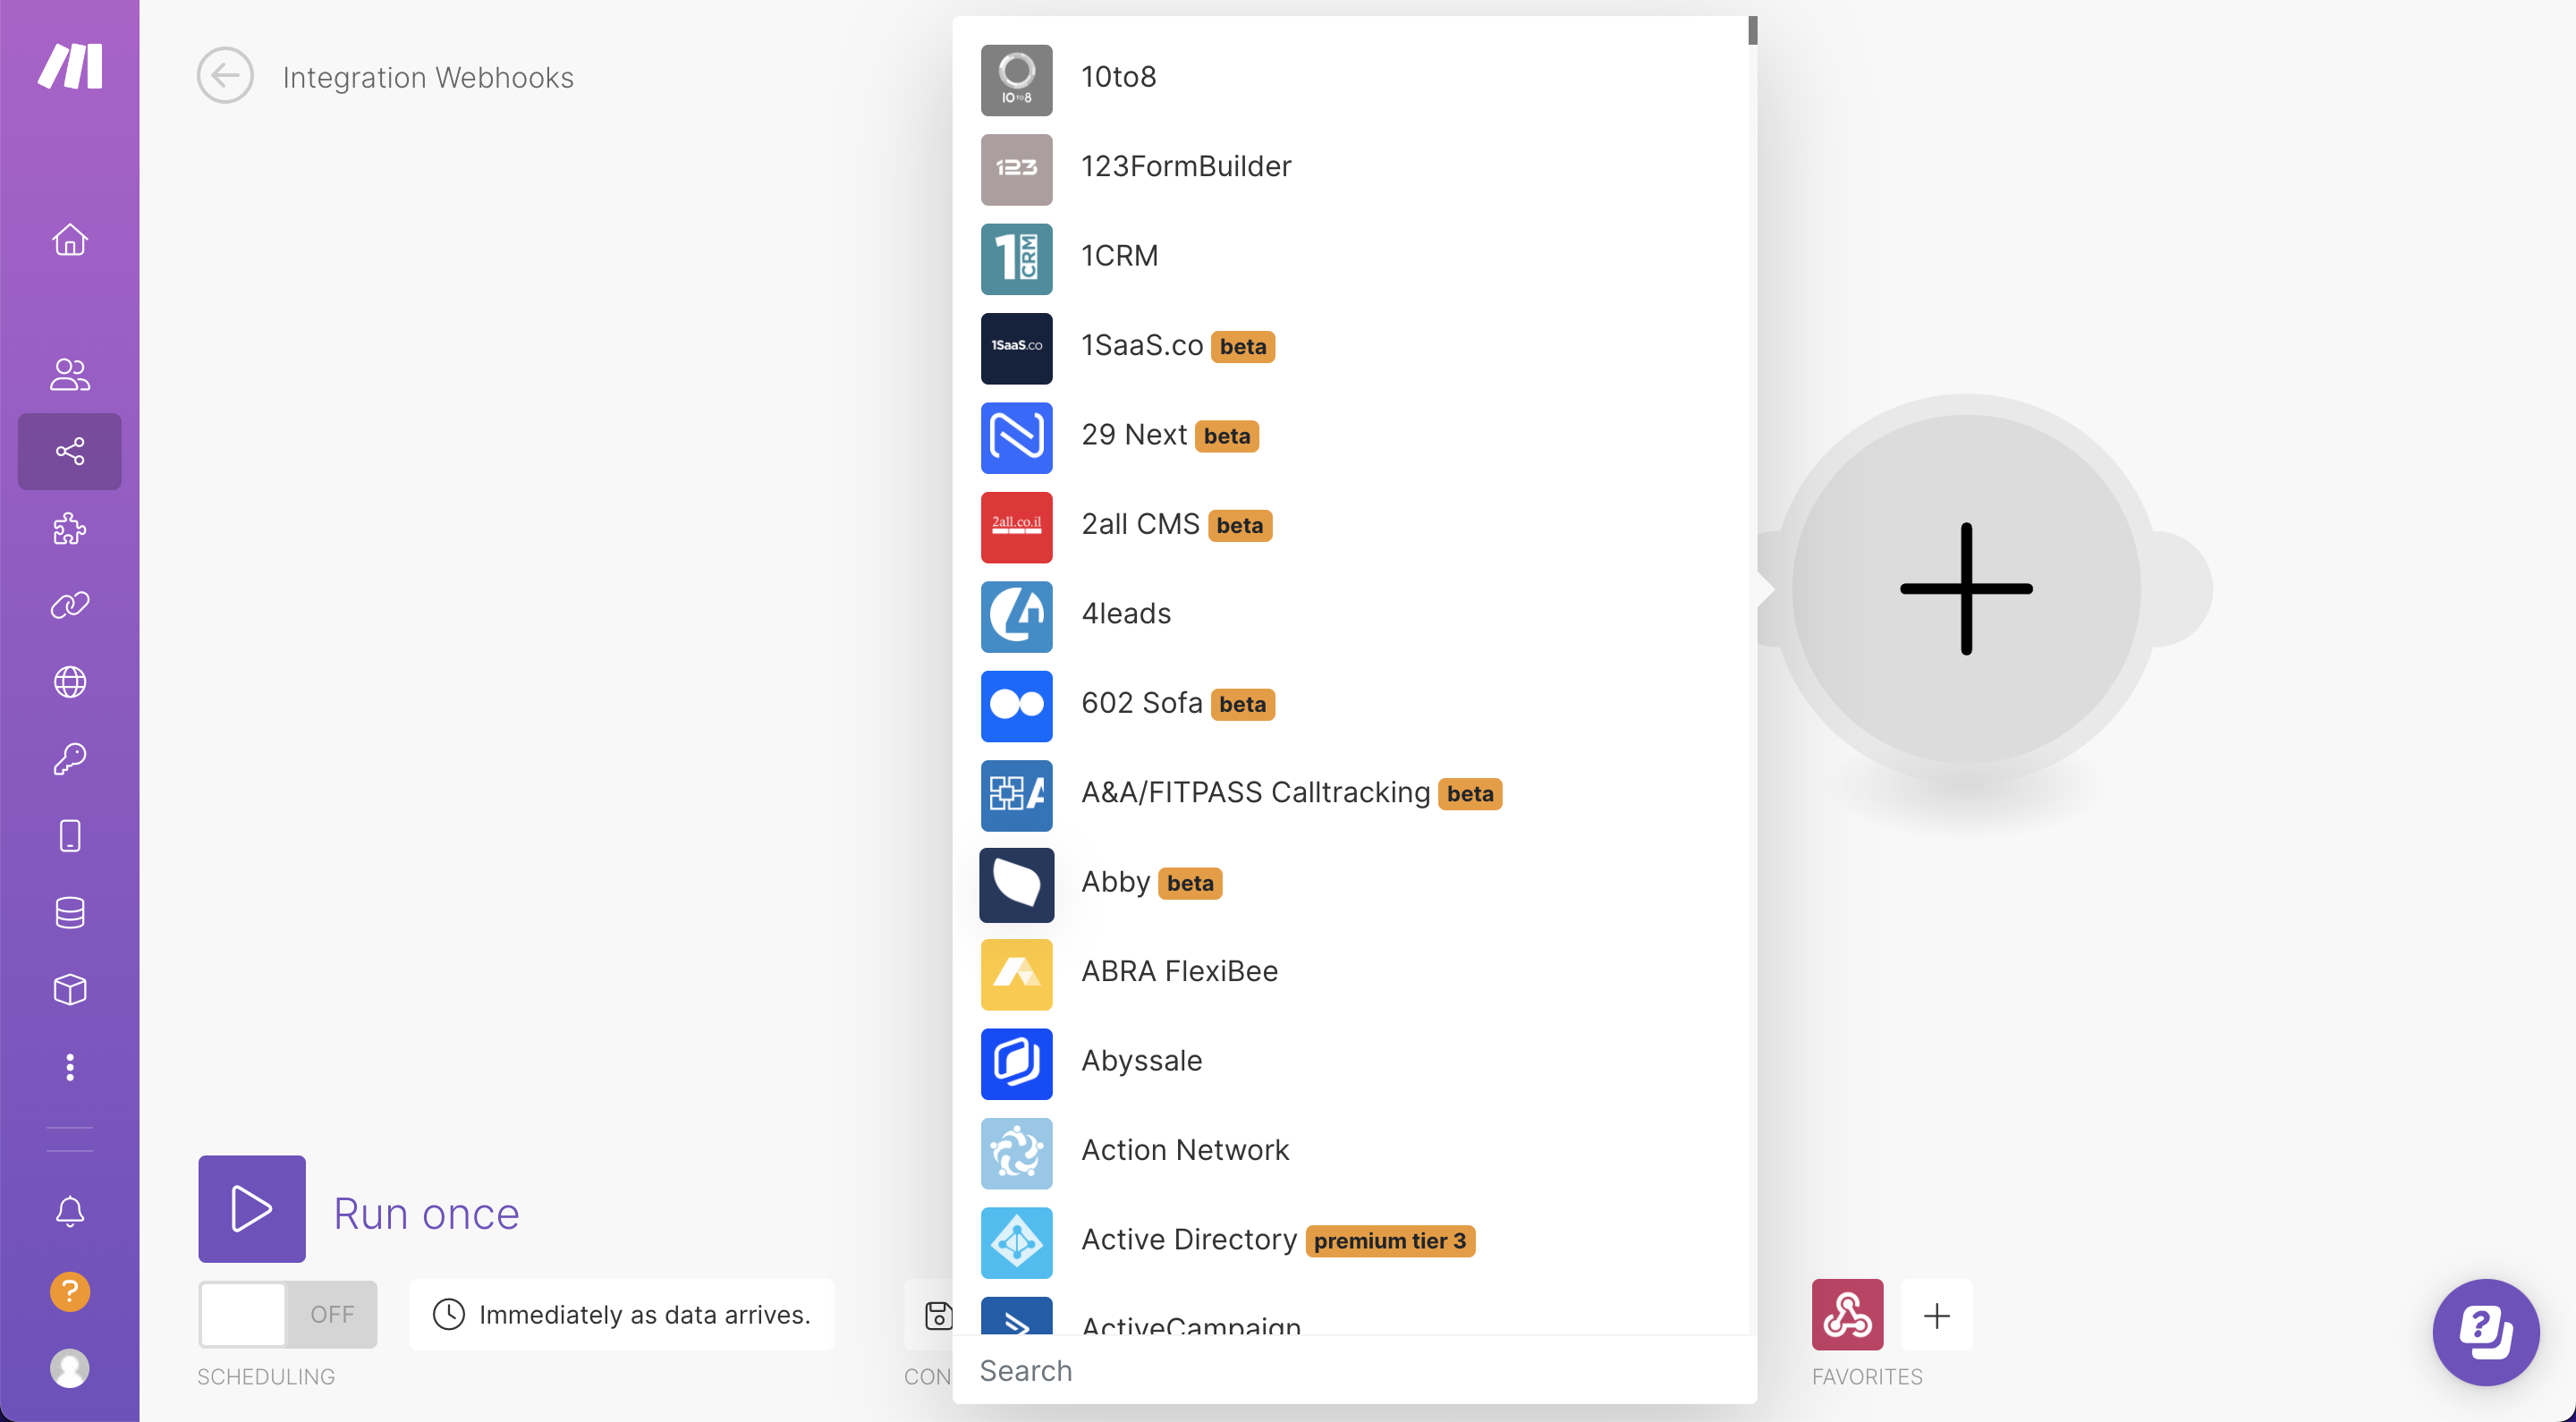
When you click the ‘+’ button, you will be presented with a dropdown list with an extensive choice of apps. We haven’t yet released an official Orca Scan app with Make, but we’ve got a great solution you can use in the meantime 👇
Using the search box at the bottom of the dropdown, type in Webhooks. Click the first option at the top (Make’s built-in Webhooks tool)
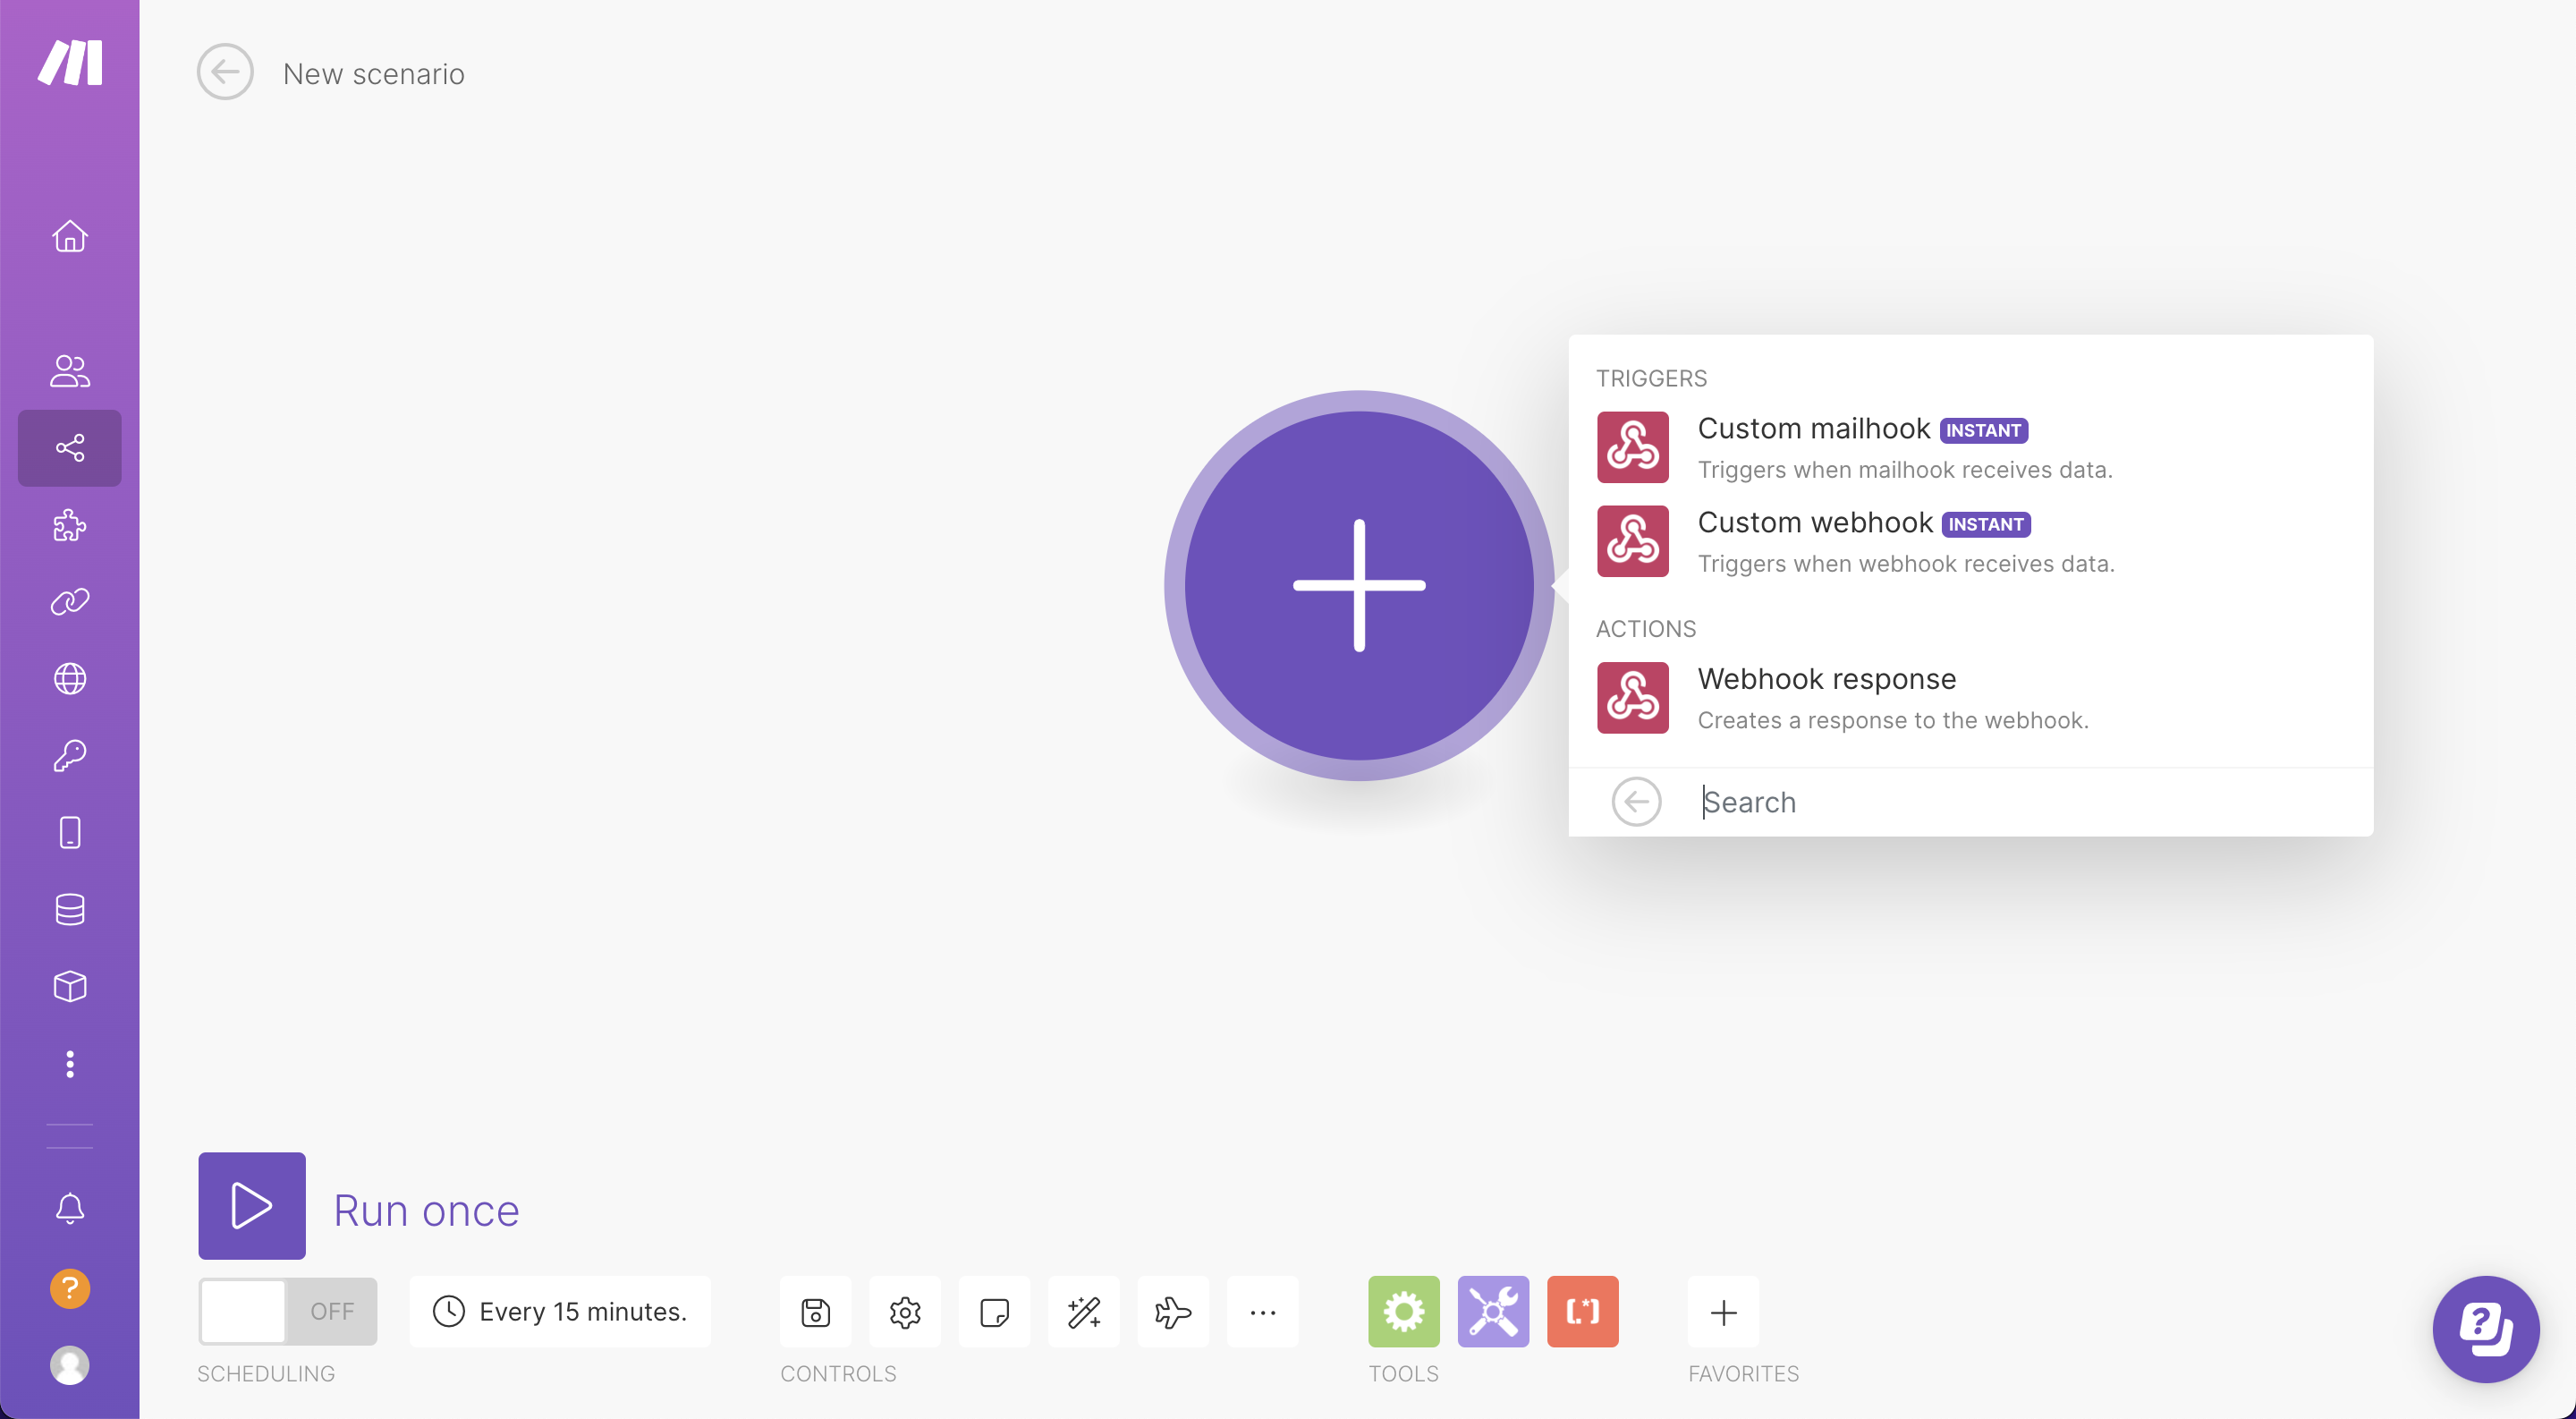
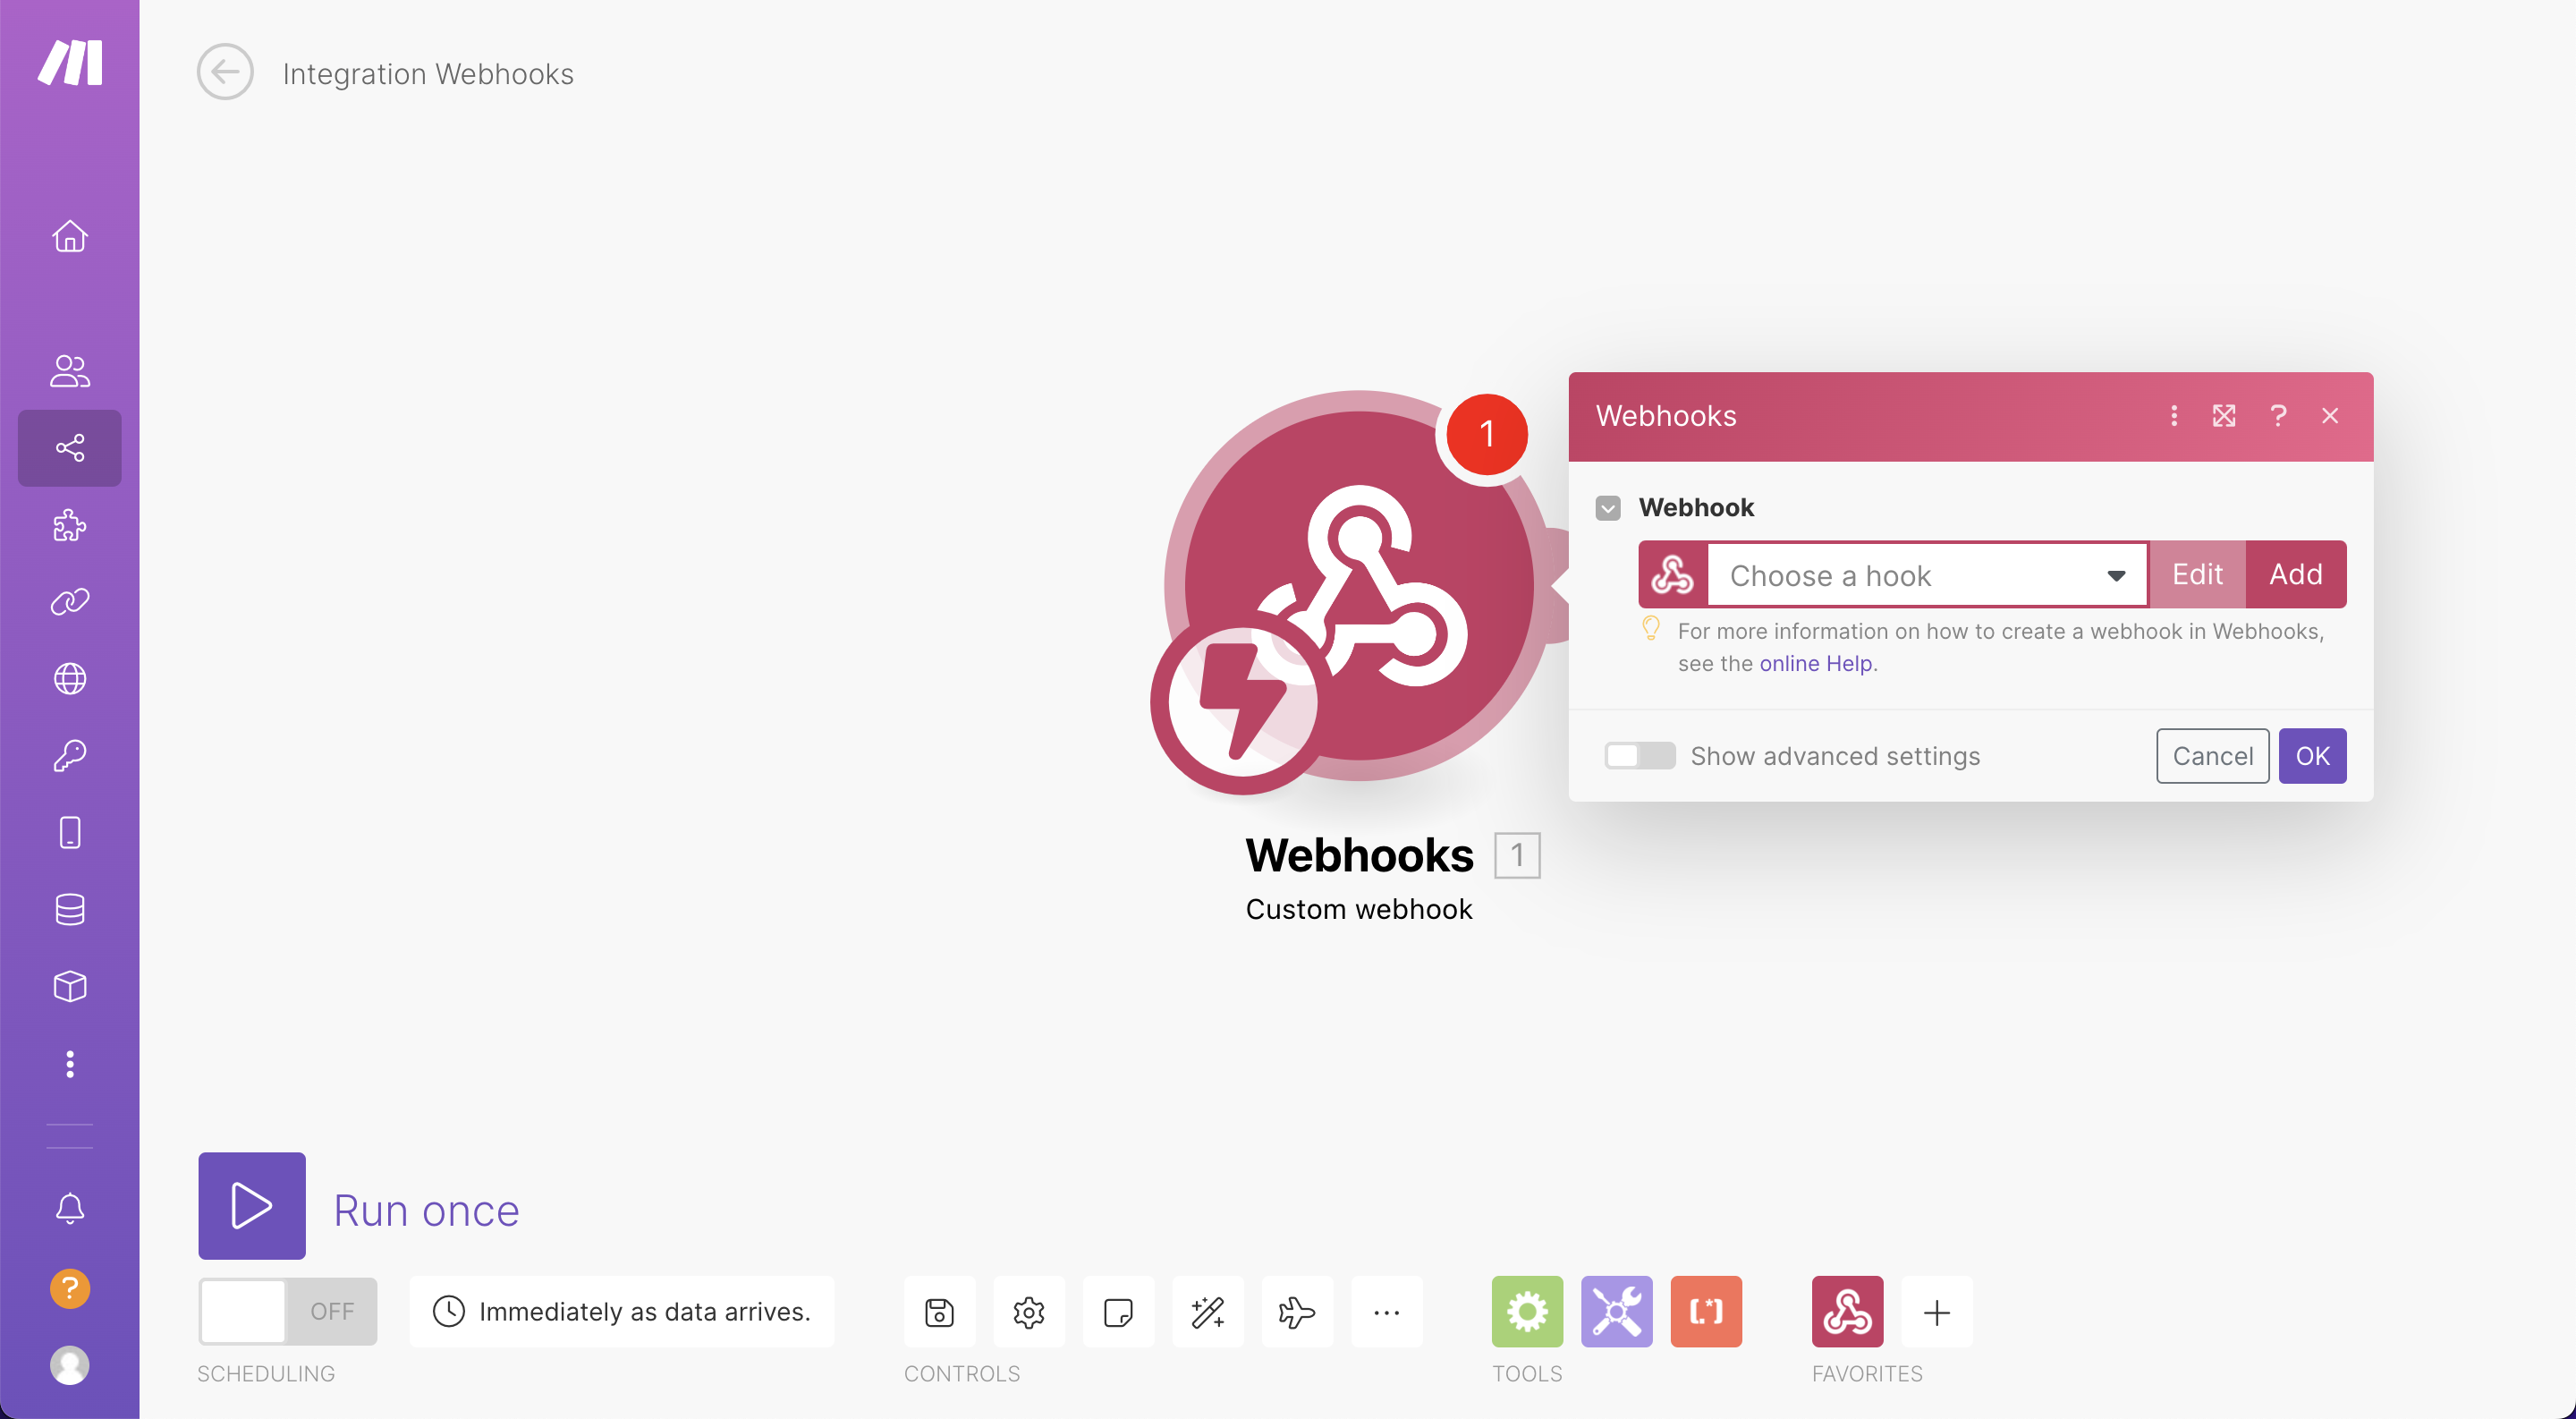
With Make’s Webhooks tool, you can either create a trigger (which will listen for events) or create an action (push a set of instructions and data elsewhere). To listen to events within Orca Scan, we want to use the trigger in this scenario, so select the Custom webhook option
Now, you need to configure the webhook to tell Make where to listen for new events, so click the Add button to add a new webhook. Please follow Make’s guidance for any troubleshooting
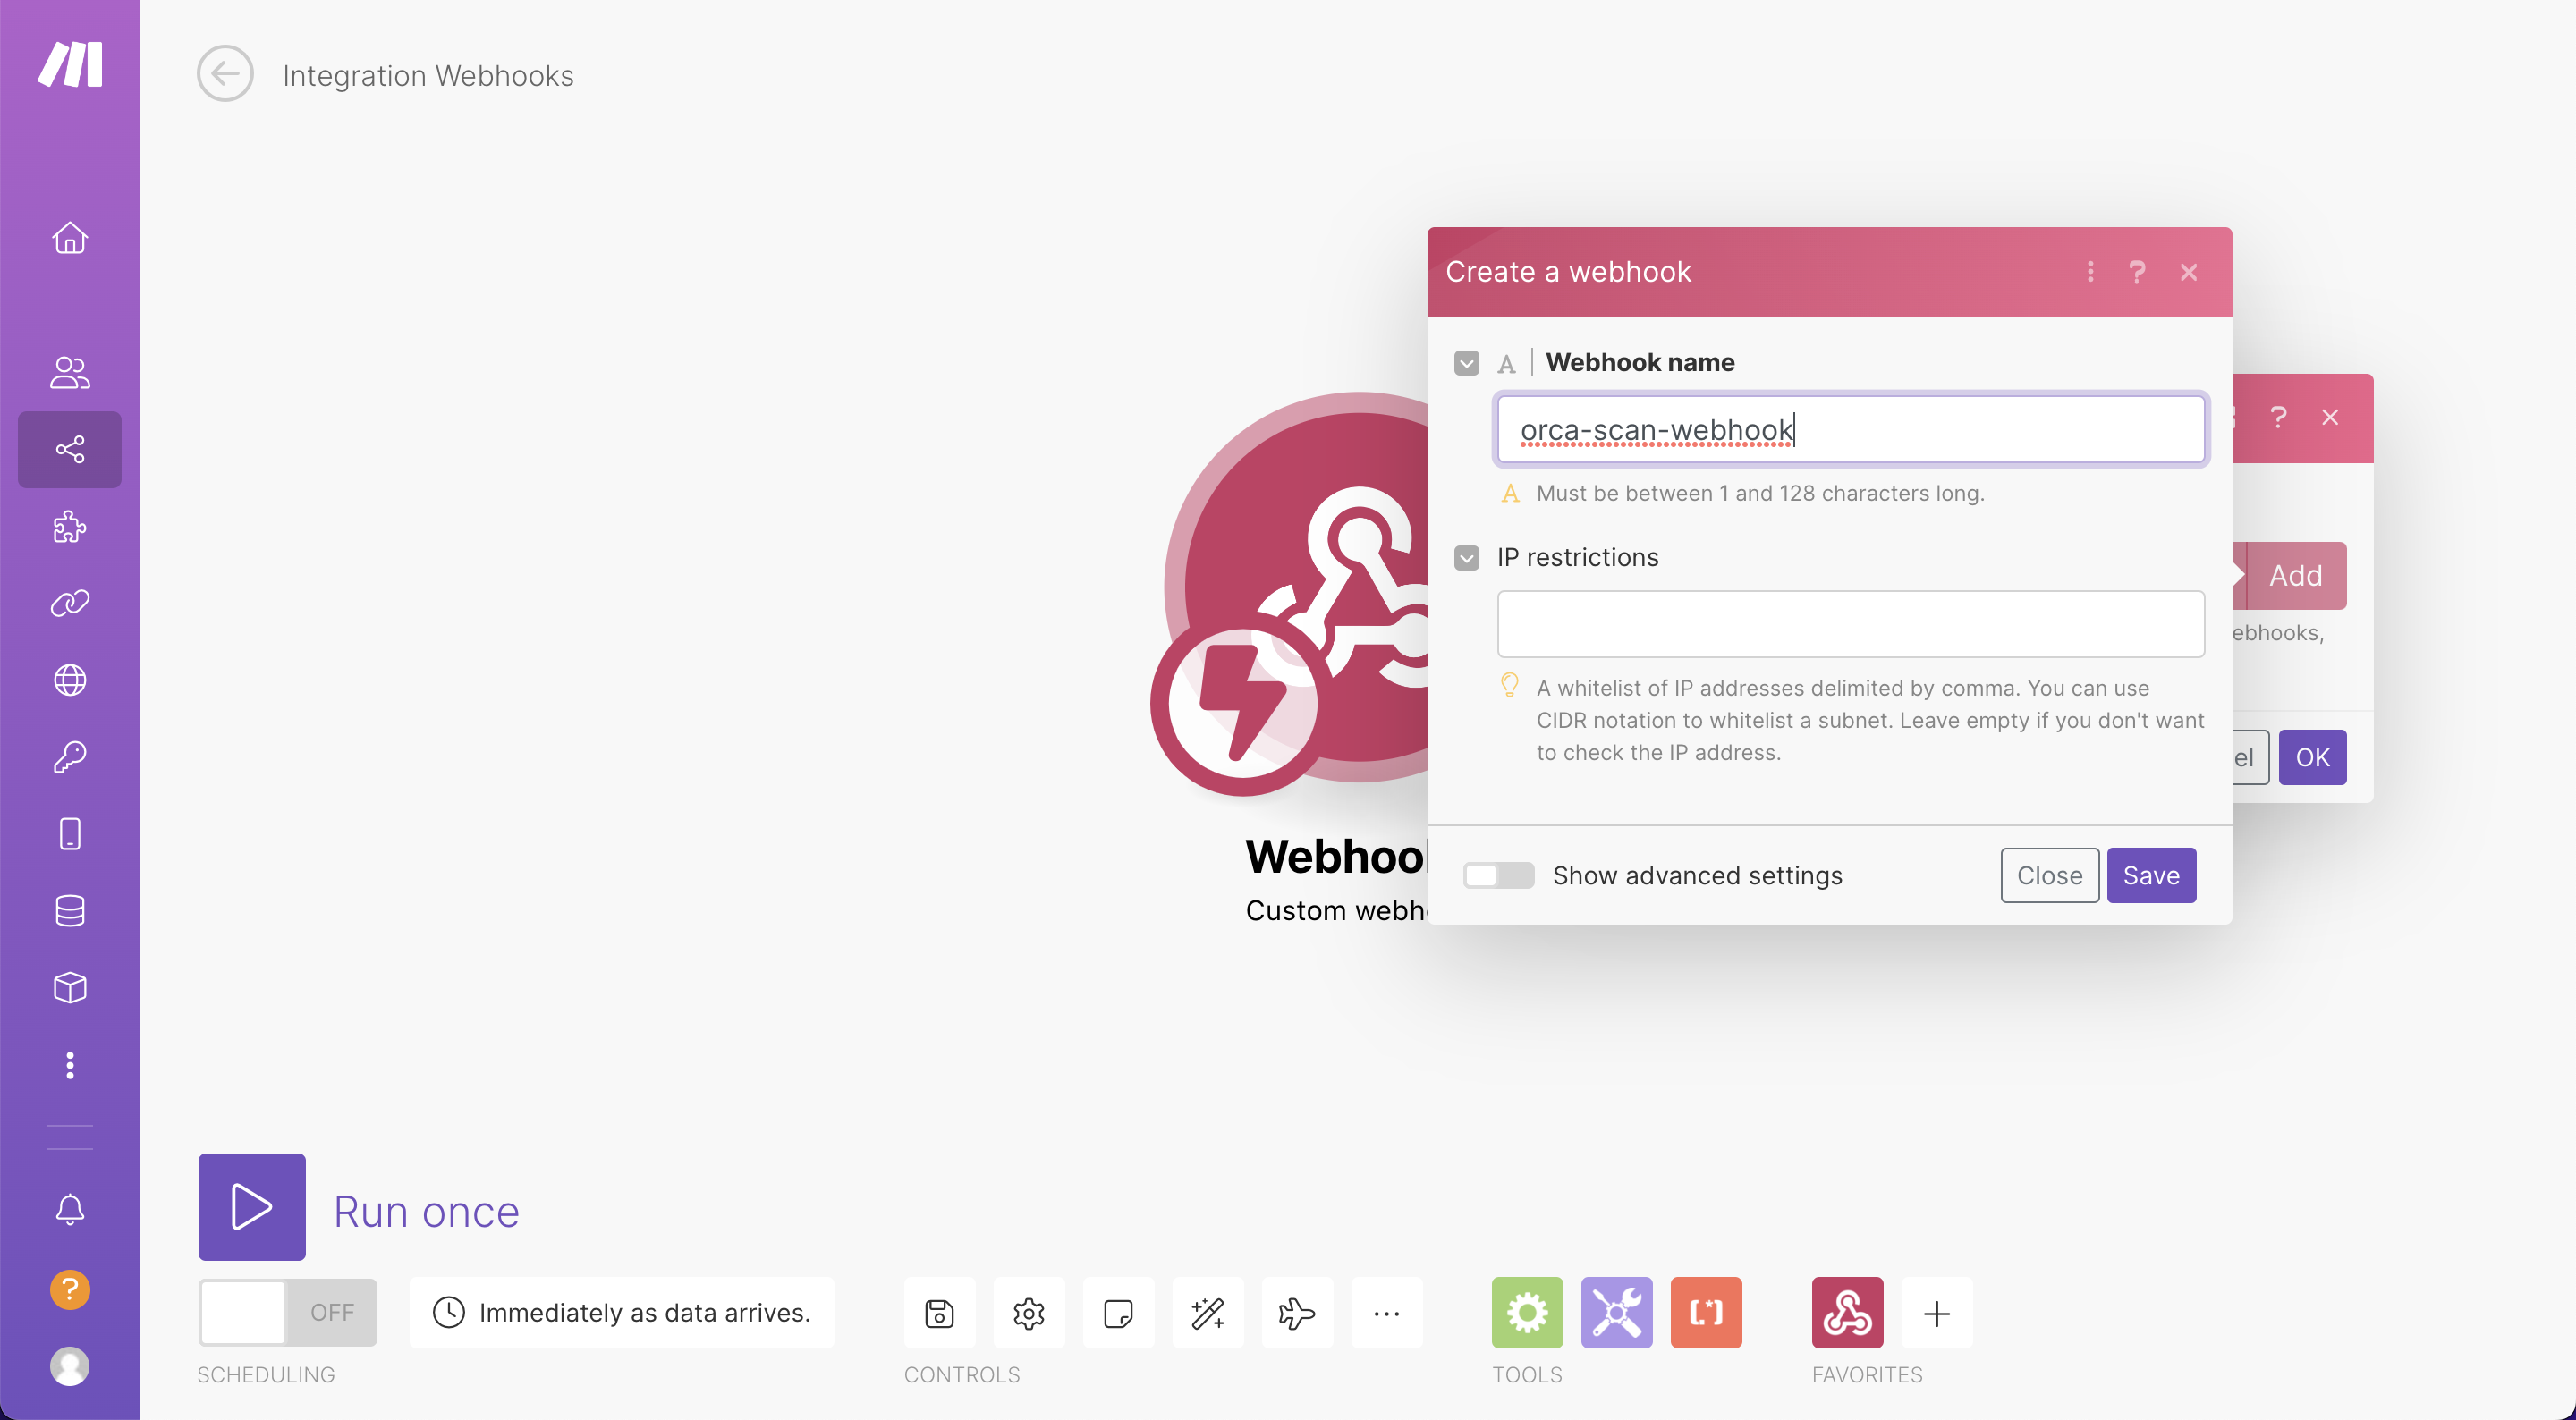
Simply add a descriptive name for the webhook that clearly describes its use of it and hit save
4. Copy paste WebHook URL
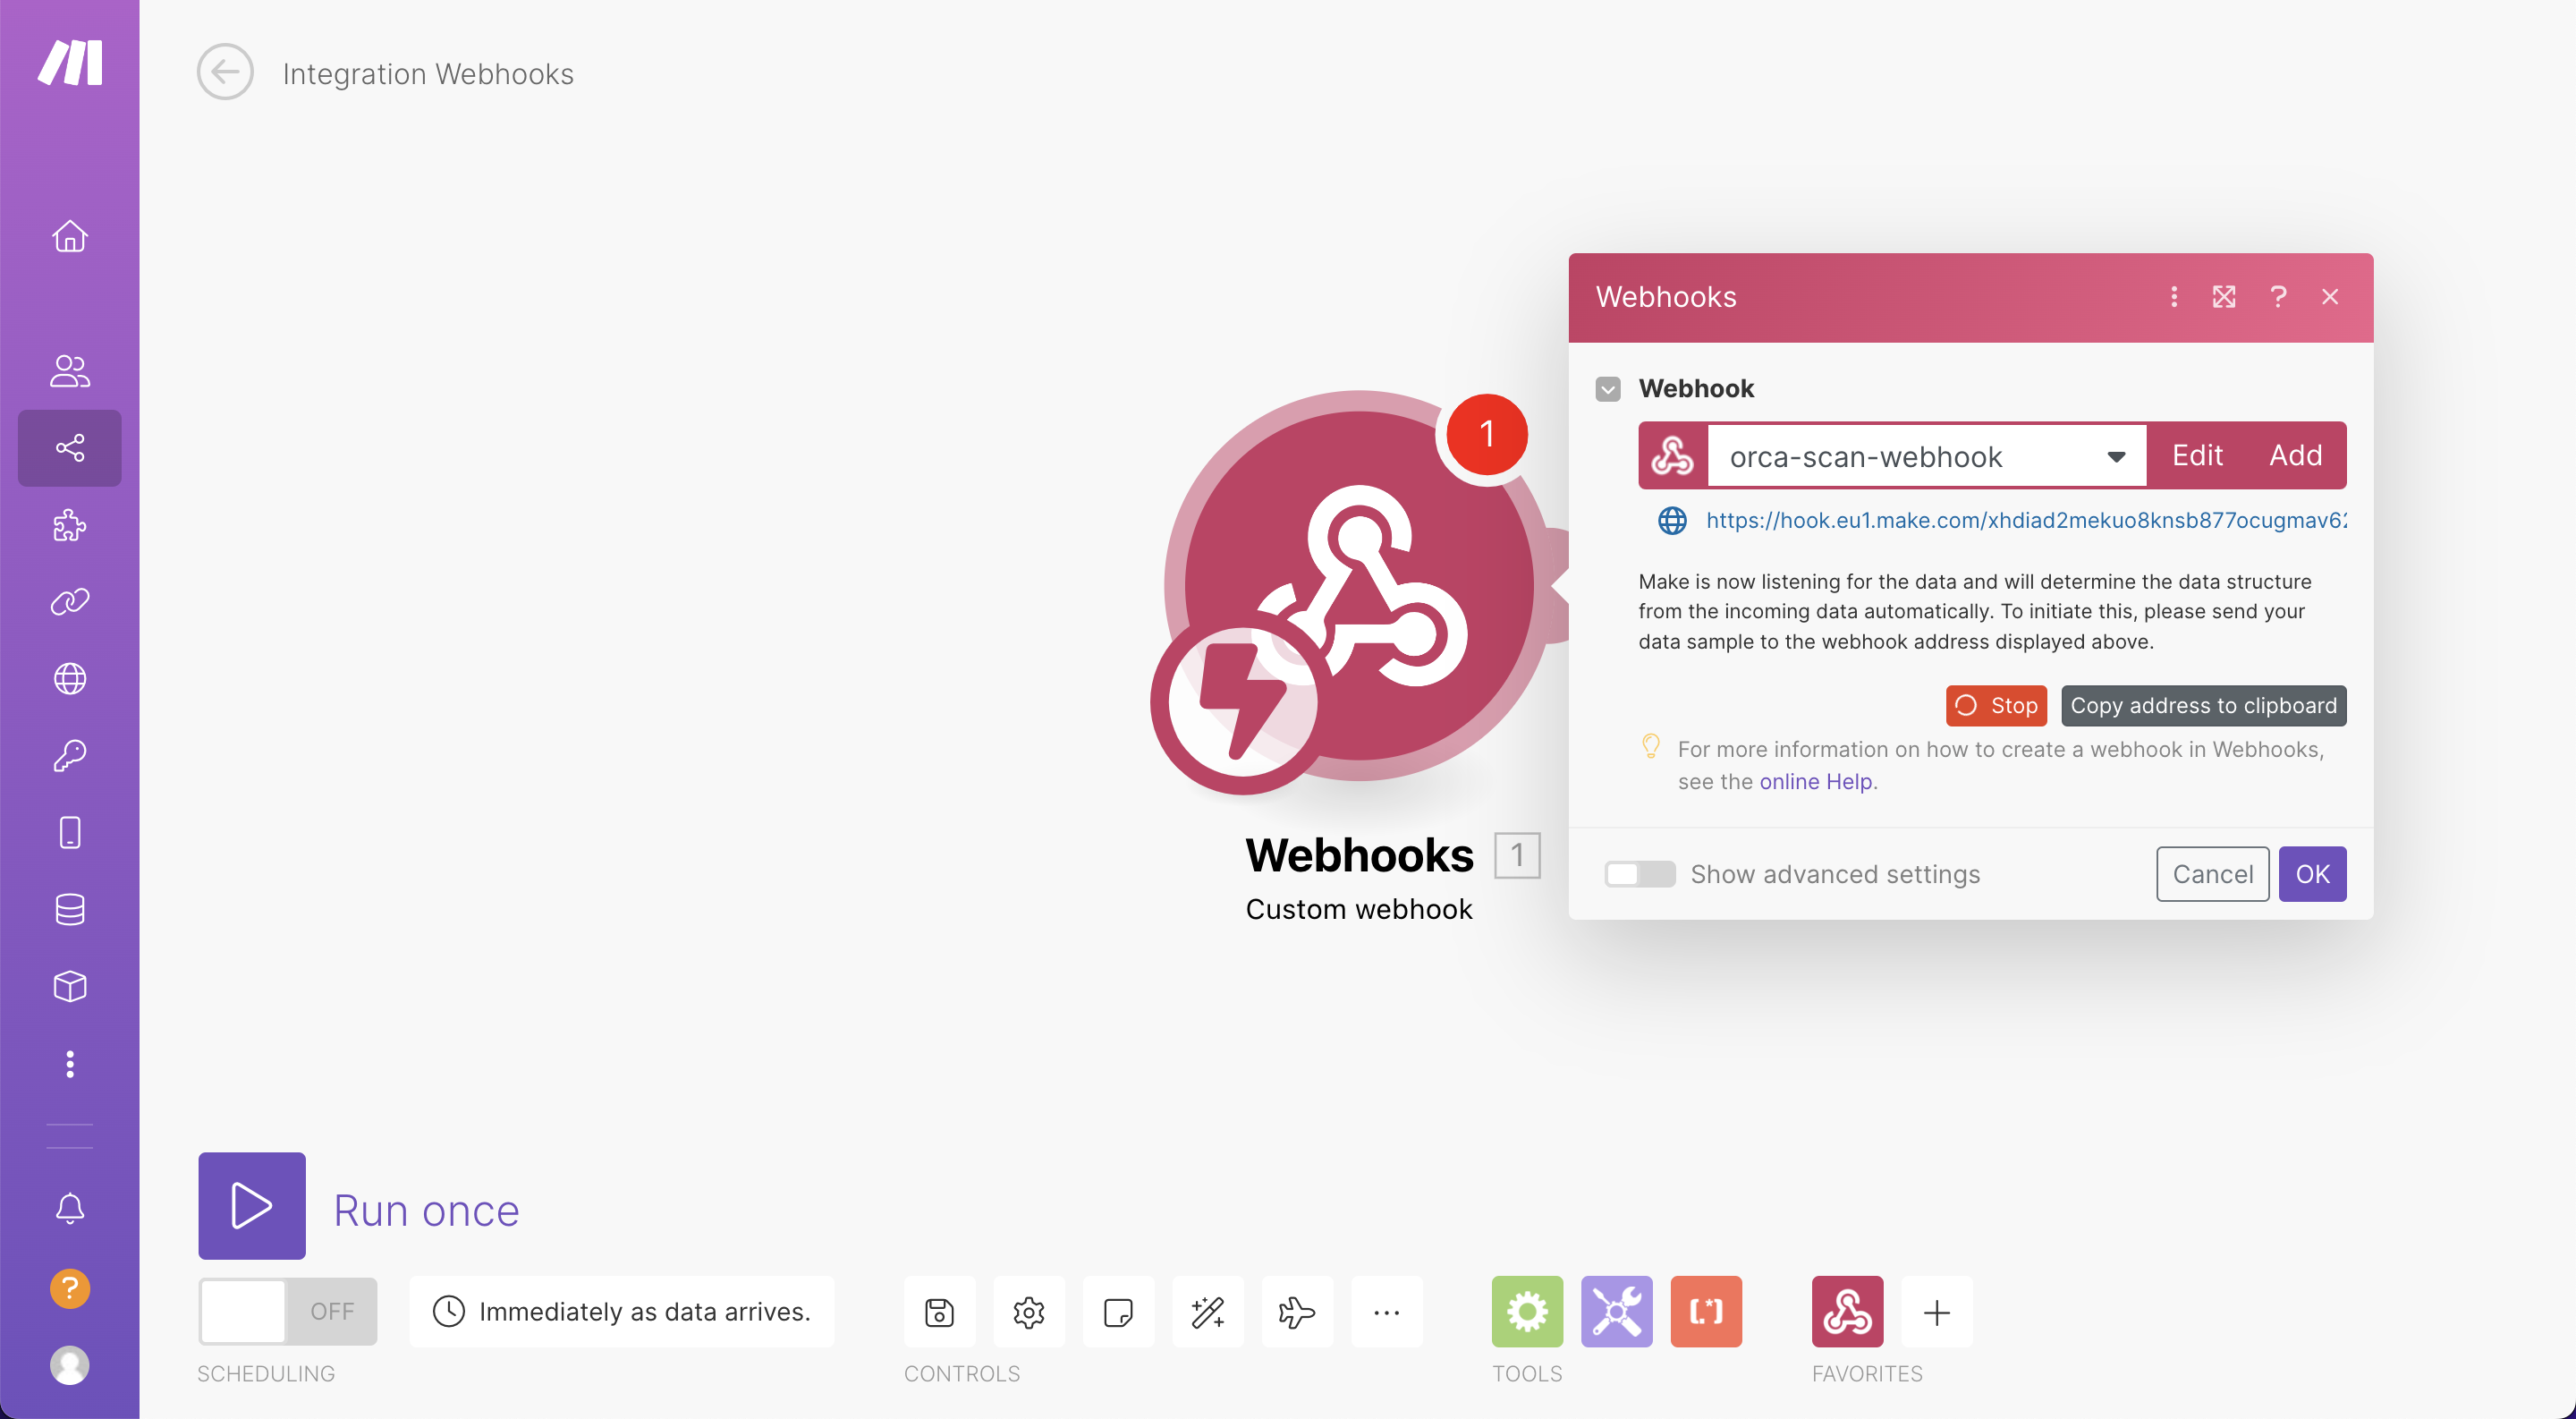
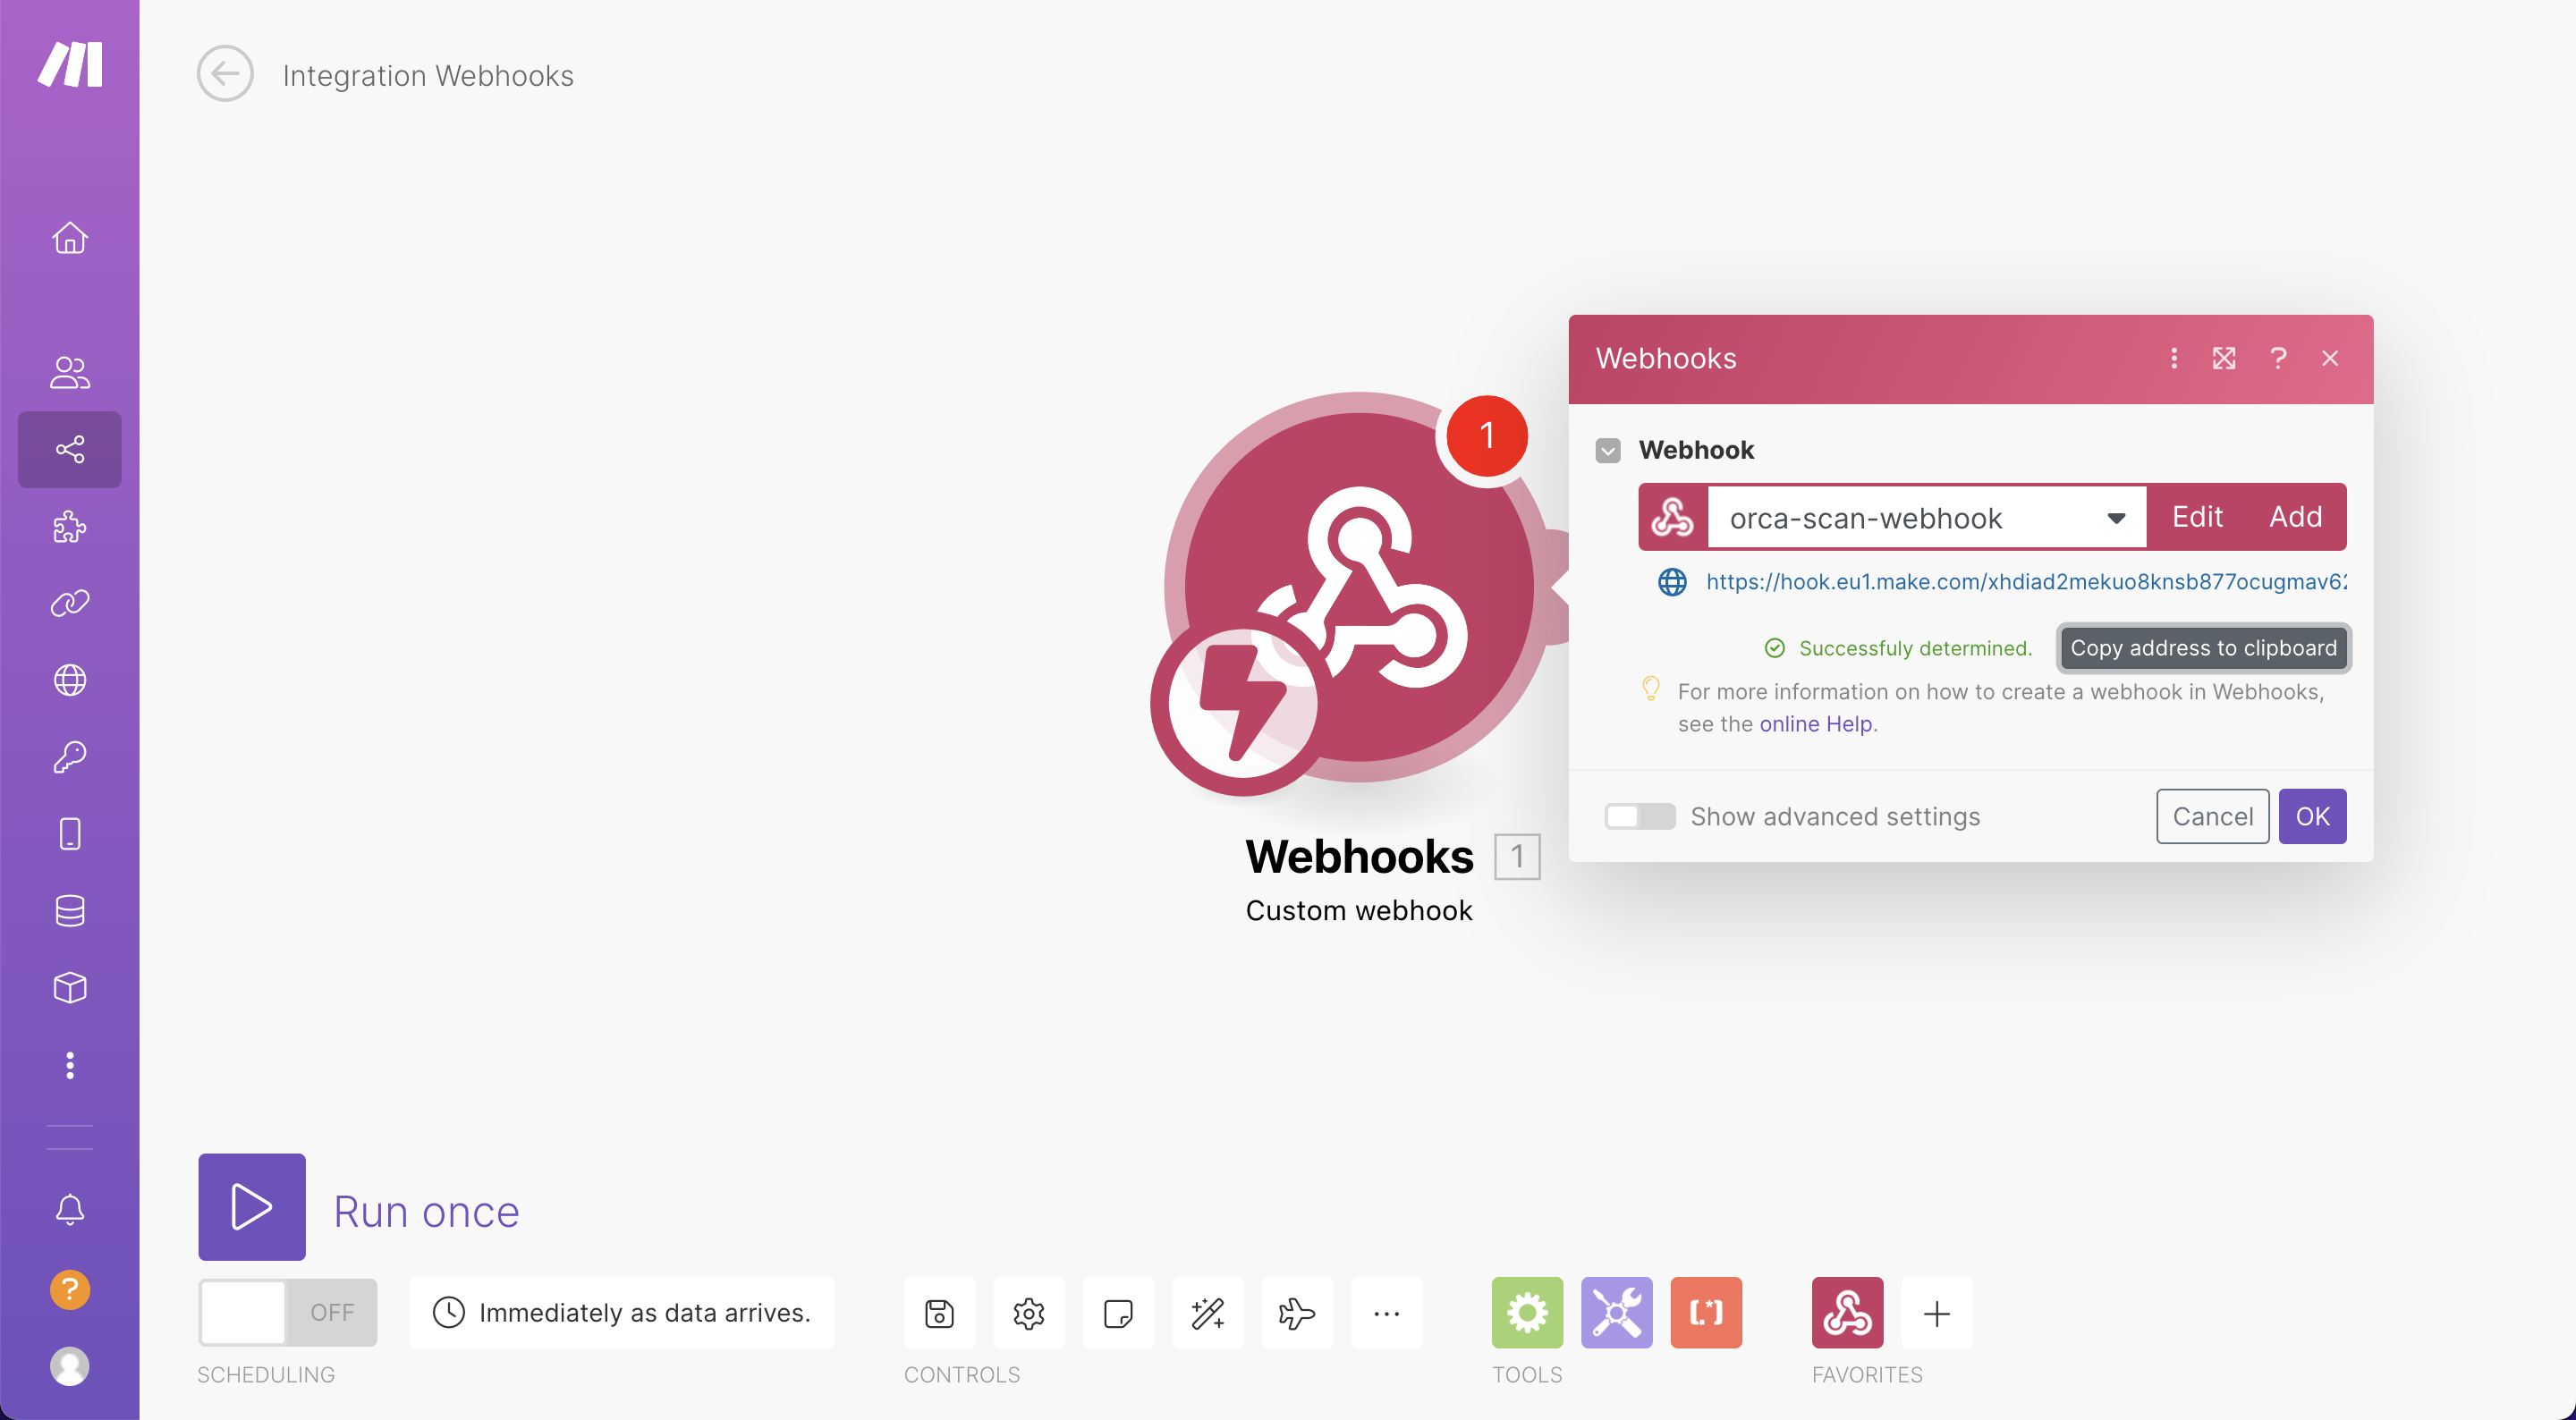
As soon as a name for the webhook is created, a unique URL is then created (highlighted in blue below the name of your webhook). Make sure this URL isn’t used elsewhere or shared.
You’ll notice Make is now listening for a connection to determine the data structure. Hit the Copy address to clipboard button and head over to the Orca Scan web app
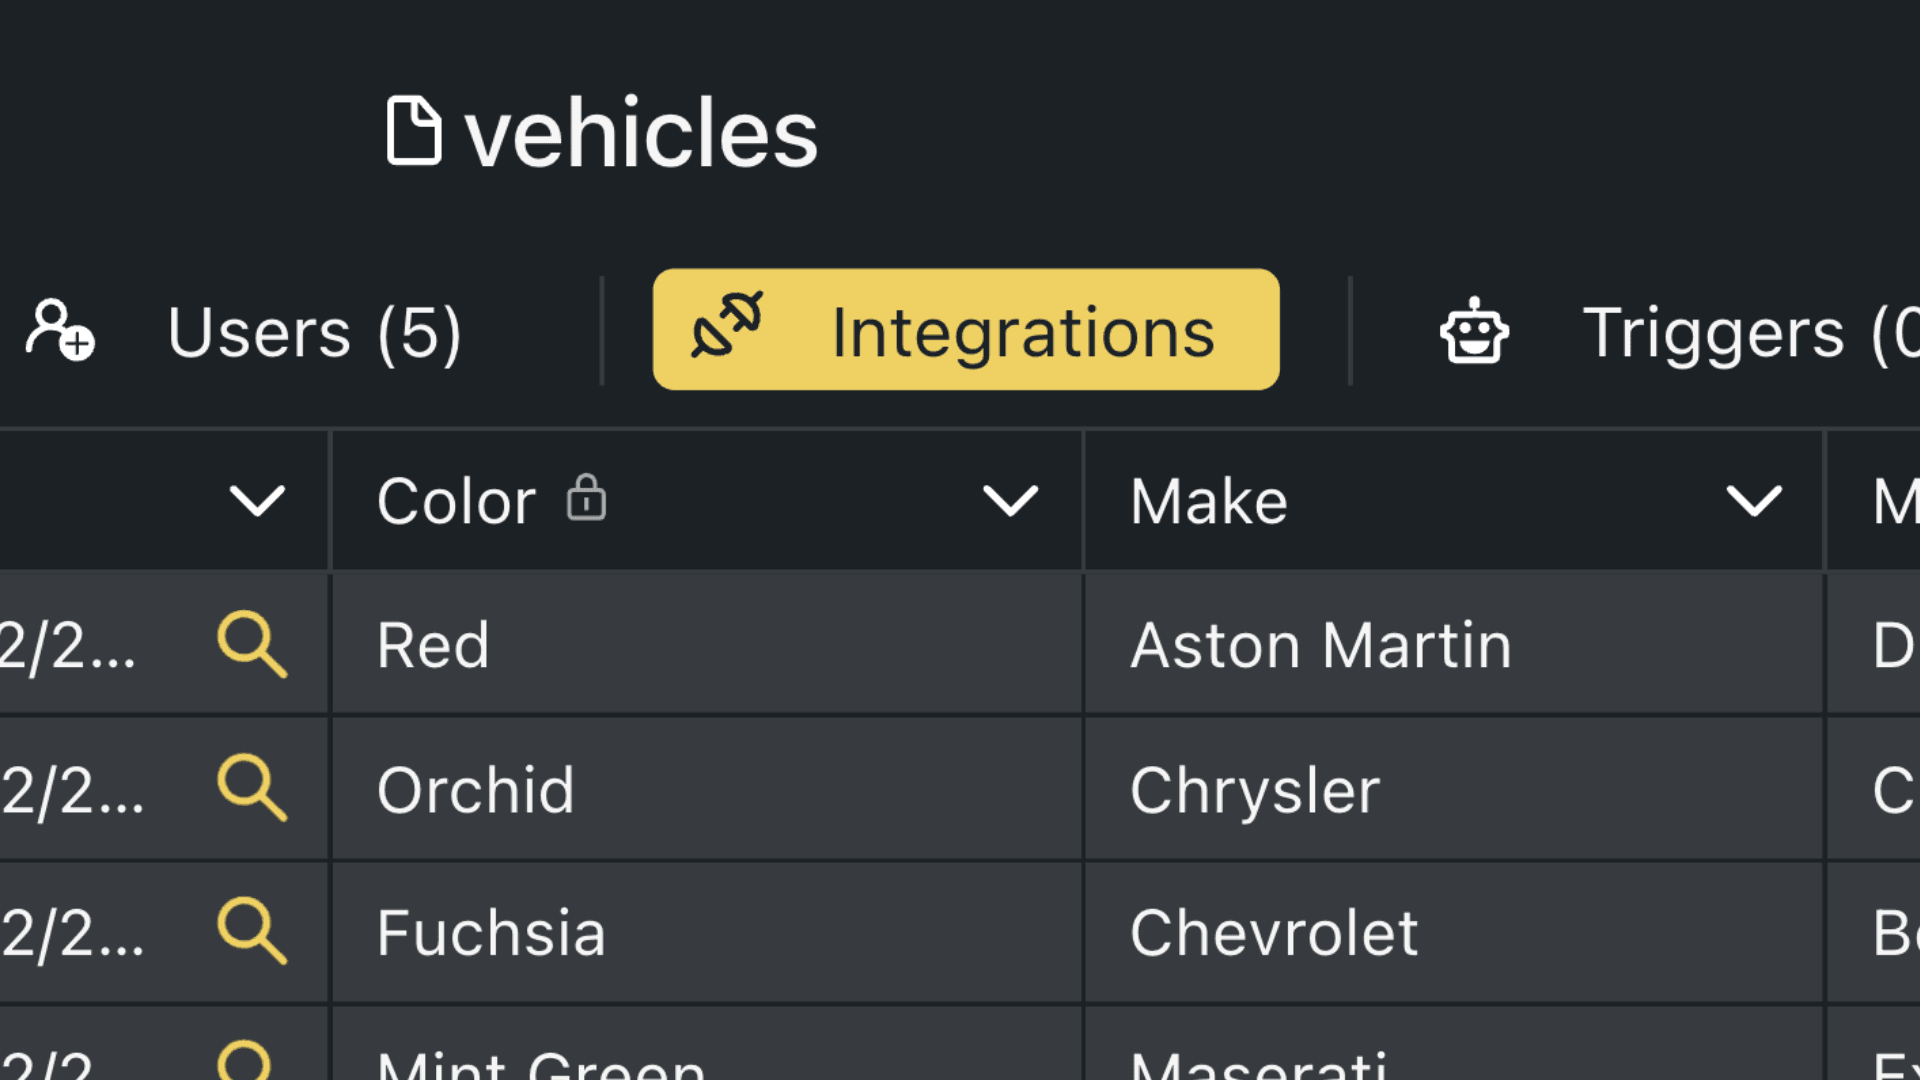
In the Orca Scan web app, you should see an Integrations button in the toolbar at the top of the page. Click this option to access the integrations menu
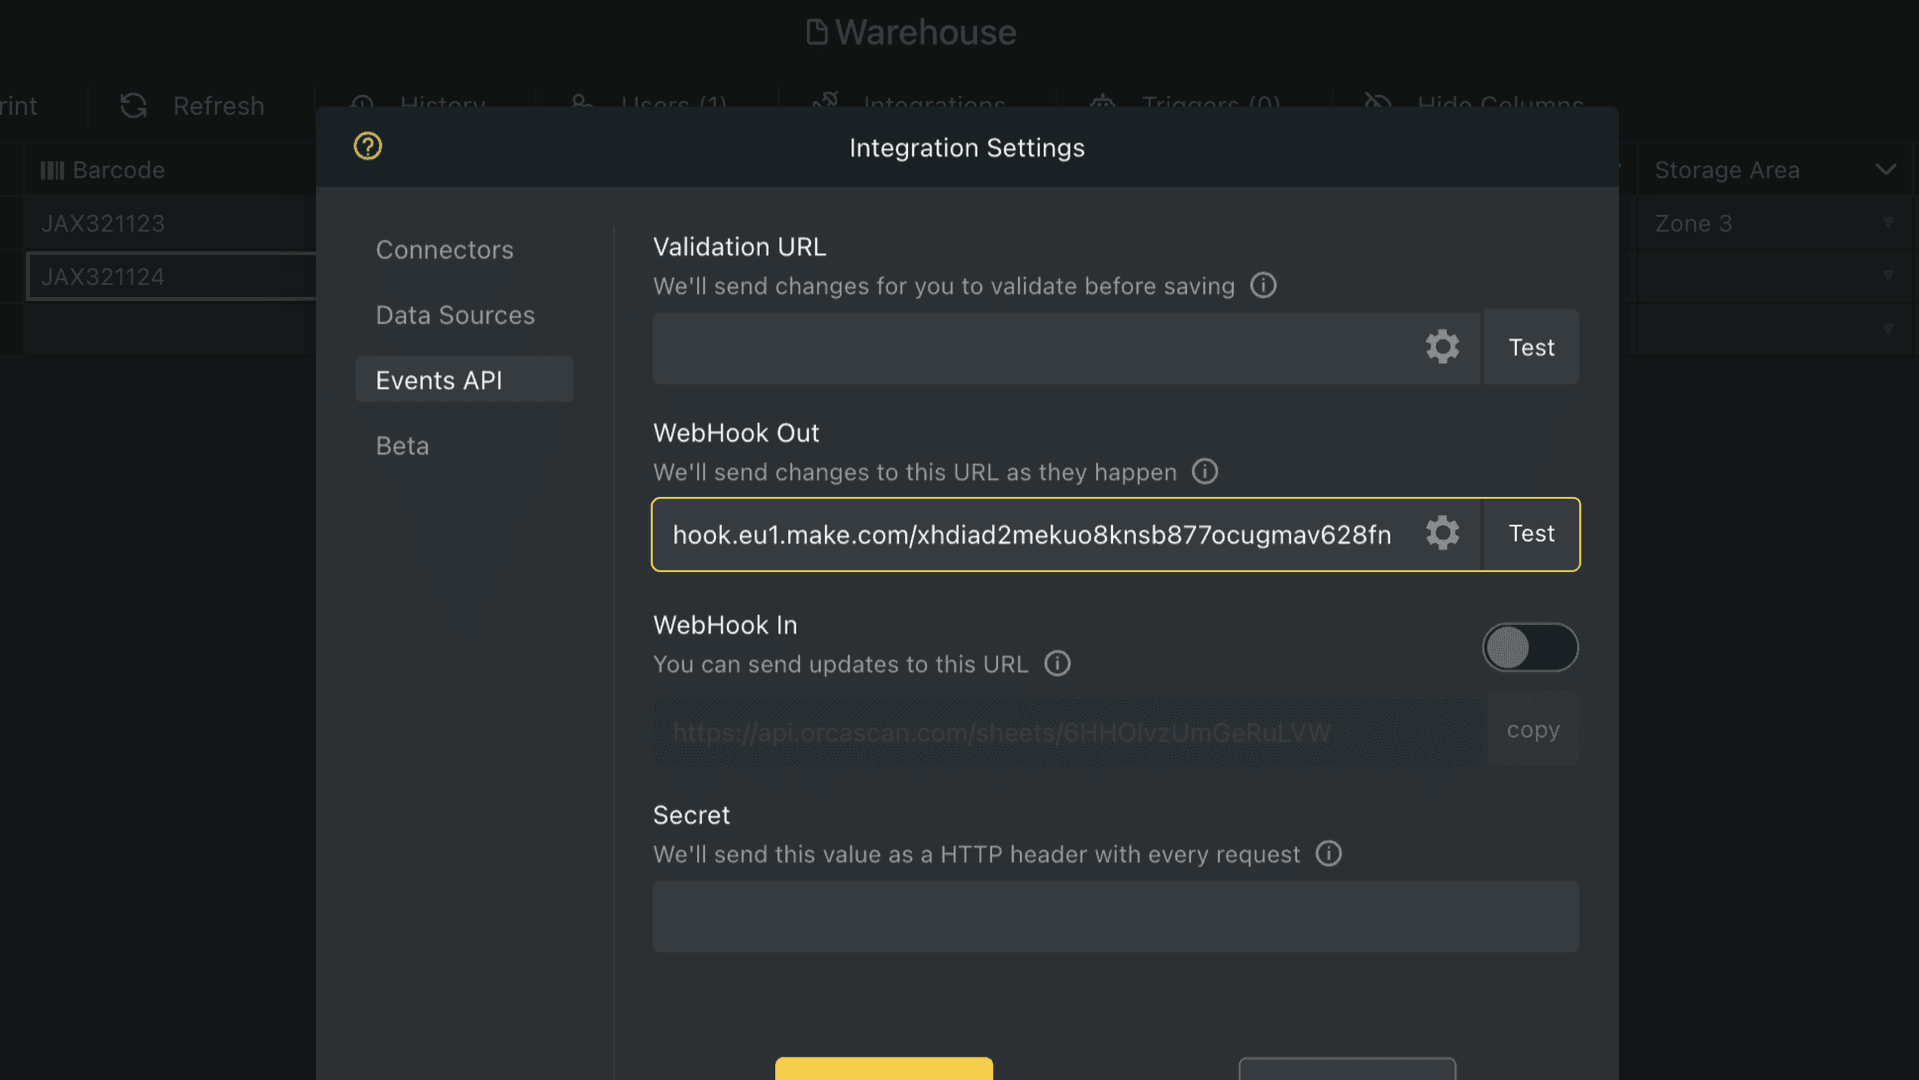
You’re now presented with several options to access the functionality of the Orca Scan API and WebHooks; scroll toward the bottom of the menu and find the Webhook Out function.
We want to use this option as we’re simply sending data out from Orca Scan. In the empty text field, paste the Webhook URL you copied from Make and hit the Test button
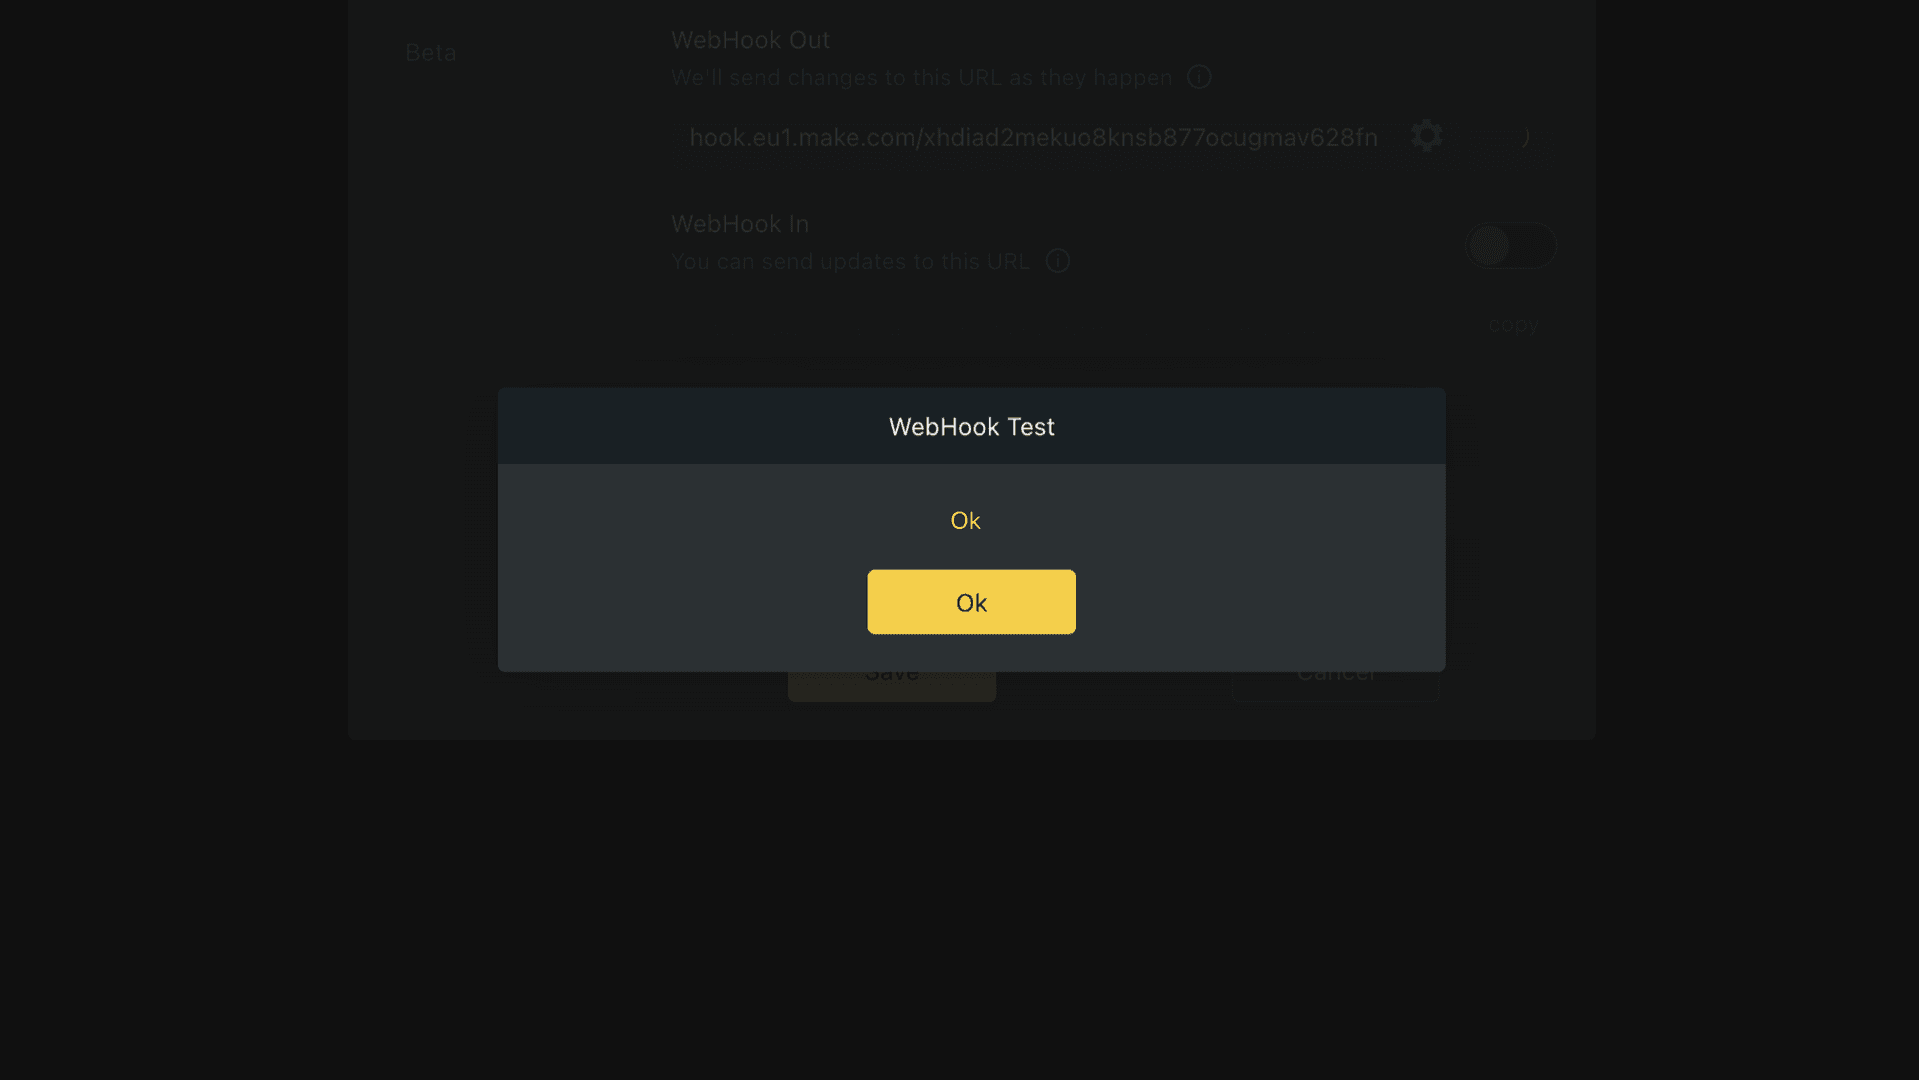
If the URL is valid, you should see a message to confirm
Remember: If you see a message saying that this step has failed, please go back and check that the URL is exactly the same as it appears in Make. If you still see this message, try going back to Make, deleting the first module, and starting again from Step 3
Once the connection has been confirmed with Orca Scan, head back over to your Make webhook module, and you should now see a success message that says Successfully determined (underneath the URL address)
Make has now received the data structure of the requests from Orca Scan
Tip: If you see a failed message, go back and repeat steps 3 and 4
5. Test build
Now you’re ready to test the connection with real data!
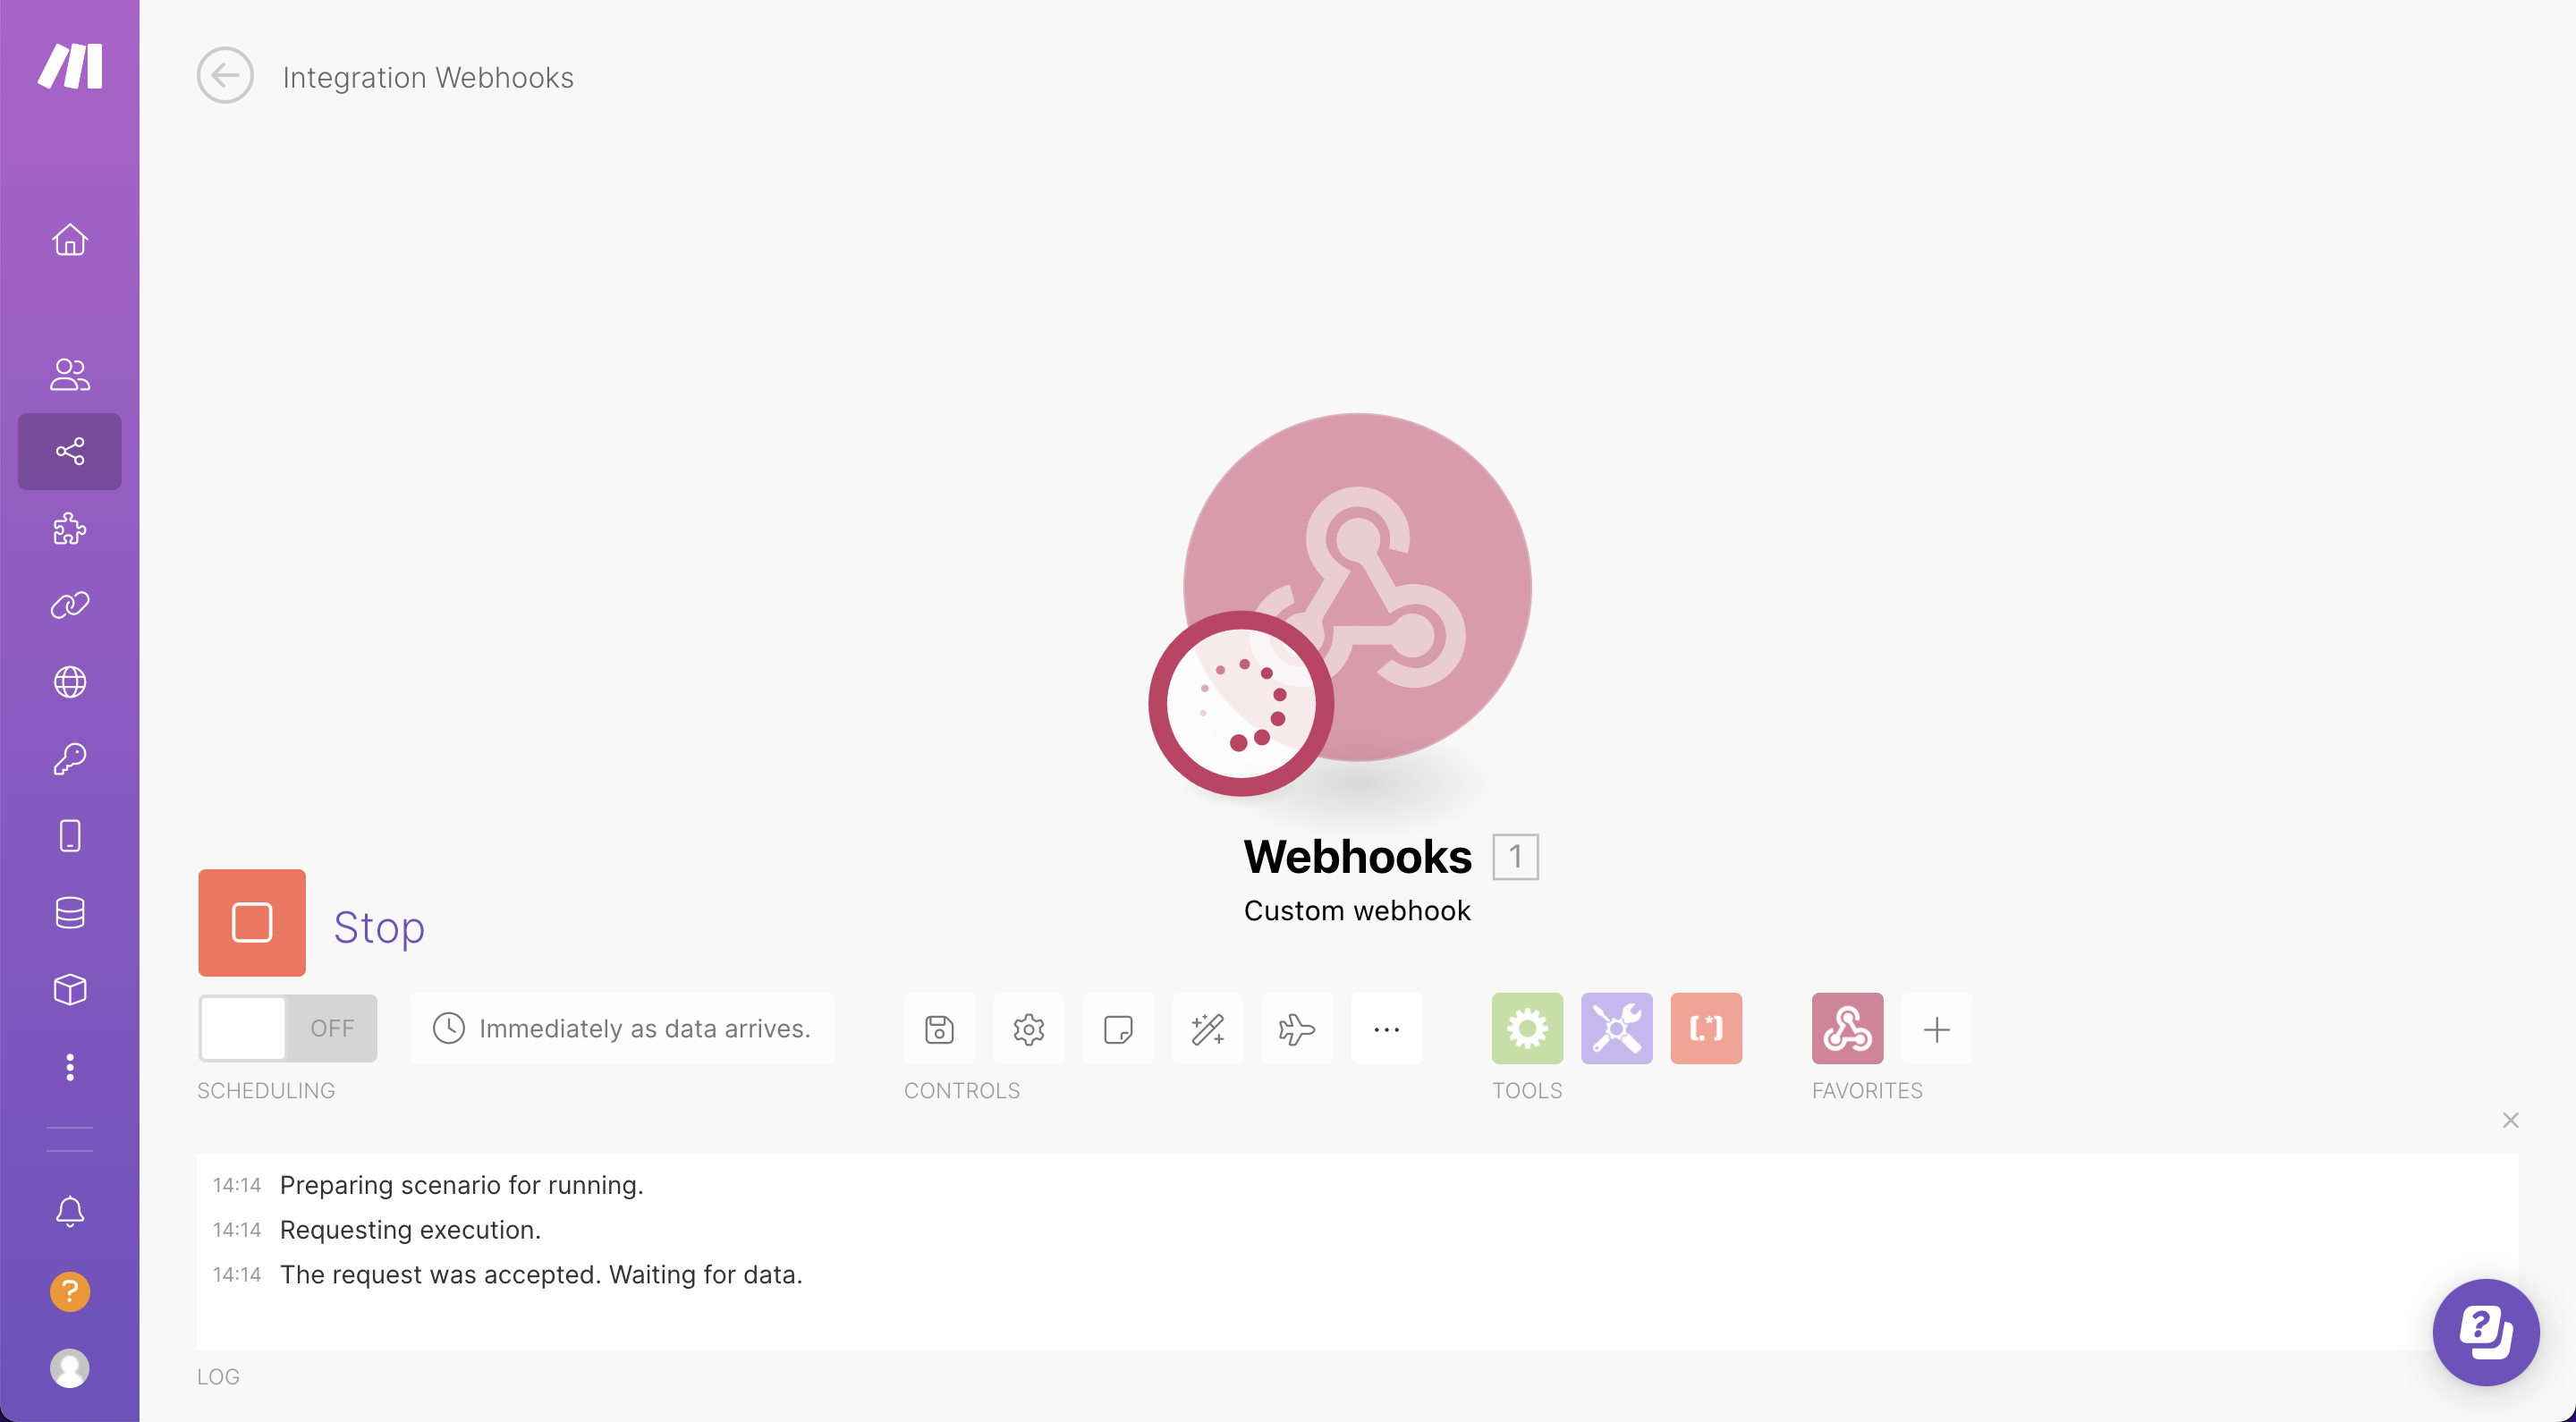
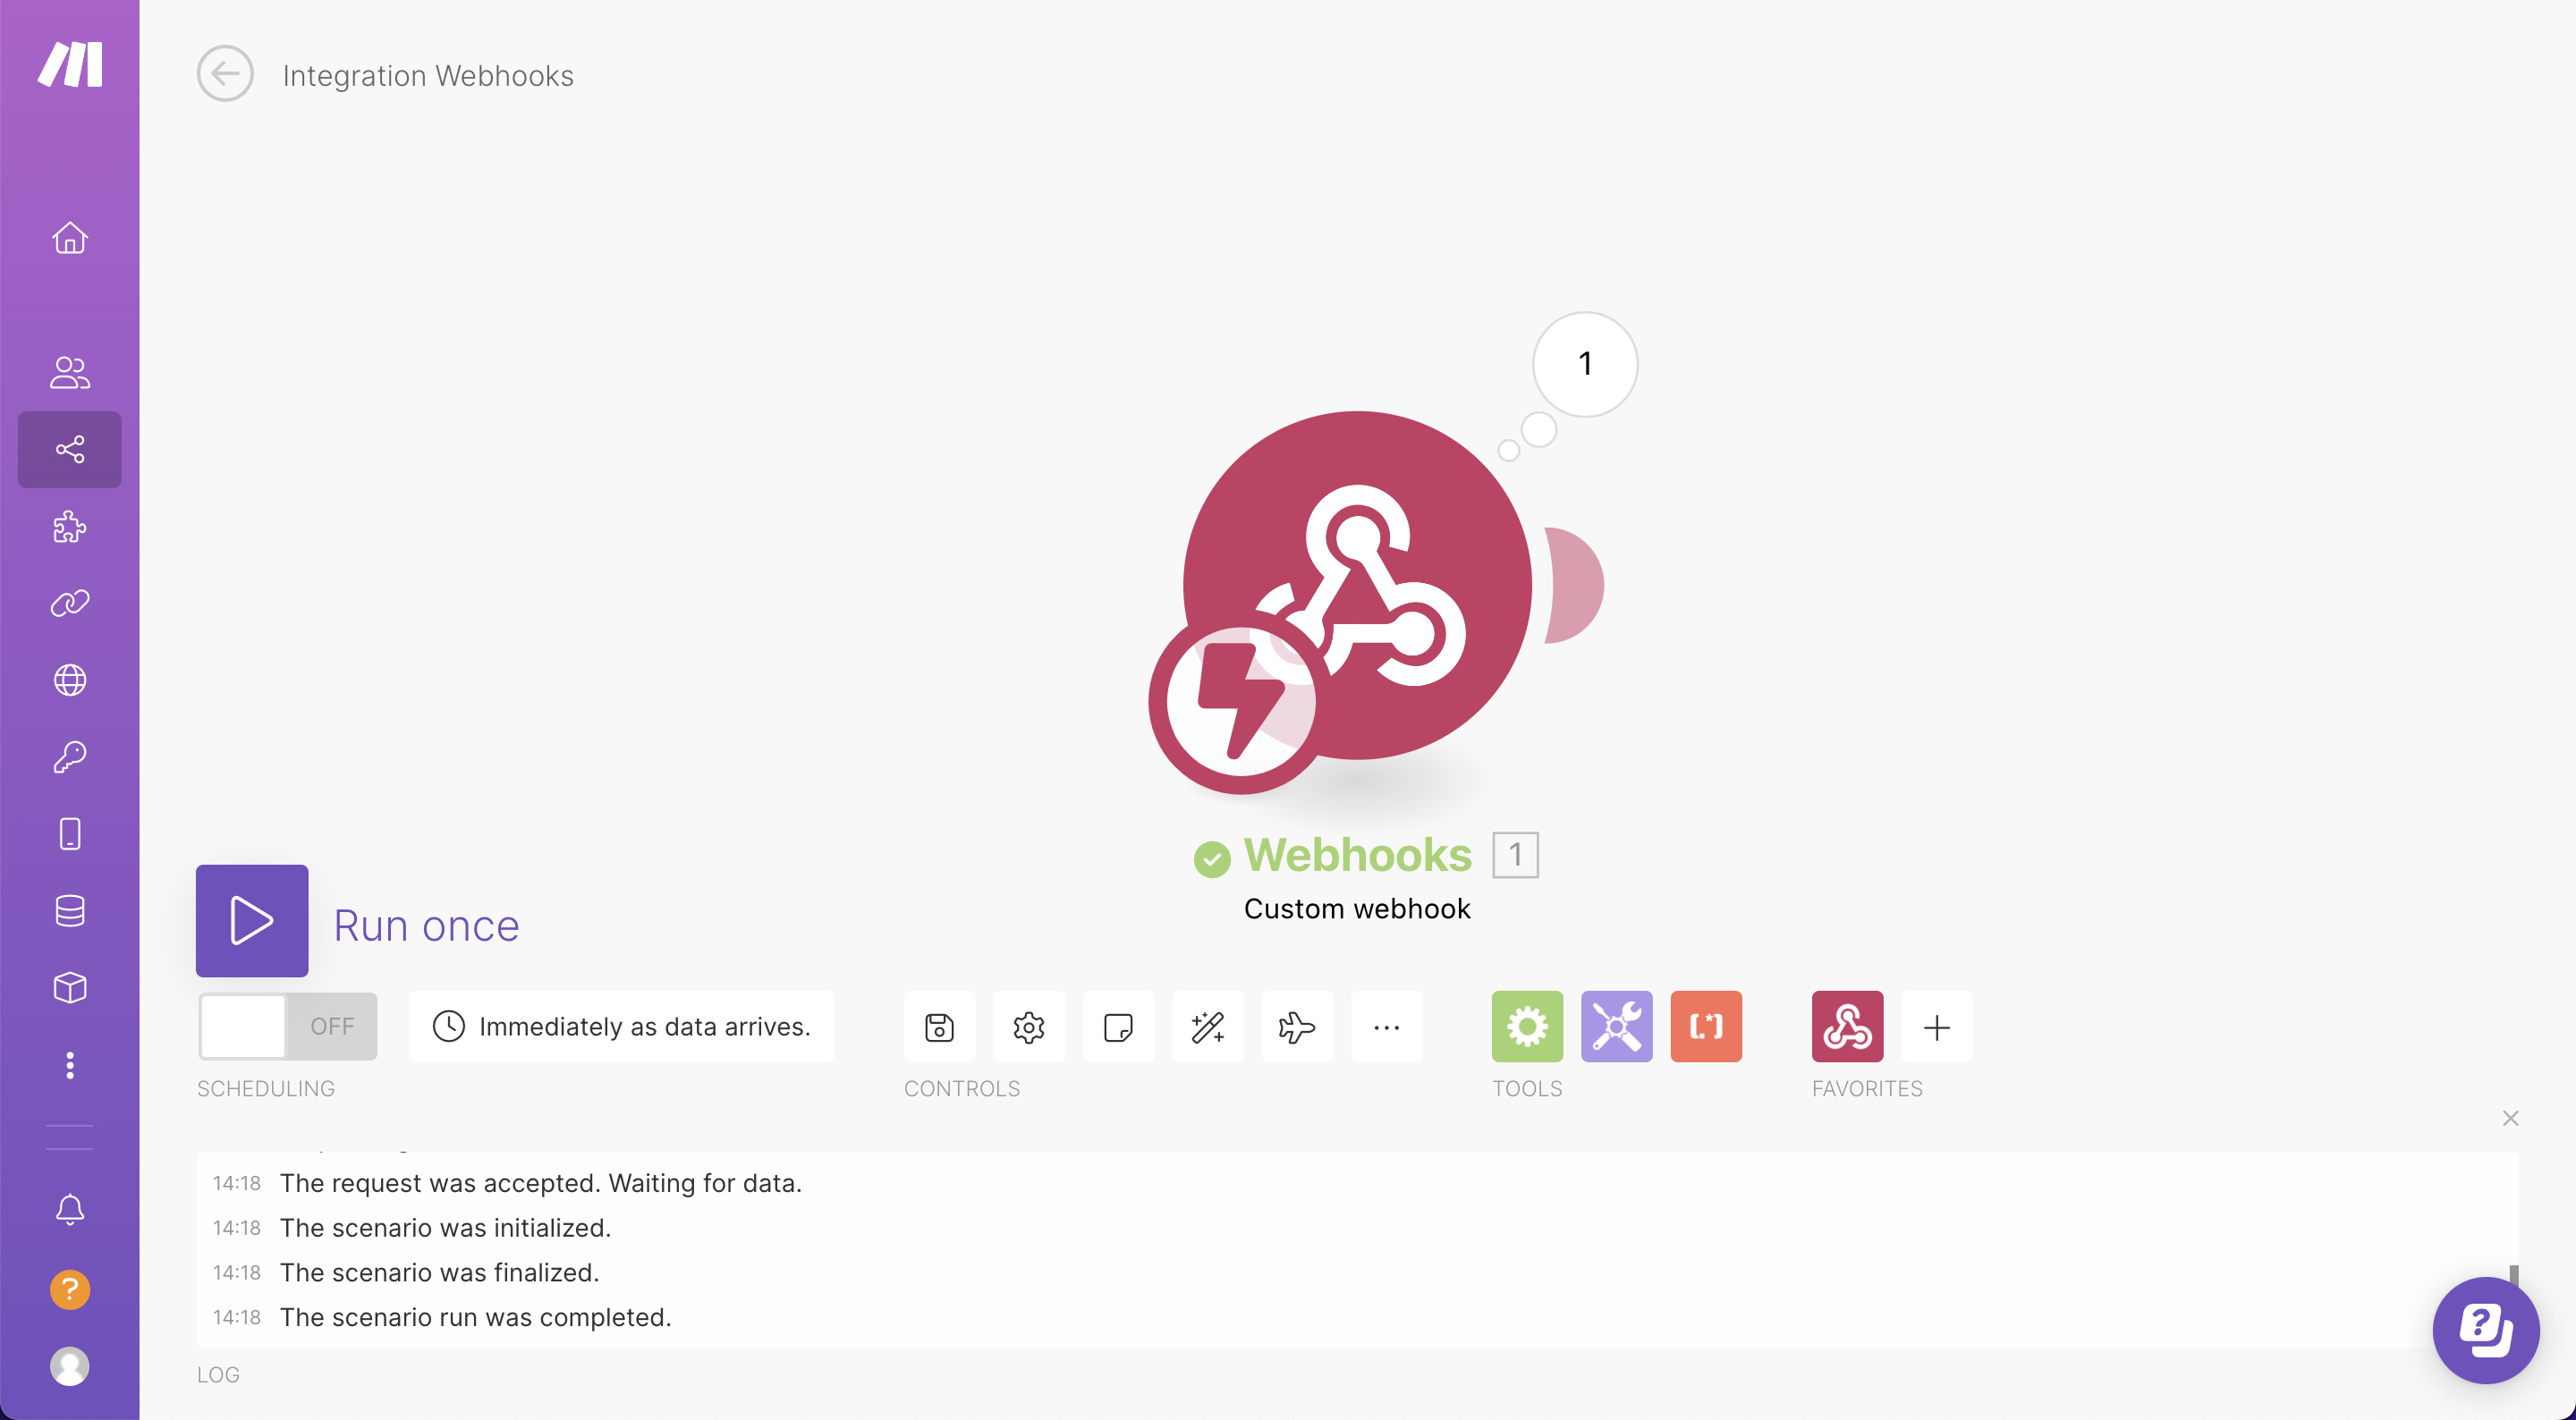
In the bottom left of your Make scenario, click the Run once button. You should see a loading animation next to your module, a stop button, and the latest status in the log (underneath your module) should read The request was accepted. Waiting for data.
Now, use the Orca Scan mobile app to scan a barcode and save it
Once you’ve successfully scanned a barcode with the Orca Scan mobile app, you should now see success messages in the log: The scenario run was initialised, The scenario was finalised, and The scenario run was completed.
Underneath the module, you should see a green tick indicating that the module has successfully run and obtained data. Towards the top right of the module, you should see a circle with a number inside - this indicates the number of requests received
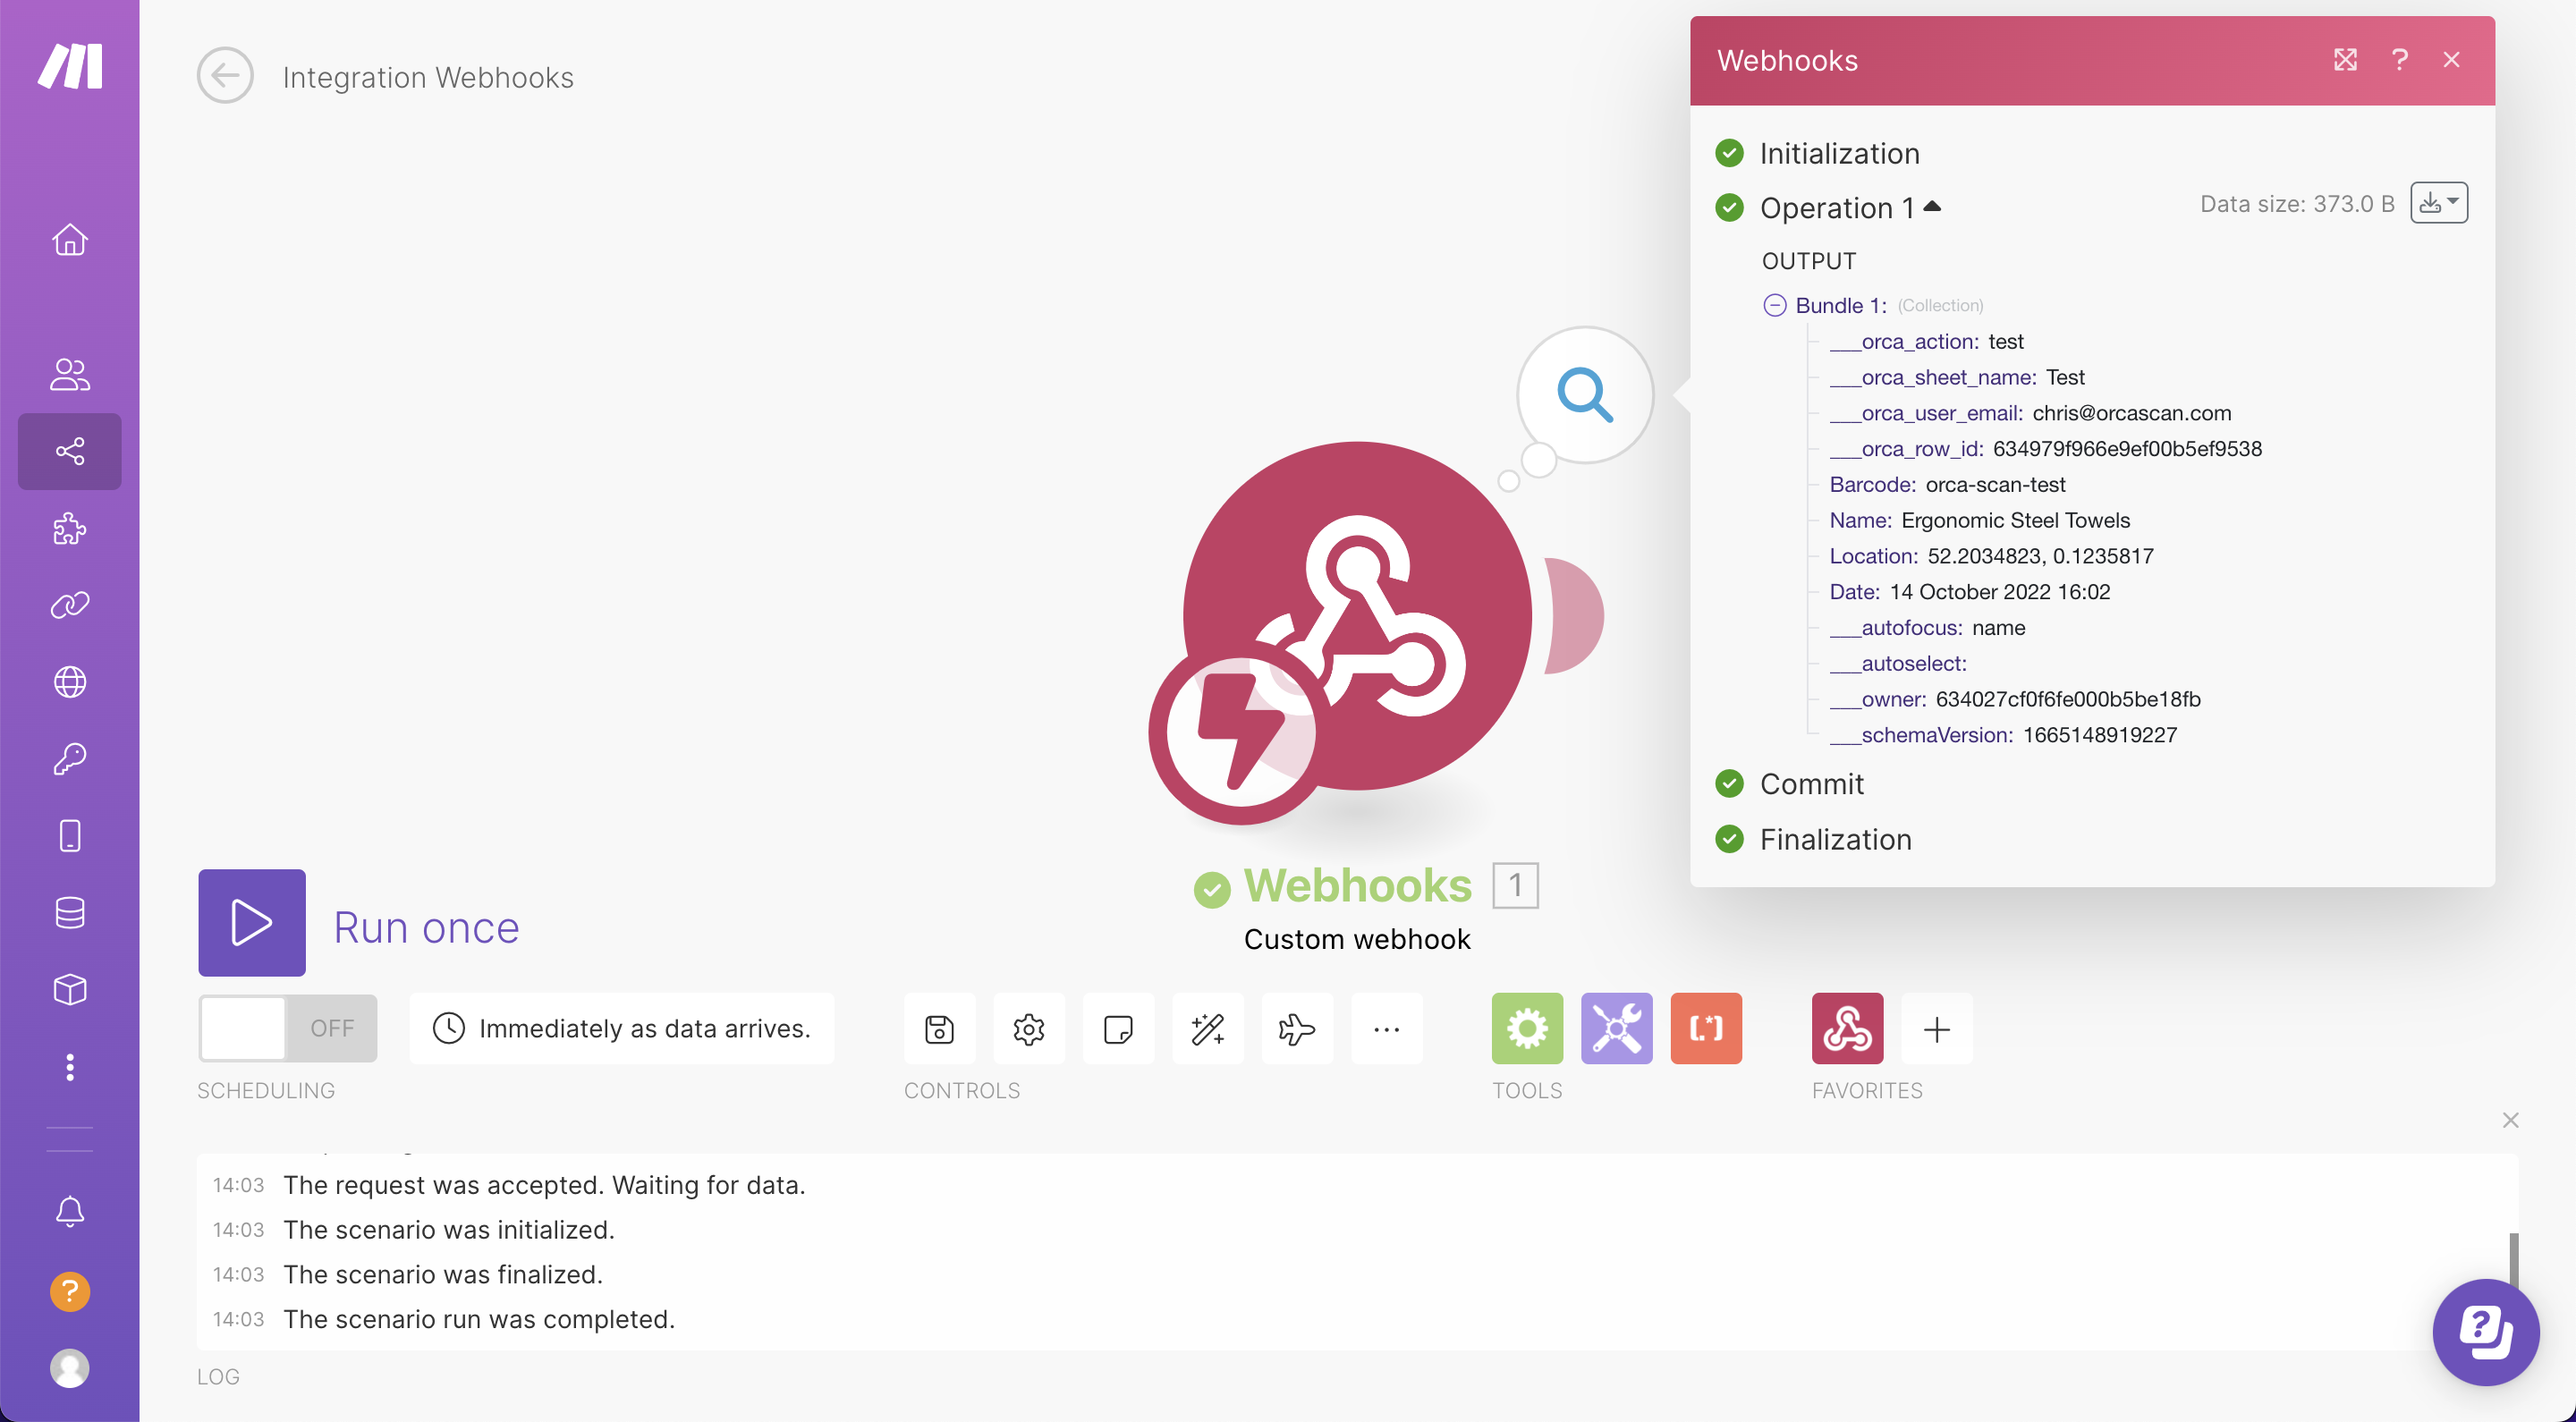
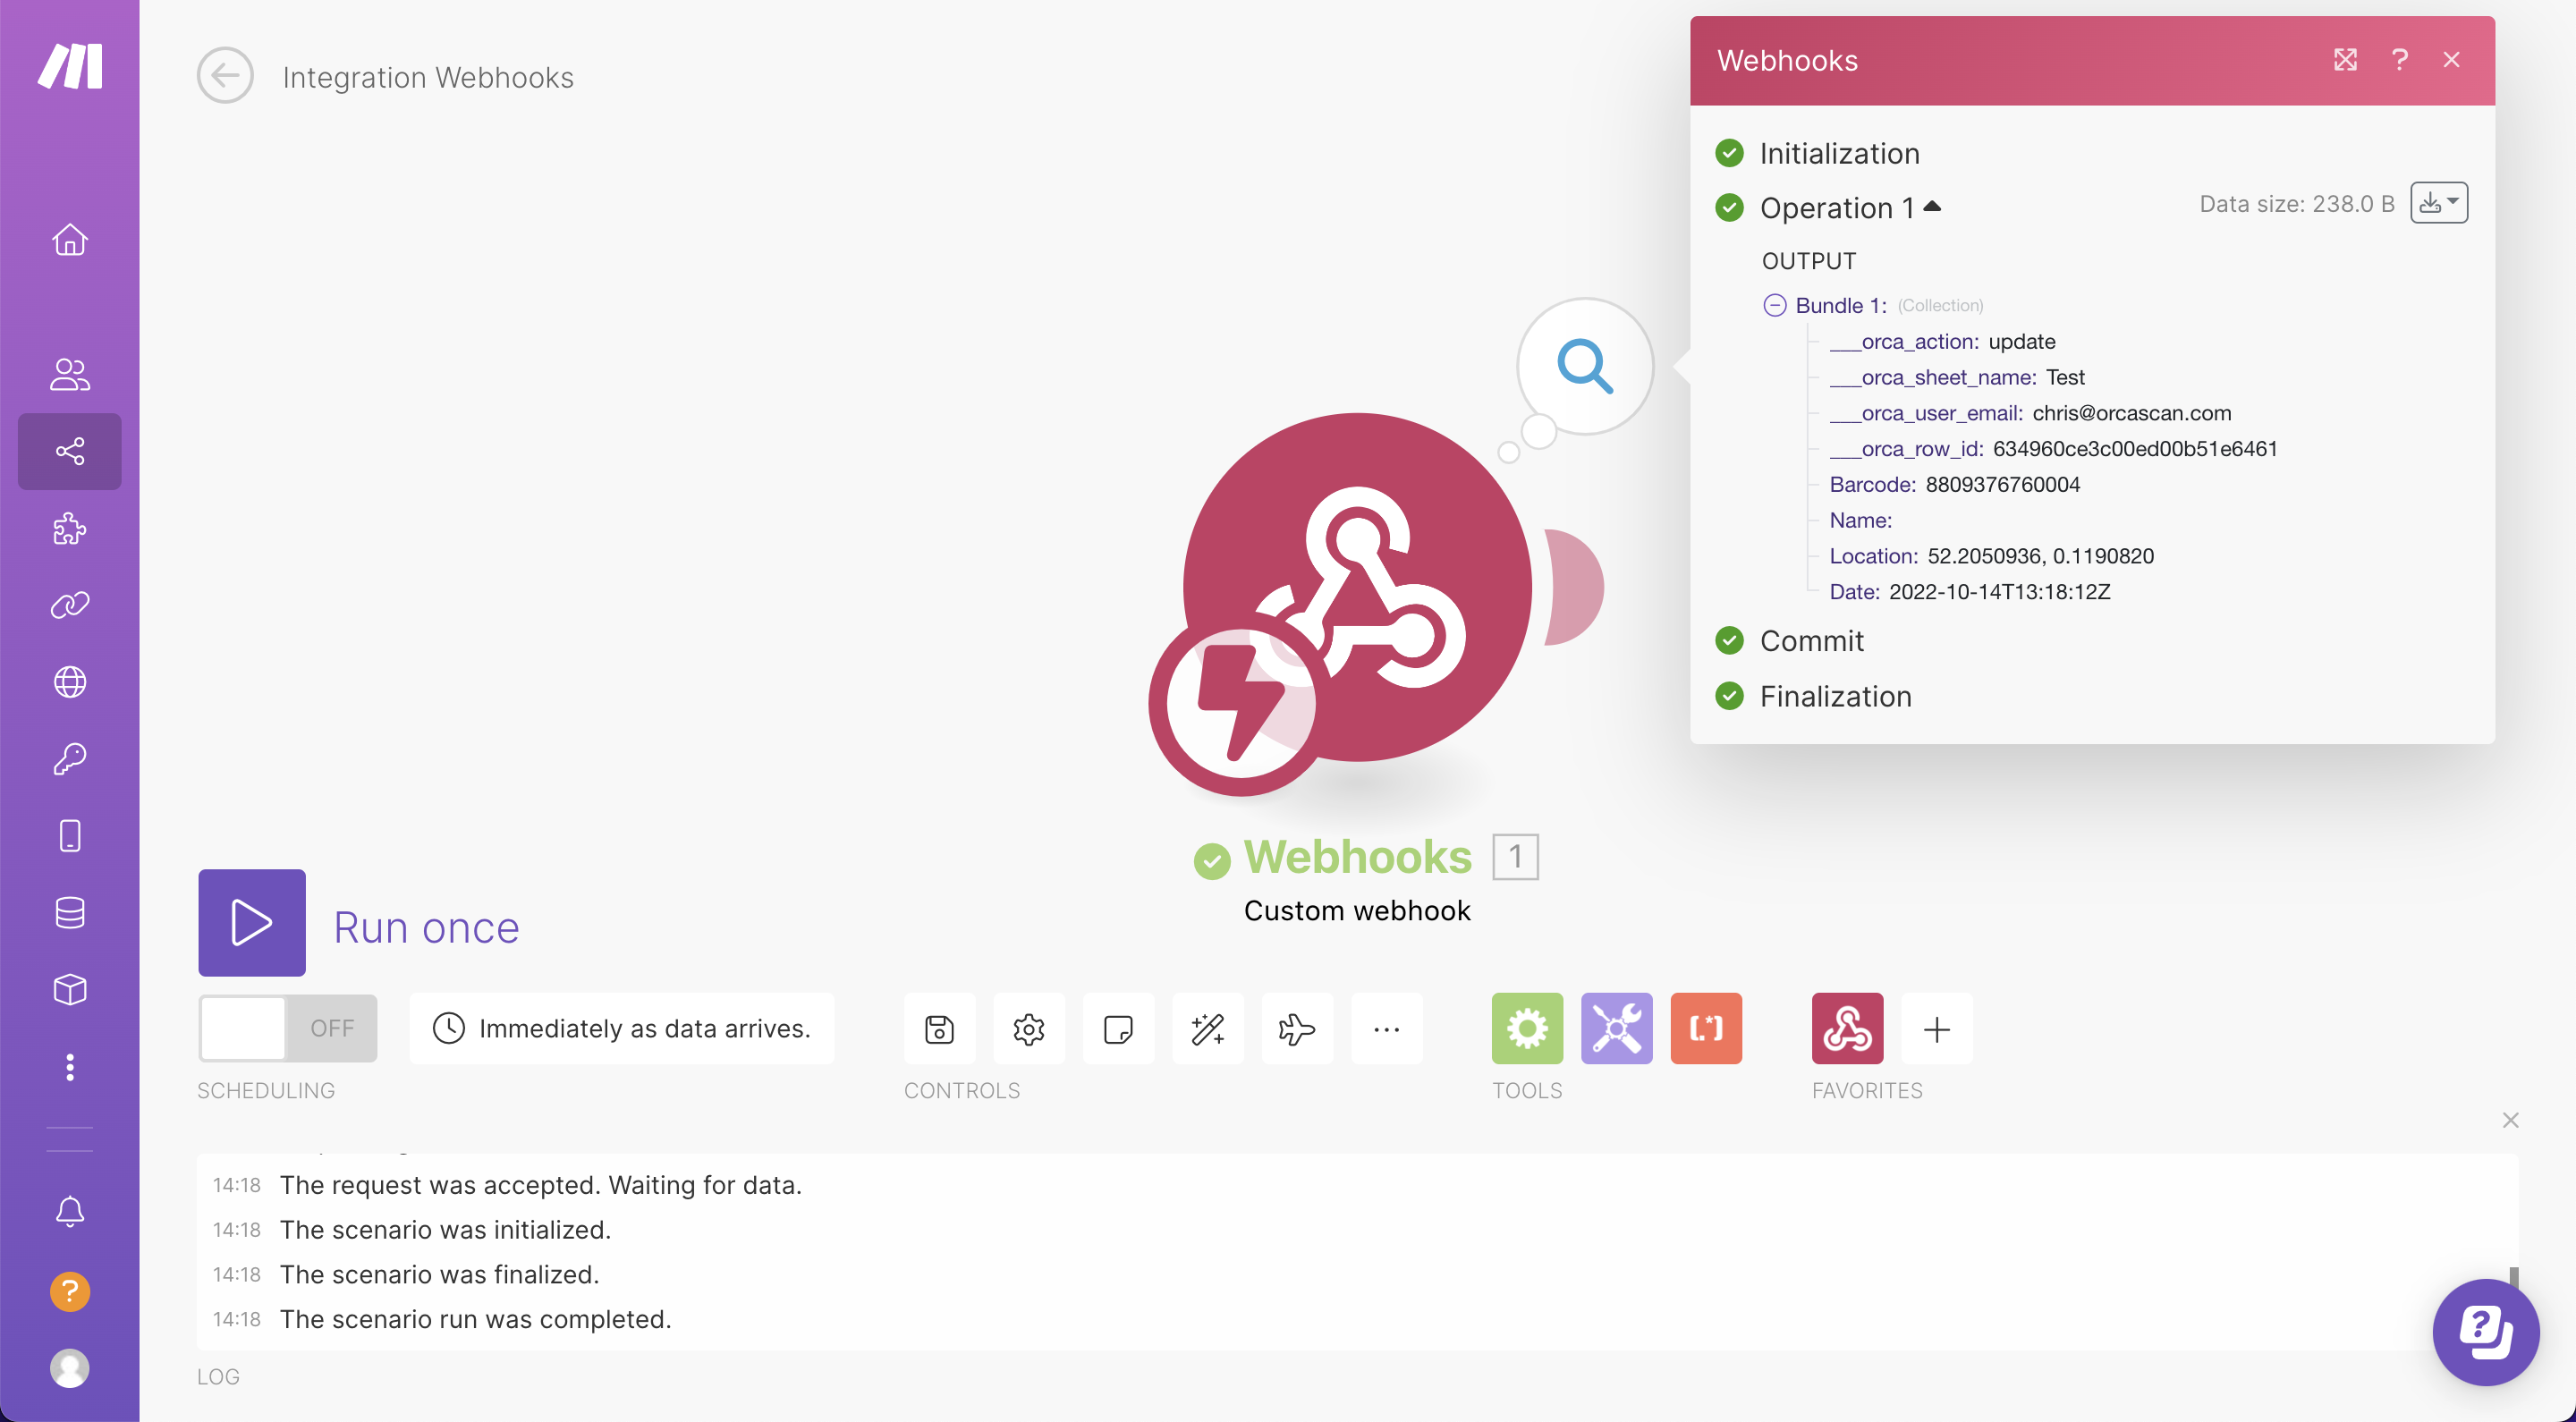
Click the number in the circle above the module to access the received data. Here, you can view what Orca Scan has sent to Make
Below are two sets of data; the first shows the test that Orca Scan ran earlier to determine the data structure, and the second one shows the barcode you scanned as a test
It is helpful to become familiar with these data fields, as they will be useful when introducing actions and apps
Now you’re ready to build out your custom workflow!
Click the ‘Add another module’ button on the right side of the module you’ve set up
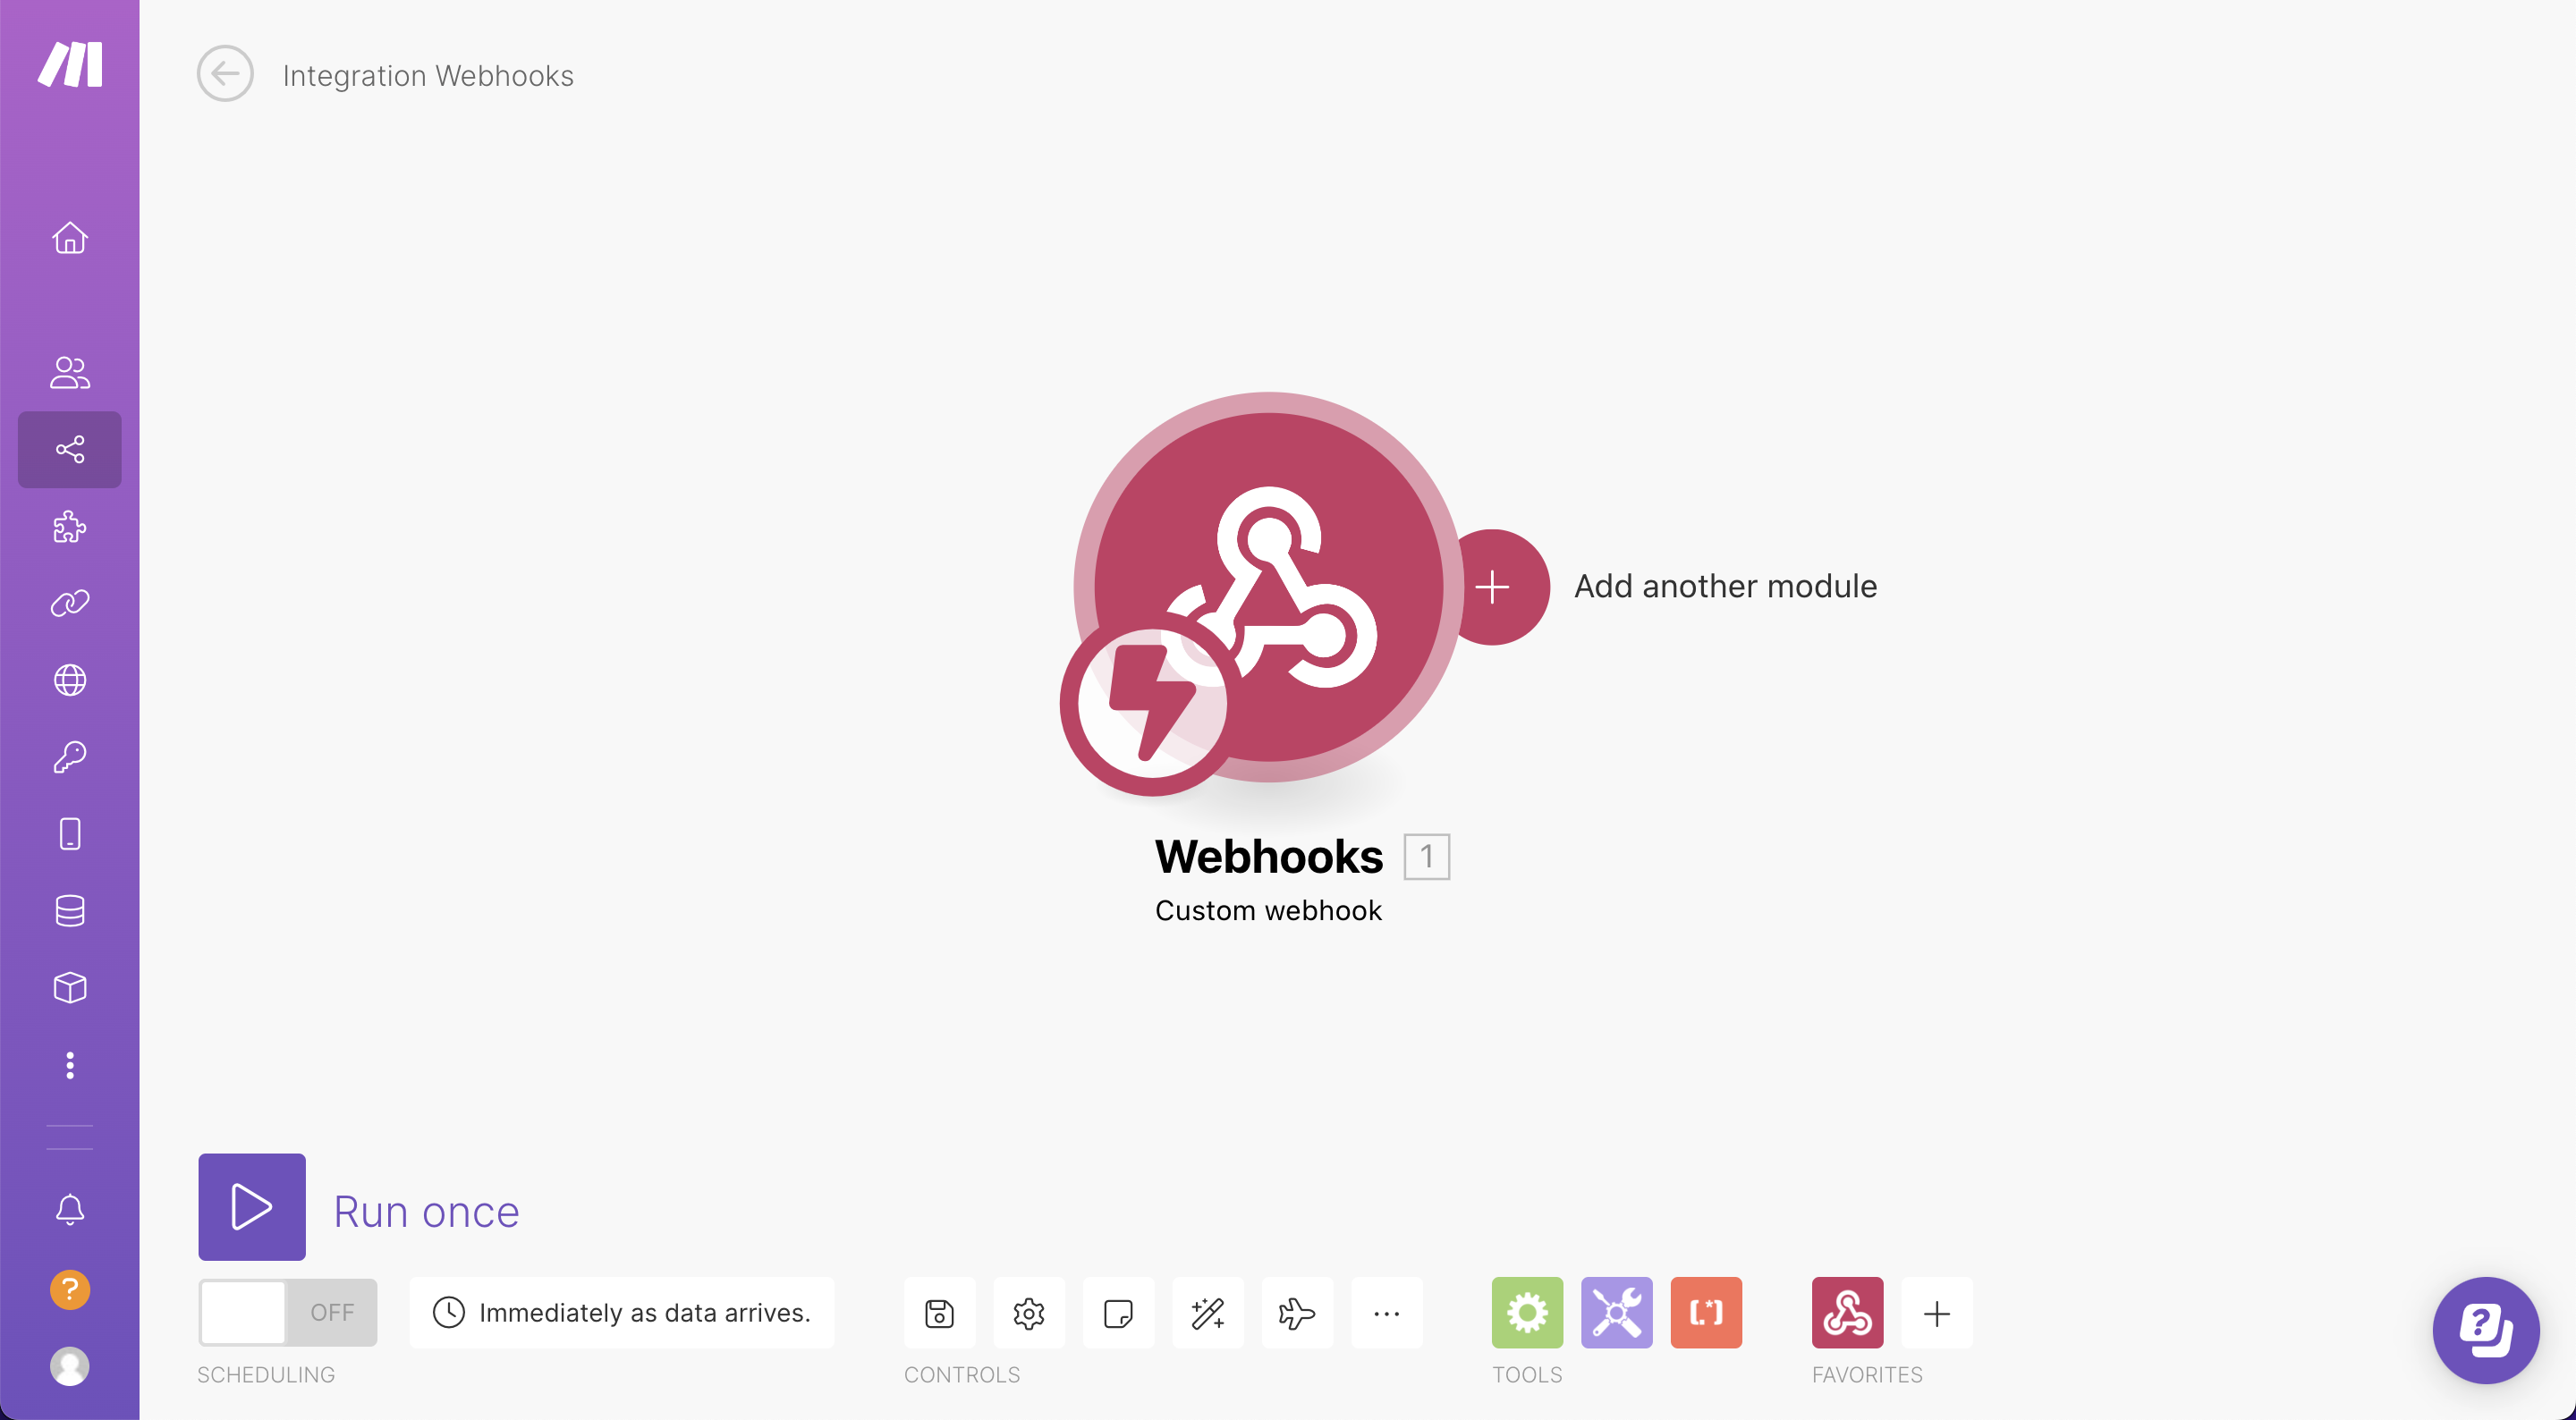
When you add a new or additional module, you’ll see the dropdown menu with Make’s apps
When you select and add an app, you’ll be required to log in or sign up to authenticate a secure connection. Some apps may require you to be a paying customer, or they may only be accessible to those with Make’s paid plans - this is usually highlighted next to the app’s name
You can add as many actions as you like!
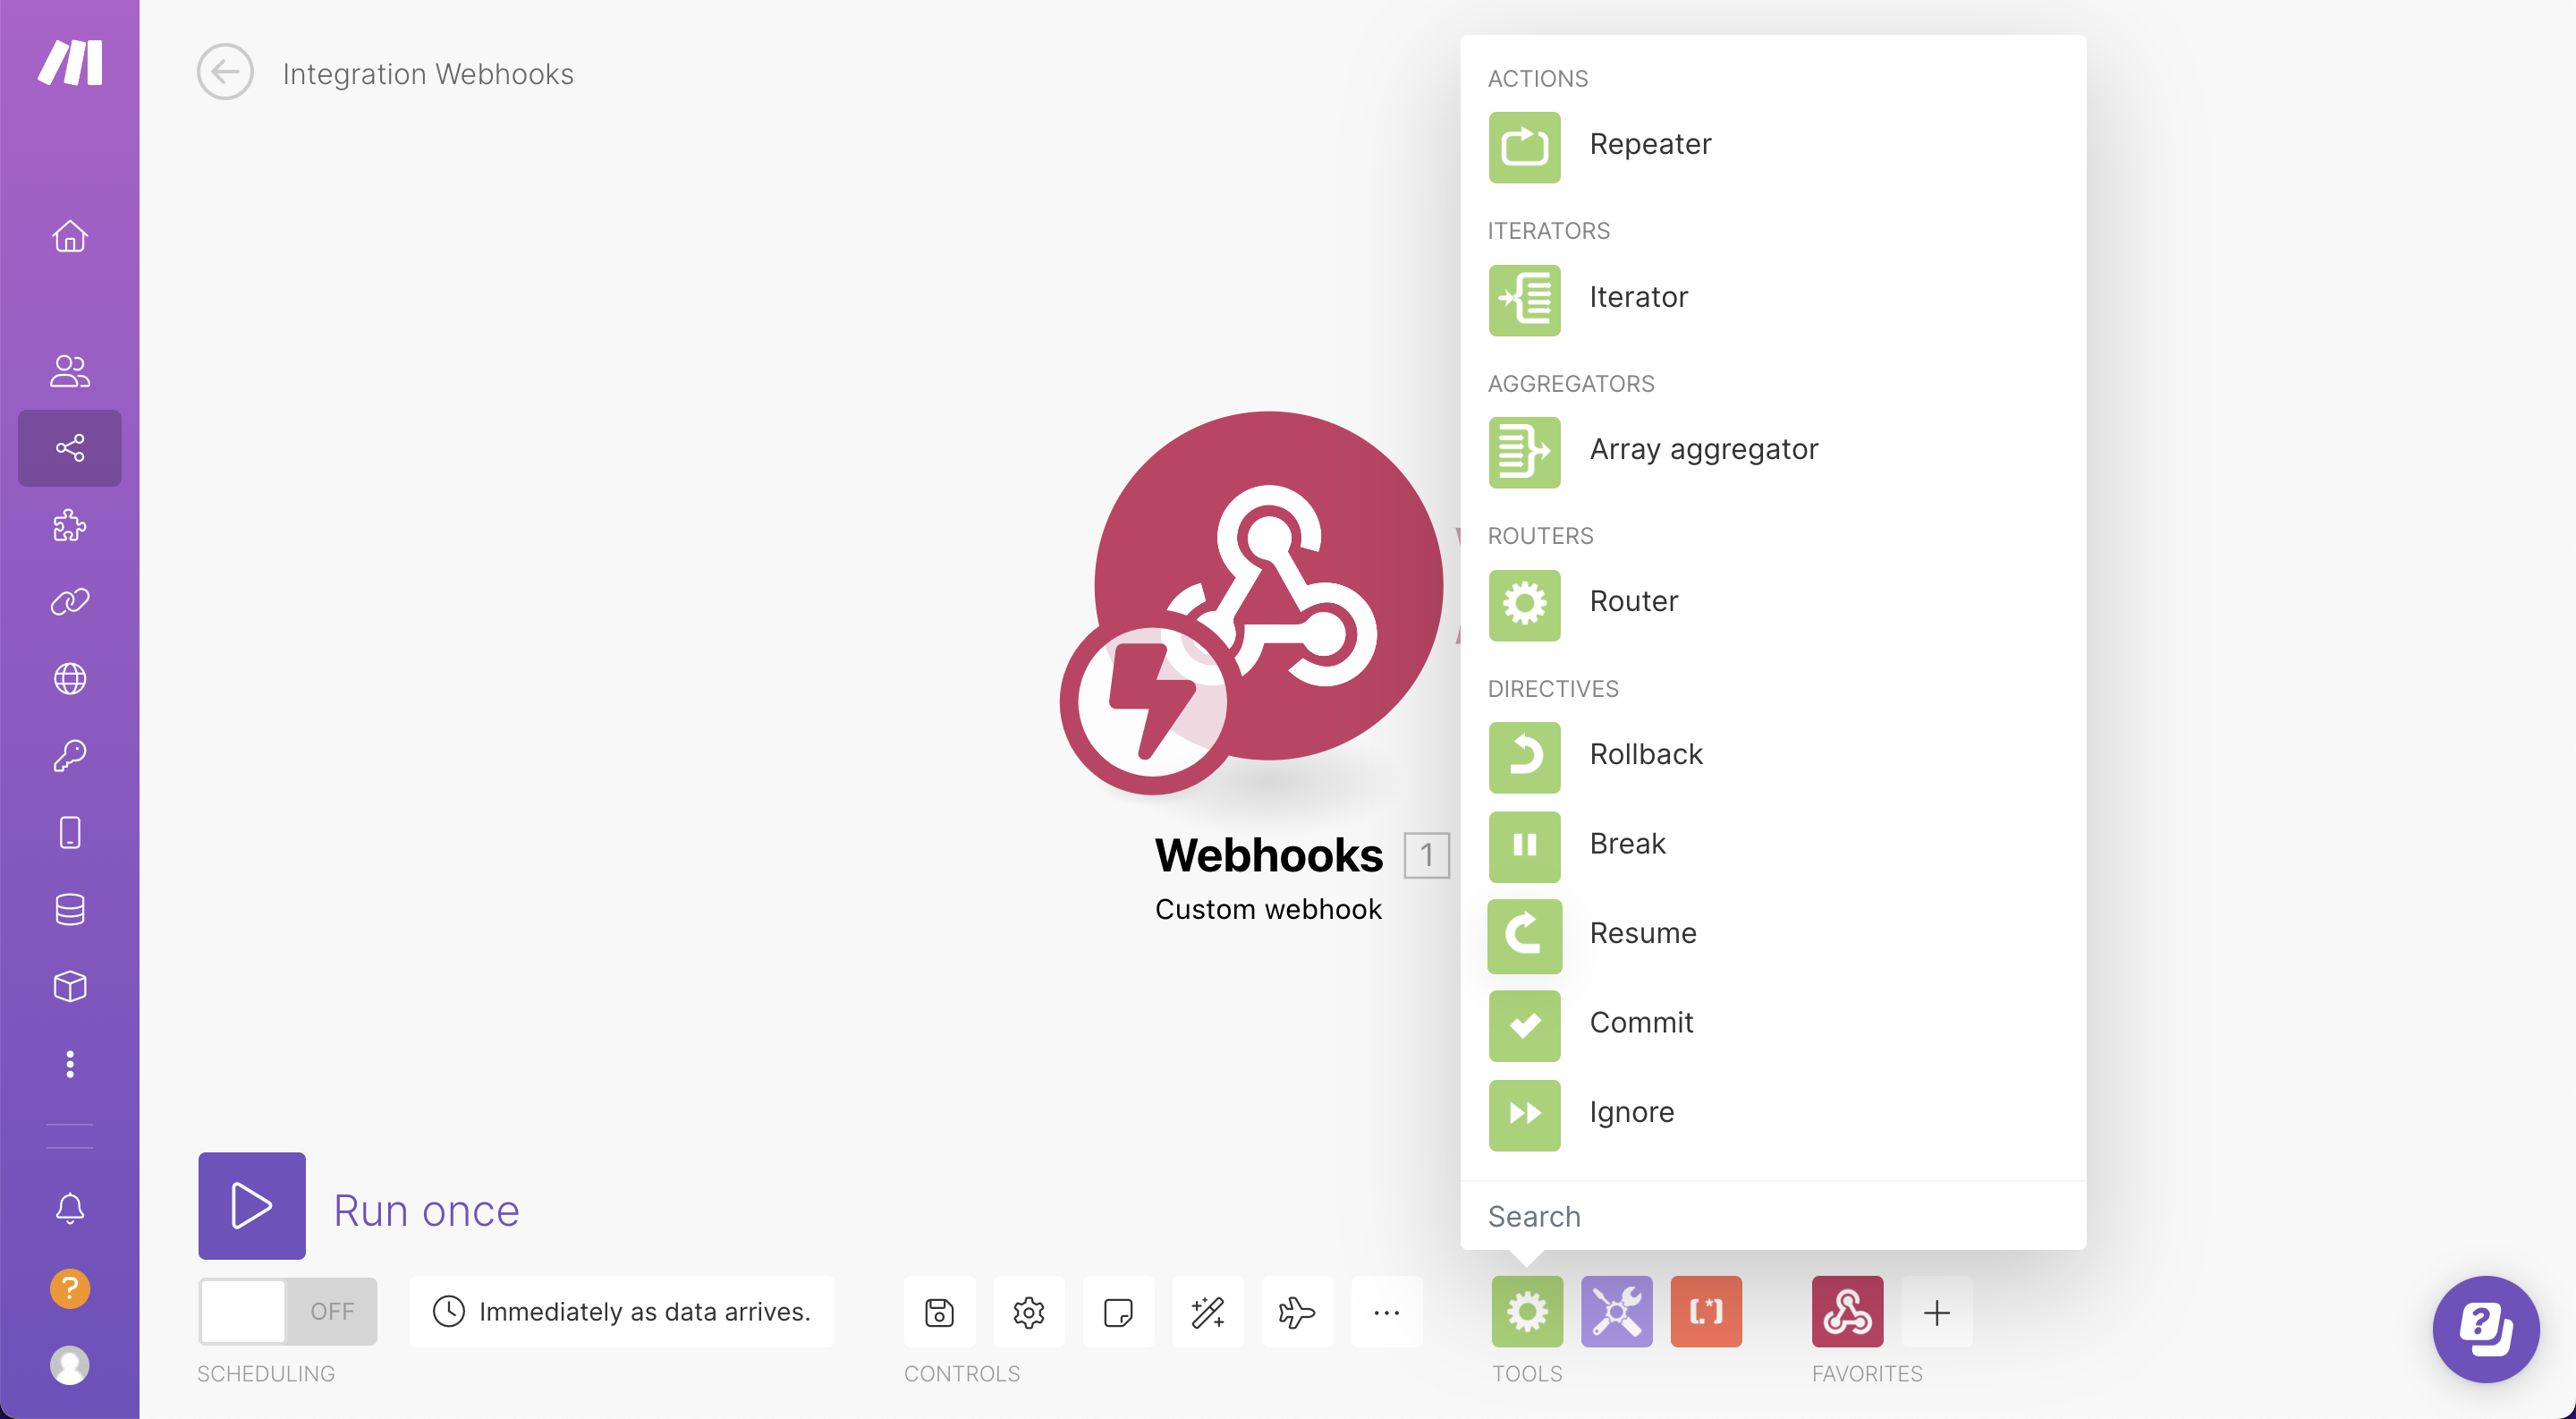
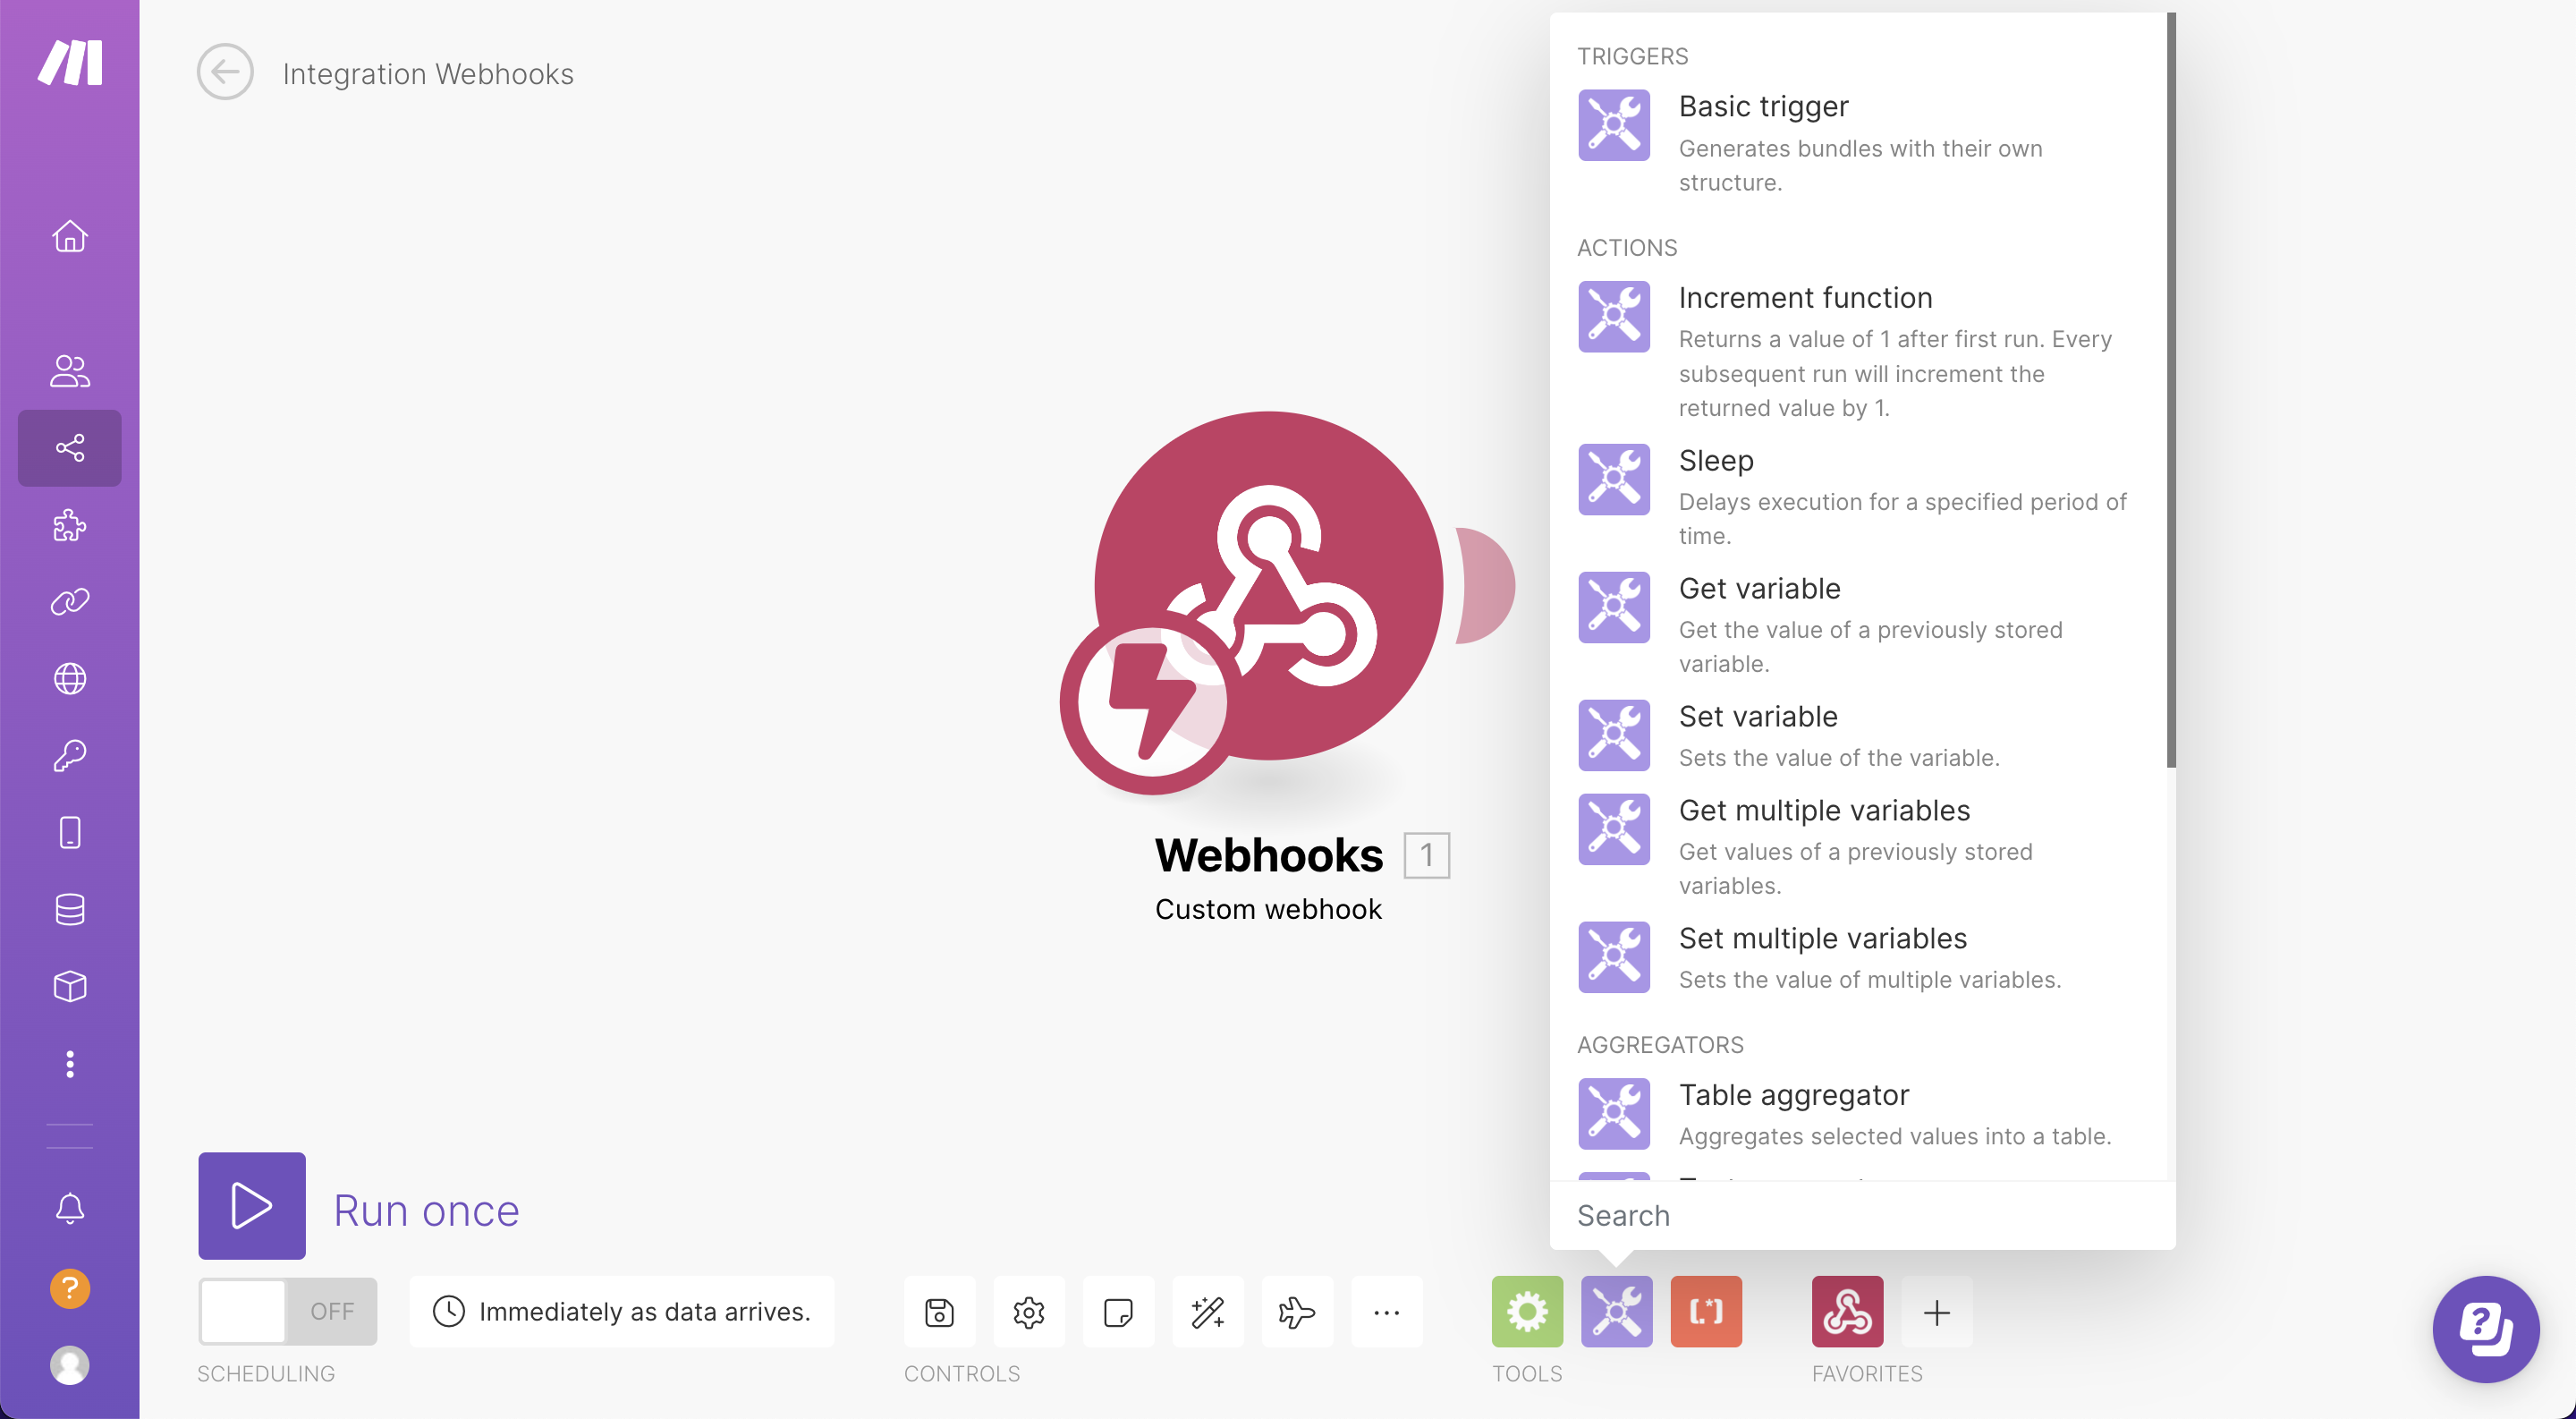
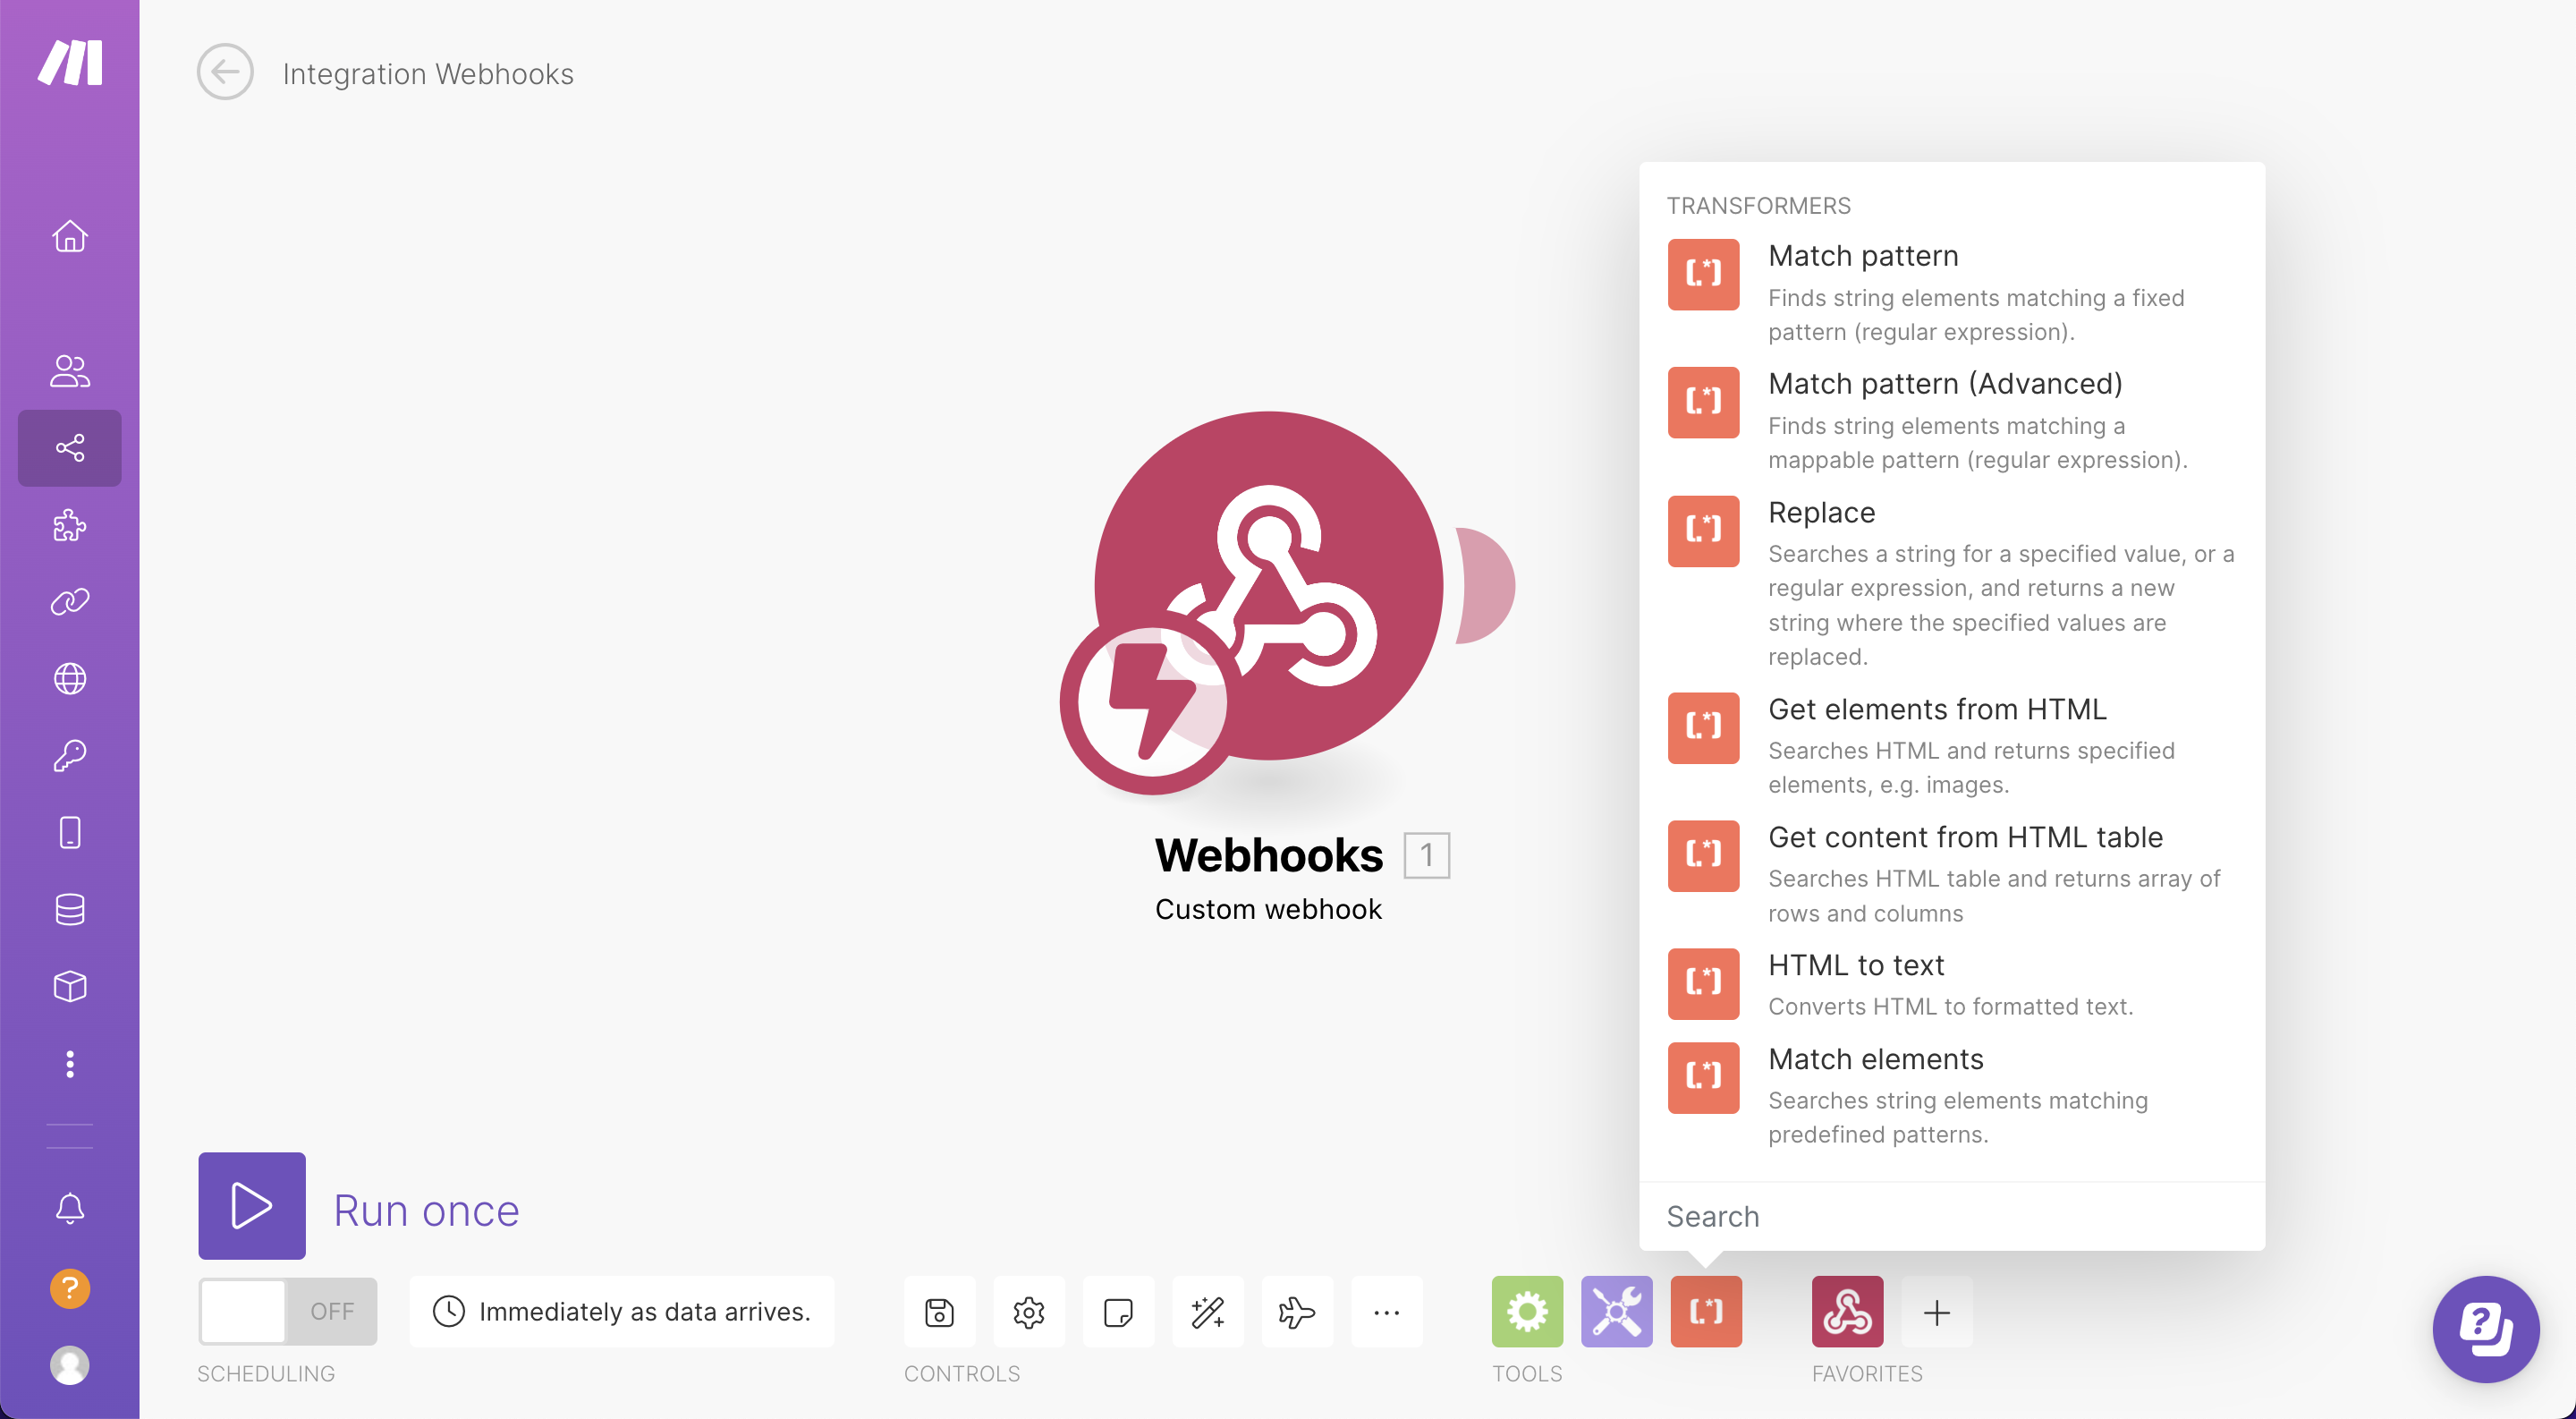
Make has a set of comprehensive flow controls, tools and text parsers to build out more complex scenarios.
See below for a snapshot of some of the options available, please check out Make’s resources in their help centre for more details 👇
Have a question about using Orca Scan with Make (formerly Integromat)?
We’re always happy to help; chat with us live or drop us an email.
Request an integration
Need help getting Orca Scan working with your software? Request a Software Integration