You can build real-time custom workflows using events that occur in Orca Scan to trigger actions in over 5,000 apps that Zapier has in their library or use Zapier’s built-in tools
1. Sign up for Zapier
Zapier runs on the browser without the need for any installation, so you can use it on any operating system. Head over to zapier.com to get started

2. Create a Zap with Orca Scan
Once you’ve created an account and logged into Zapier, you’ll be taken to your dashboard. Head to the create a zap option, or if you need some workflow ideas, start typing in the apps you wish to connect in the text fields to start building your custom workflow
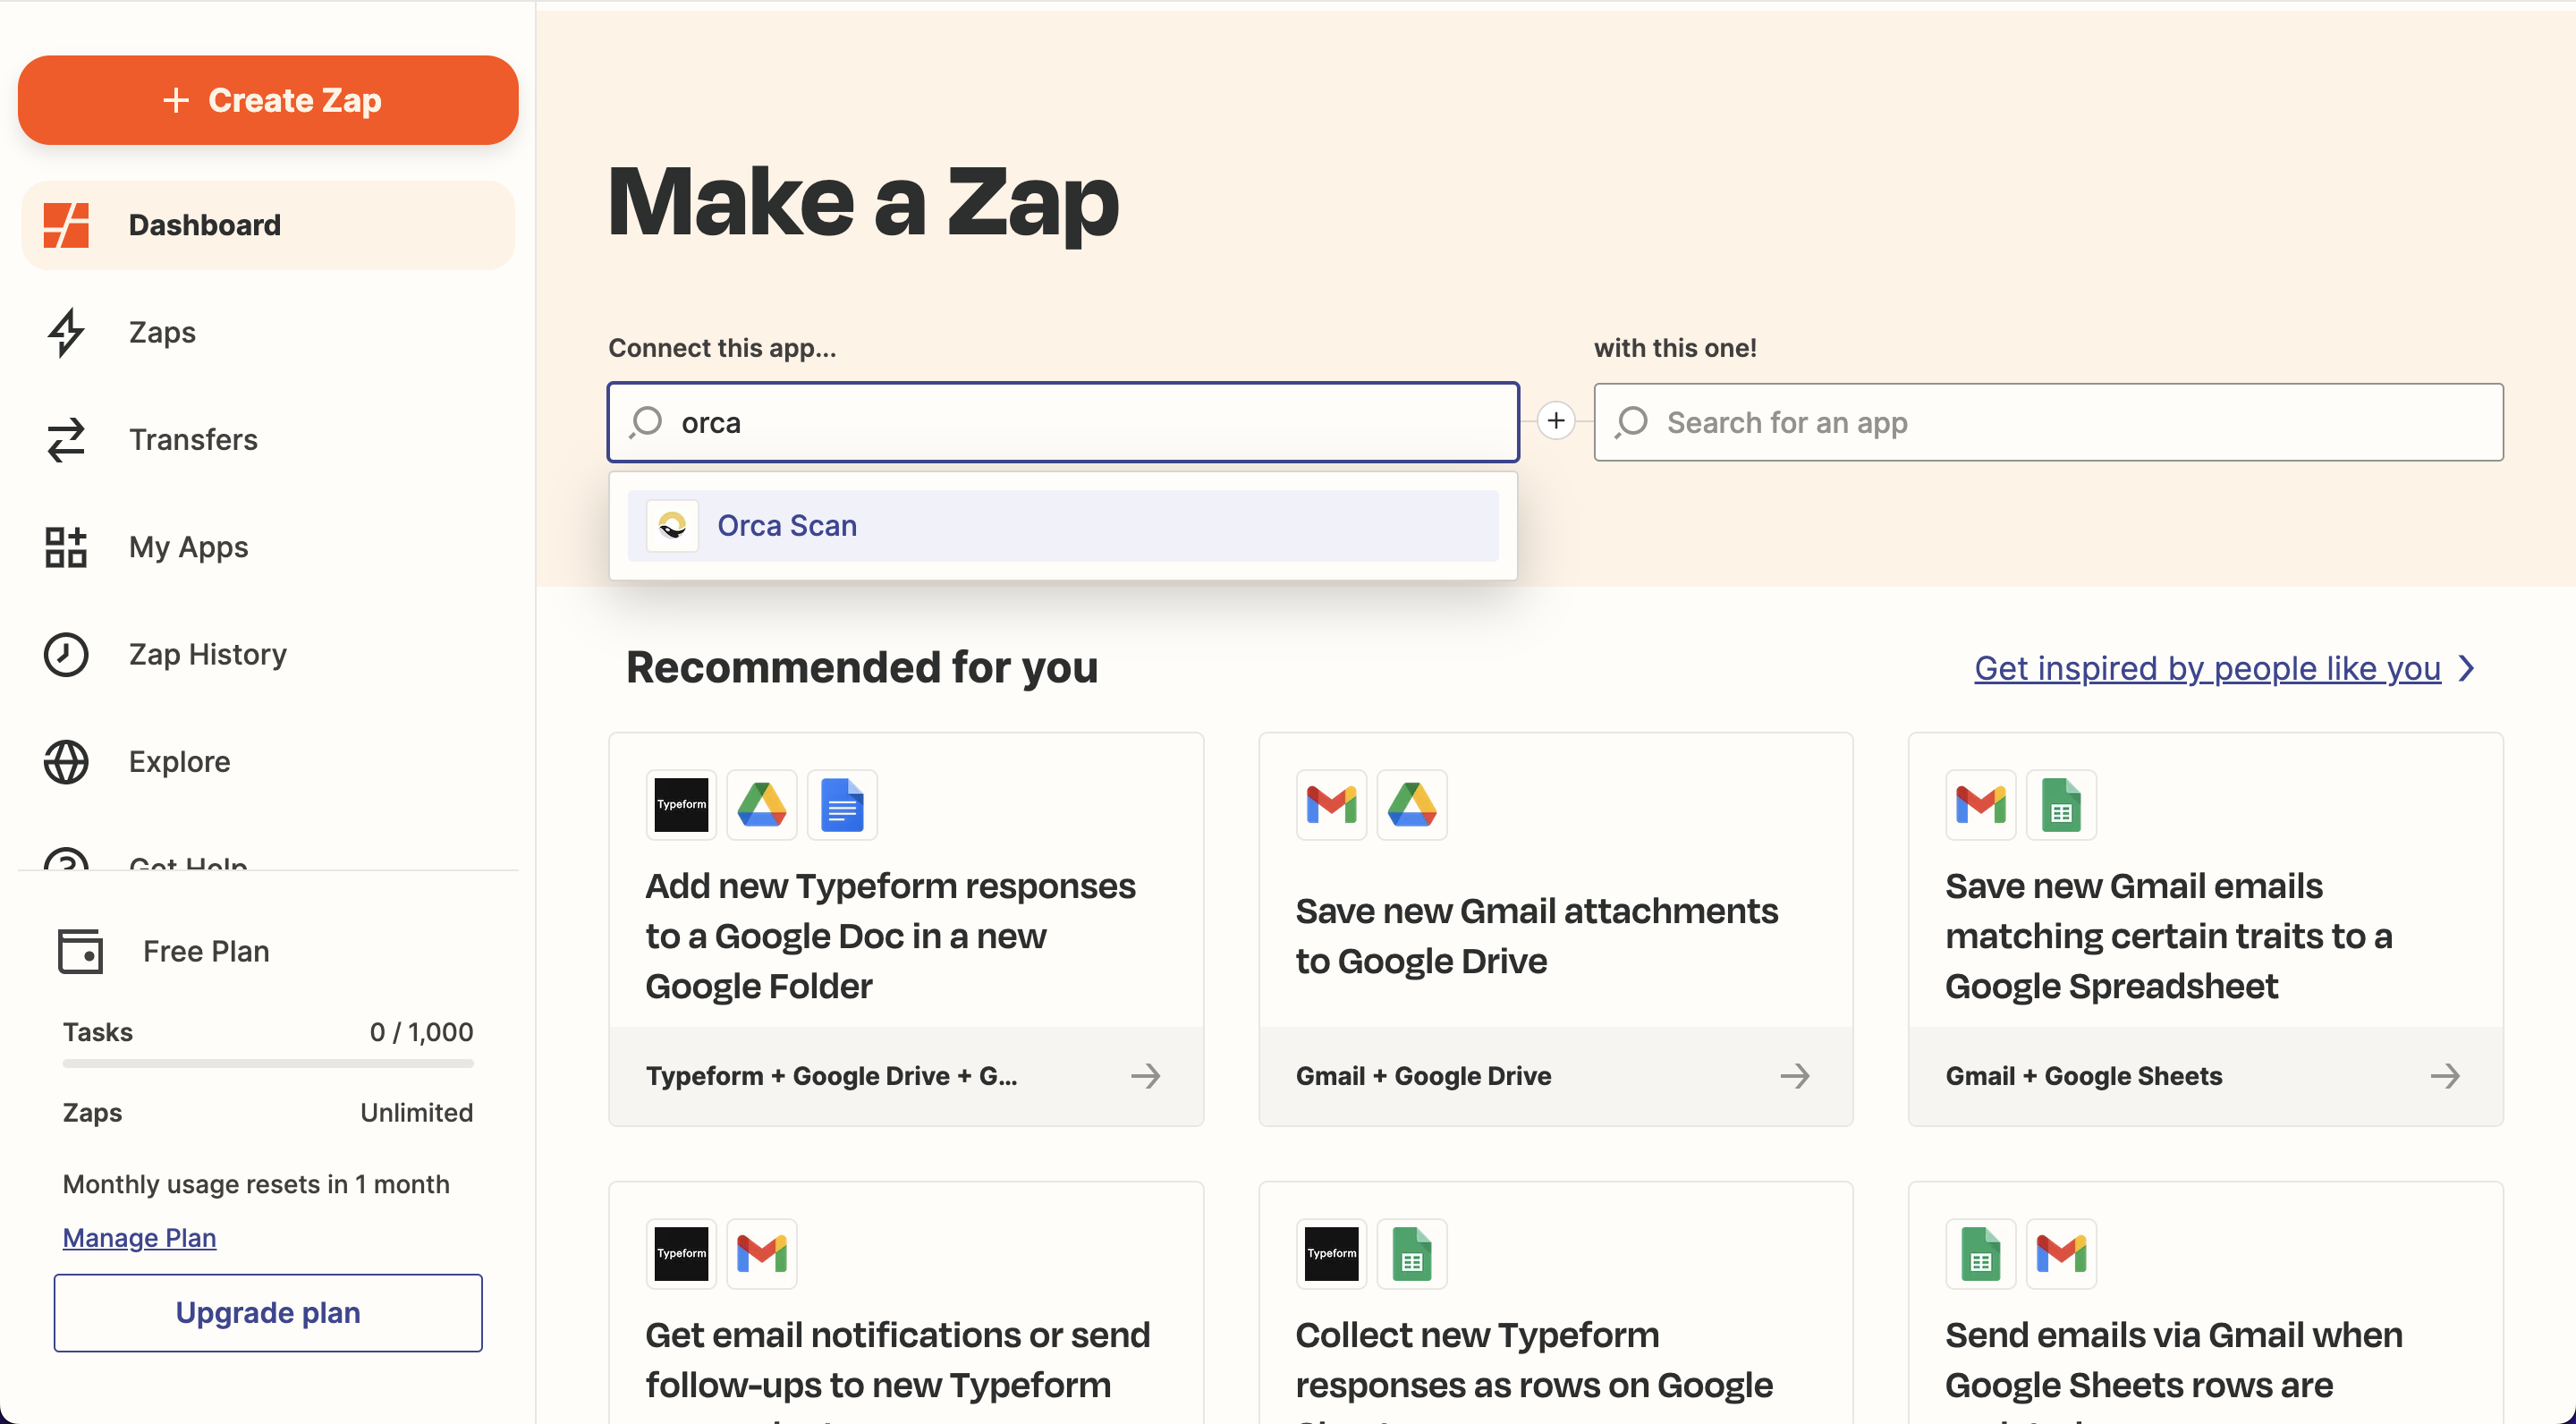
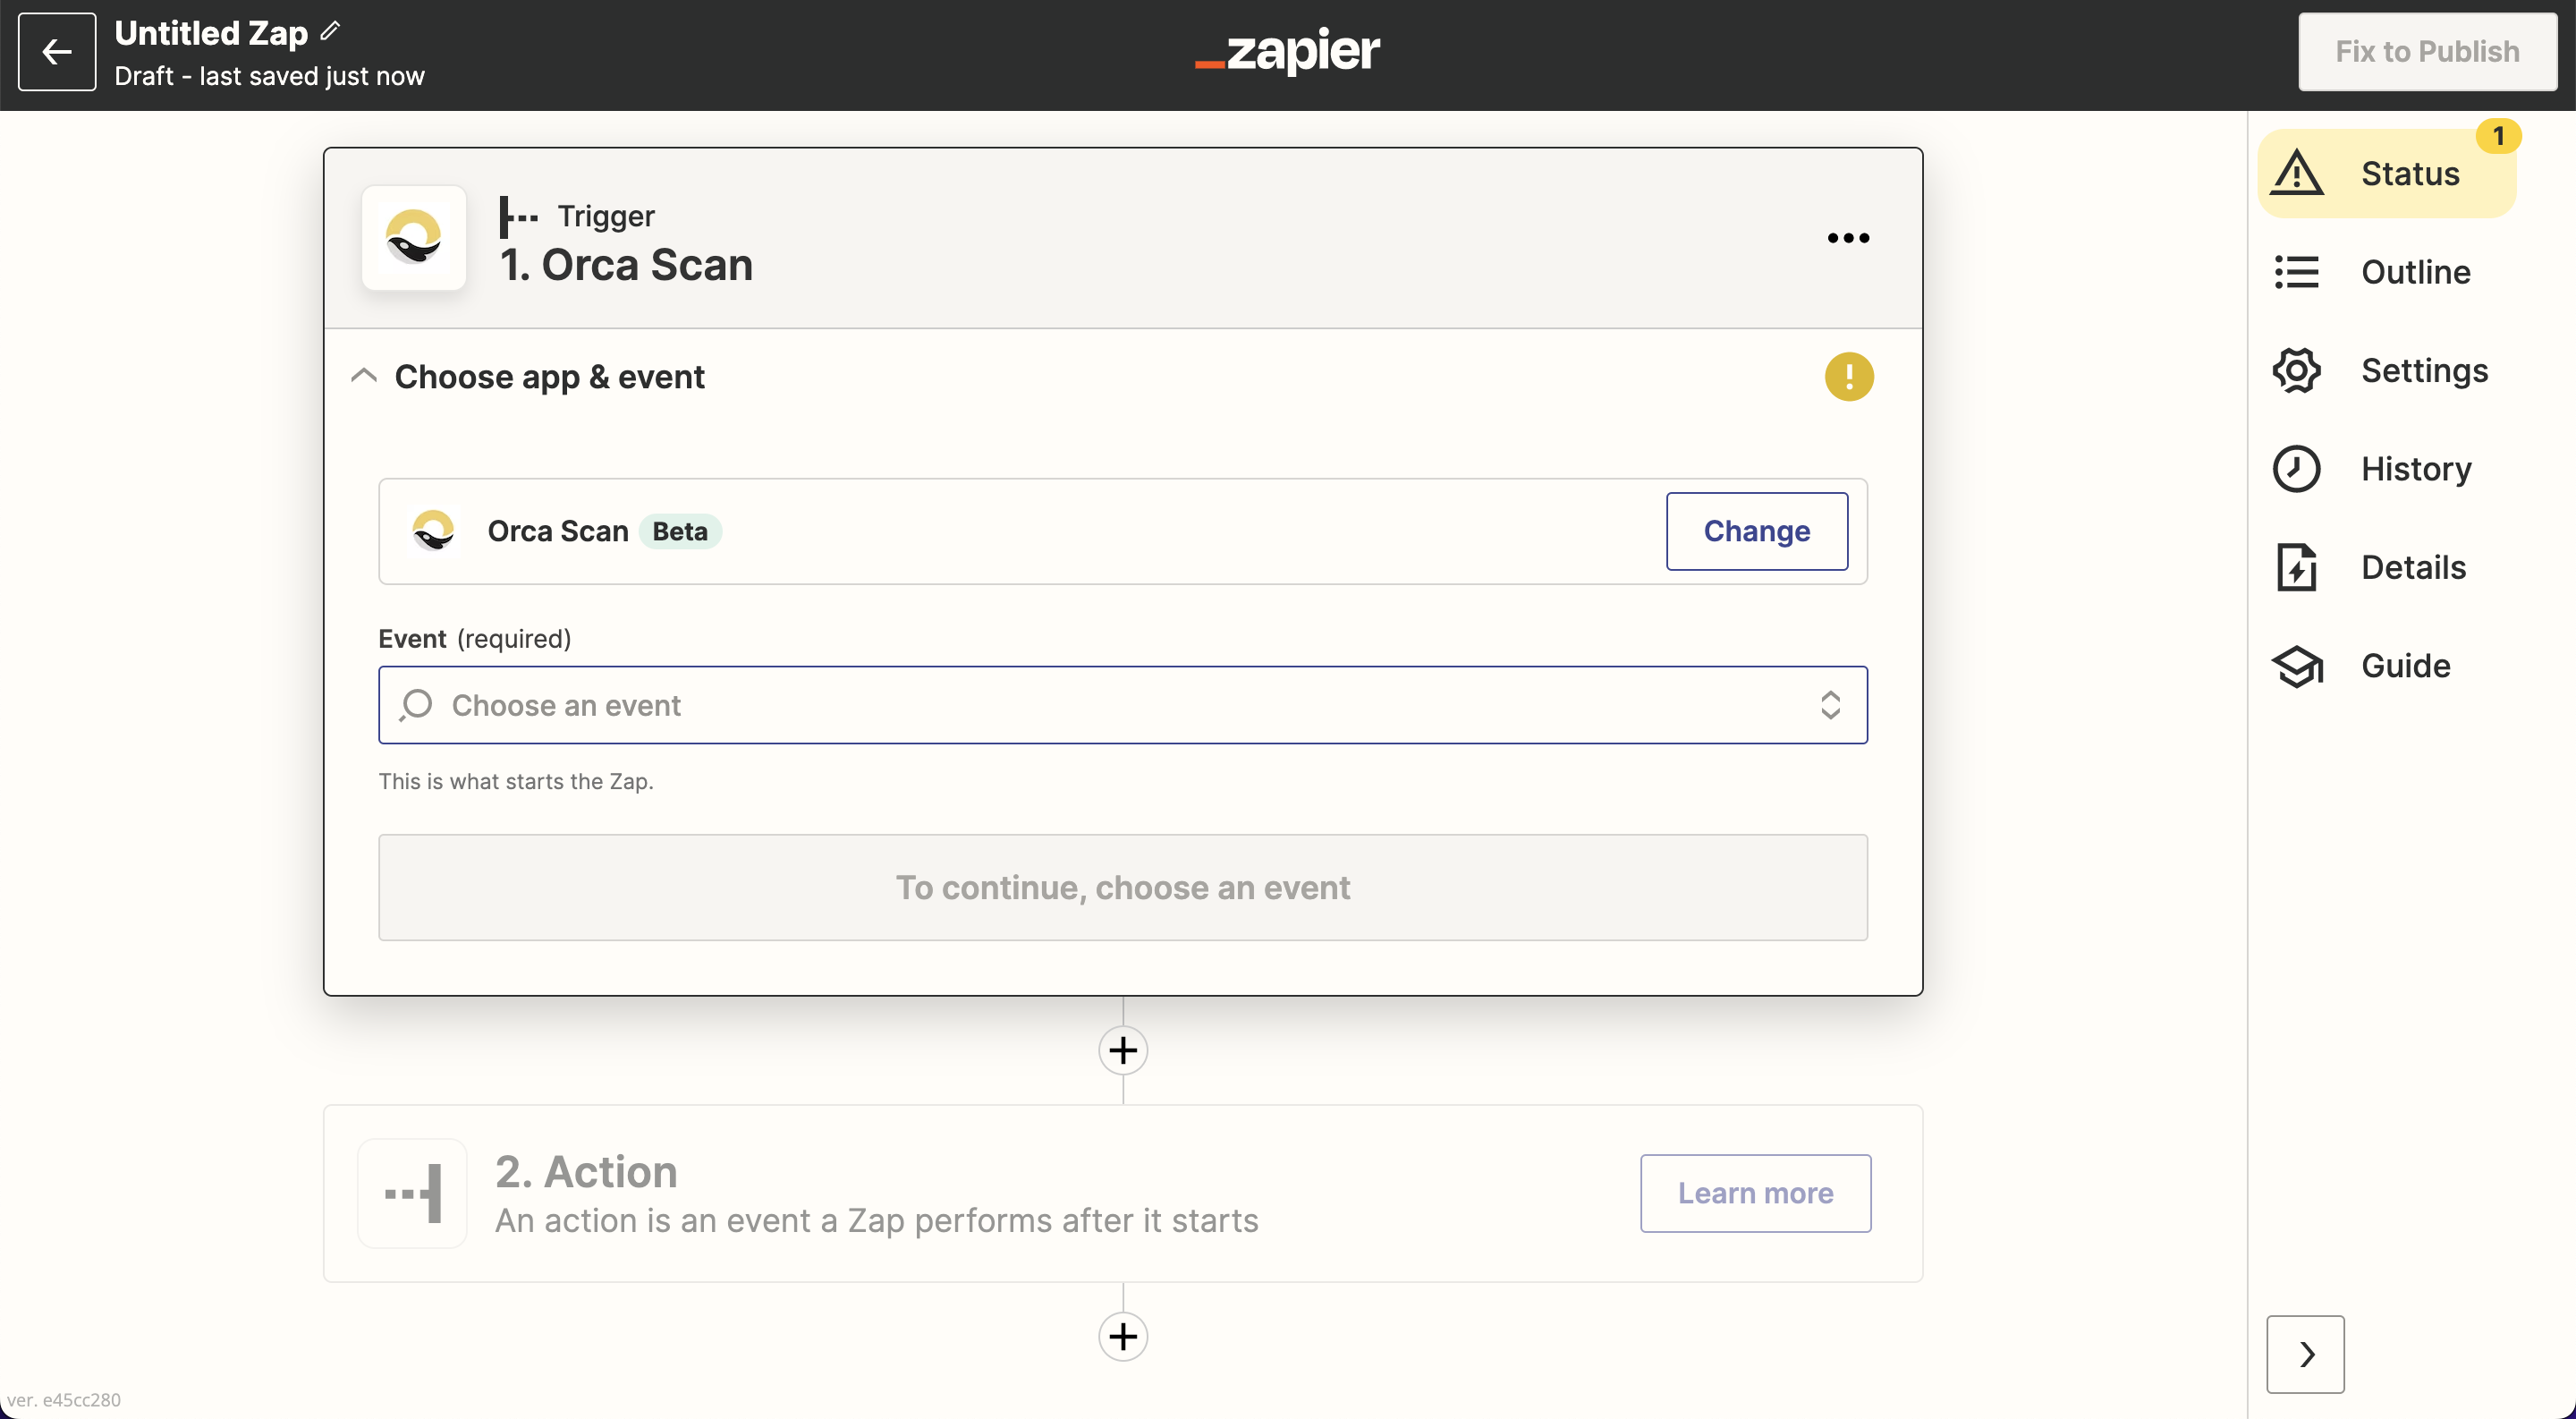
The first step in creating a Zapier Zap is to create a trigger. A trigger listens for specific events and pulls the required data associated with that event
This is where Orca Scan will need to be selected
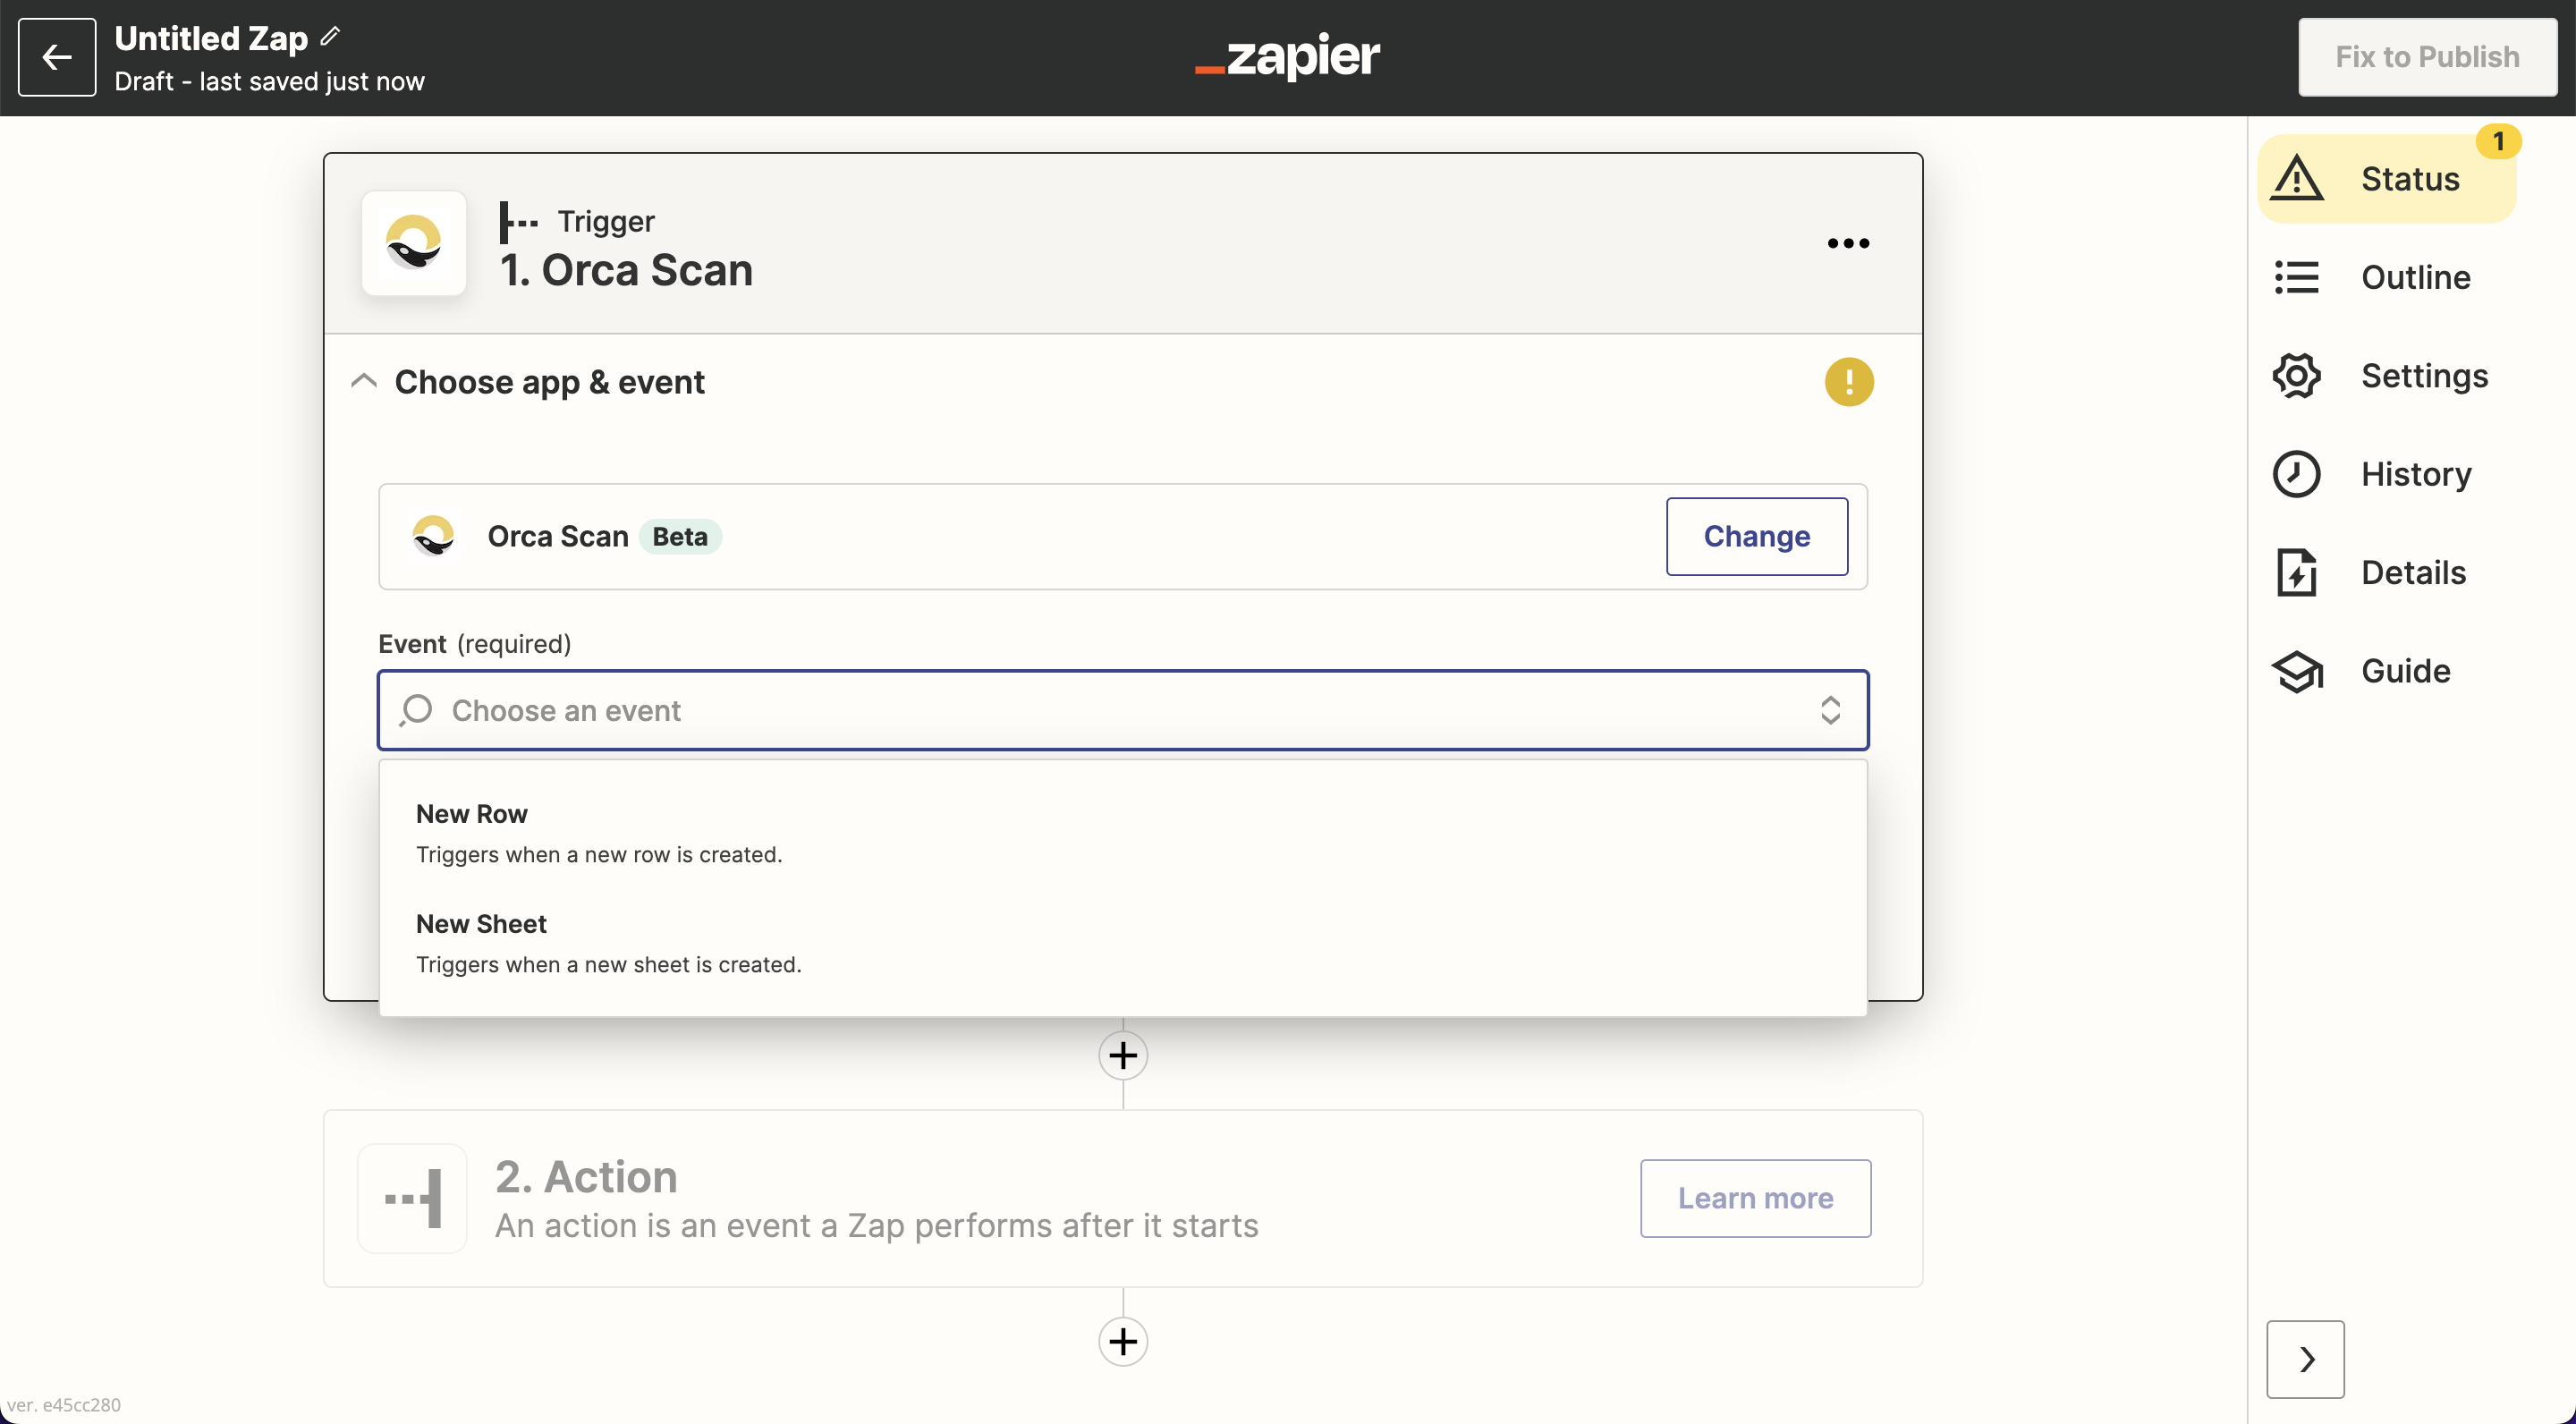
Once the Orca Scan app has been chosen, there will be a dropdown of events to choose from. The triggers we’ve built for the Orca Scan app are:
- When a new row is created in a specified sheet
- When a new sheet gets created
After choosing the app and the events, you’ll be asked to connect your Orca Scan account with Zapier by signing in
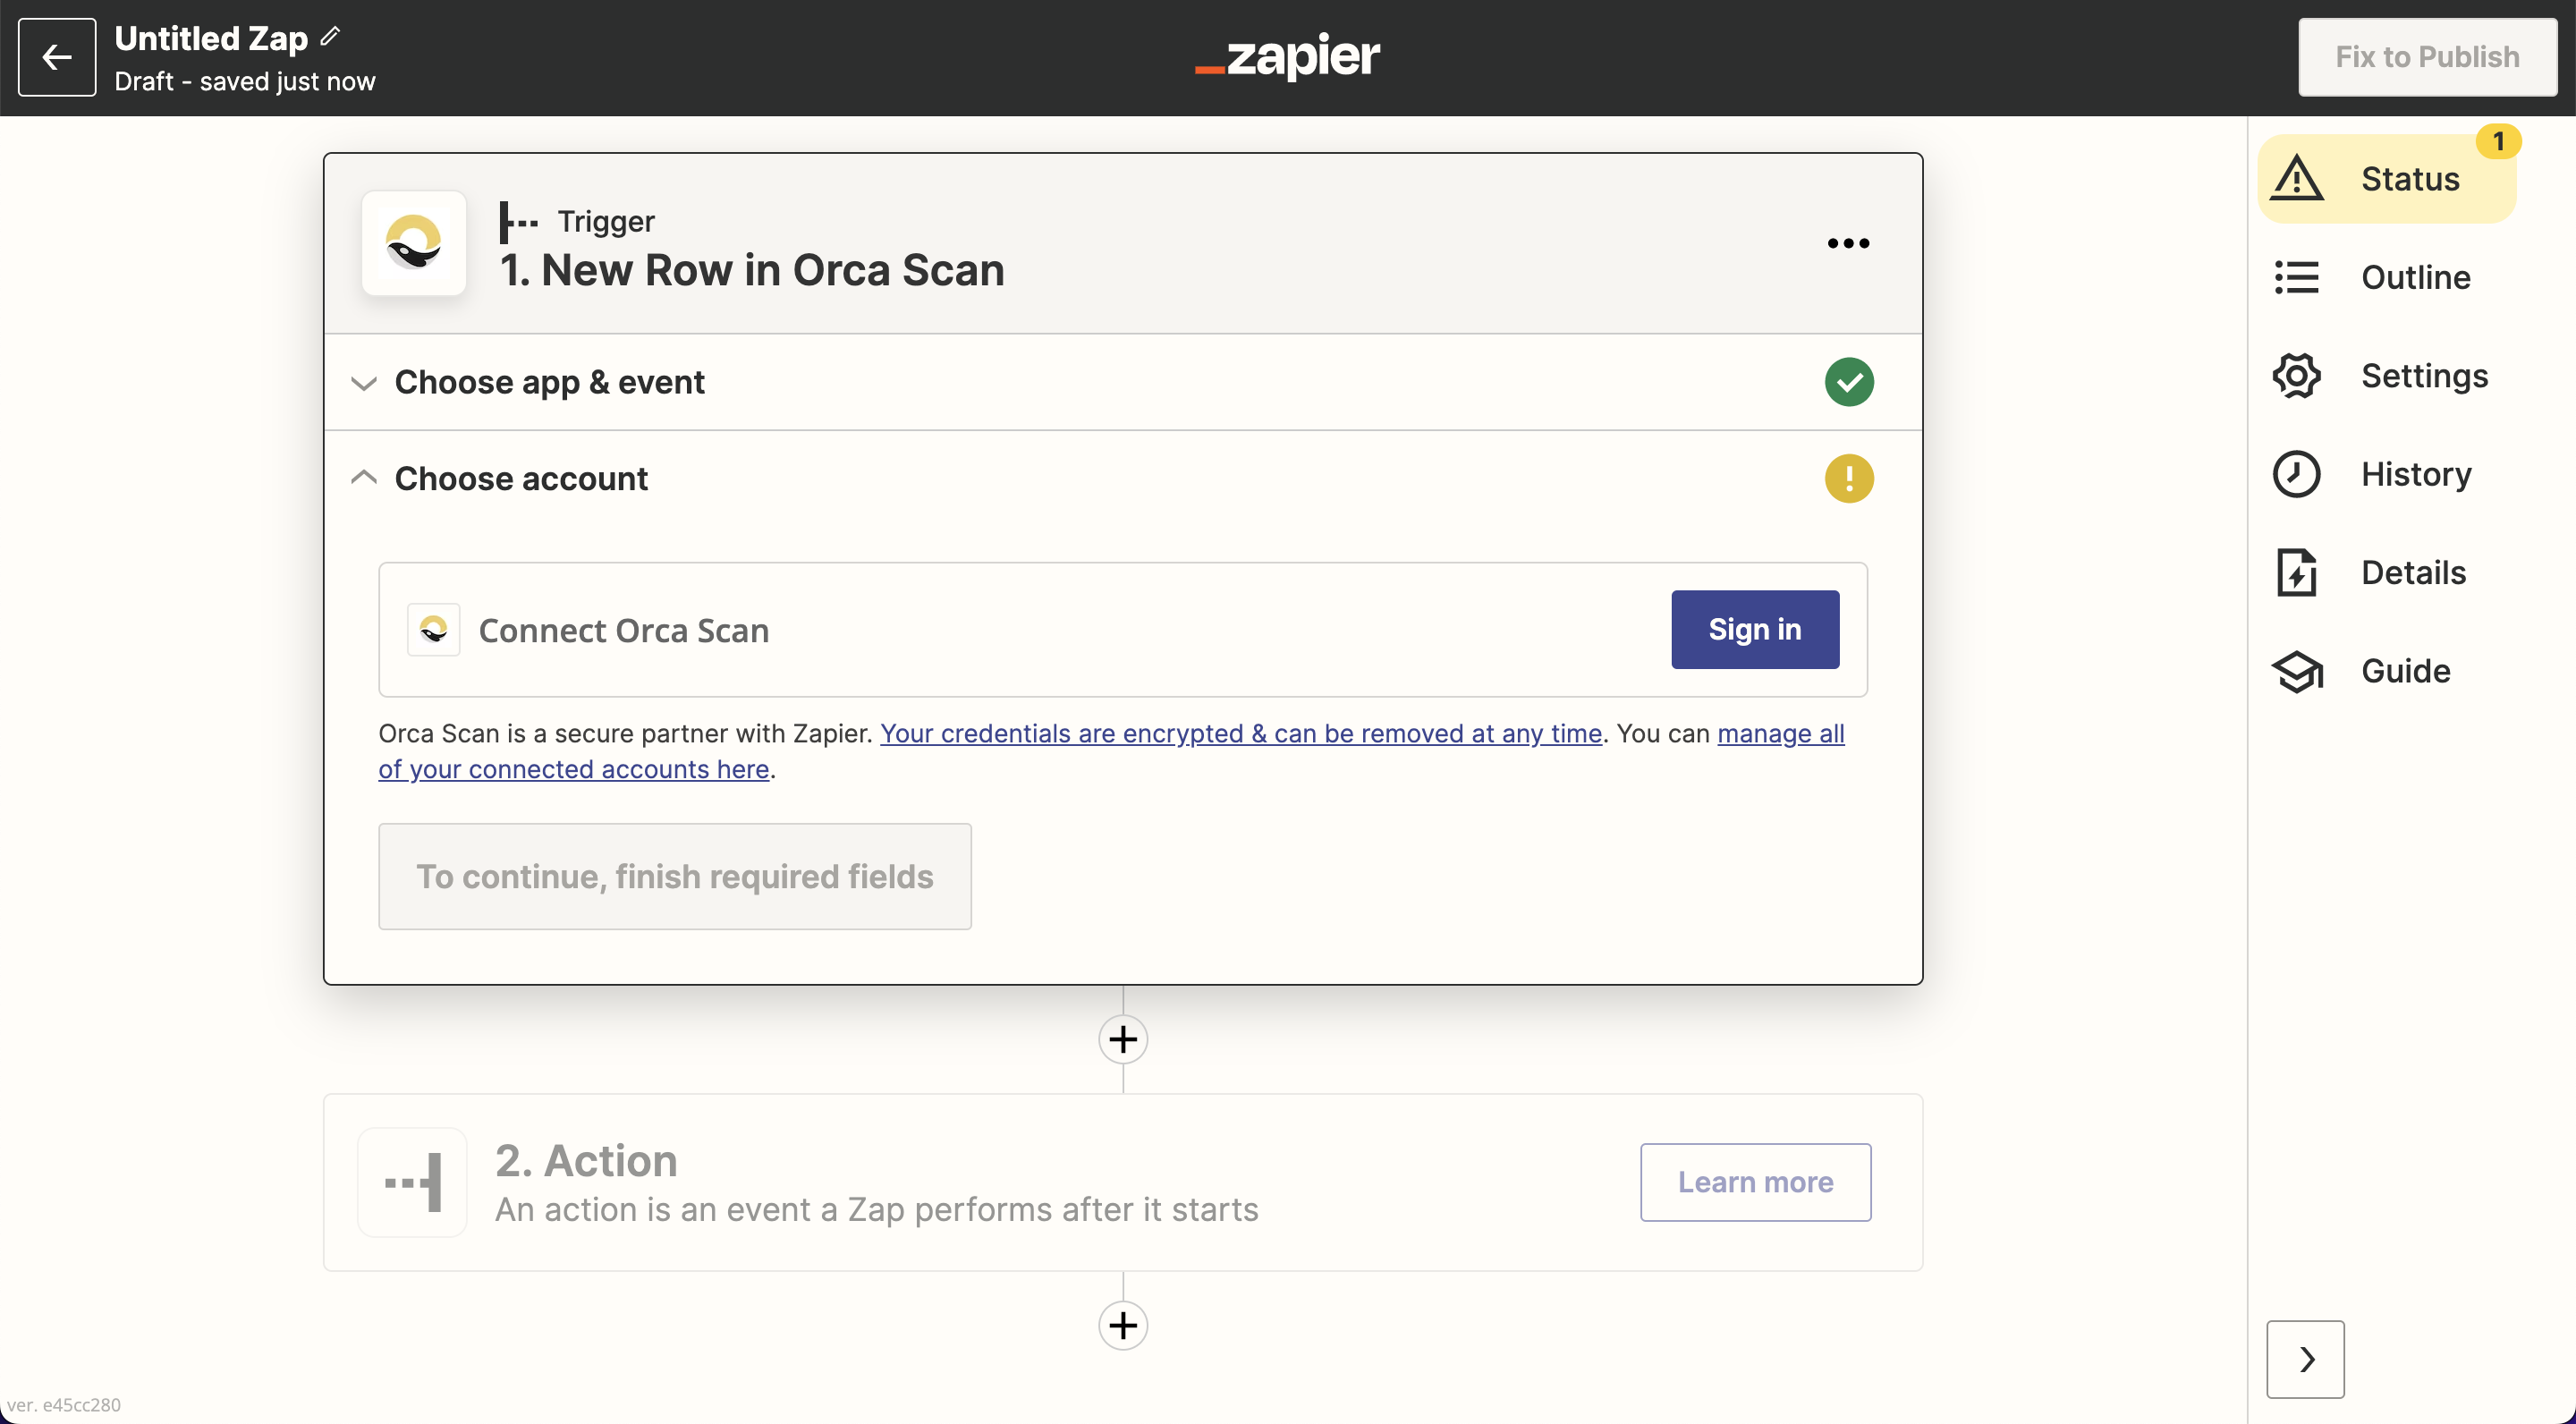
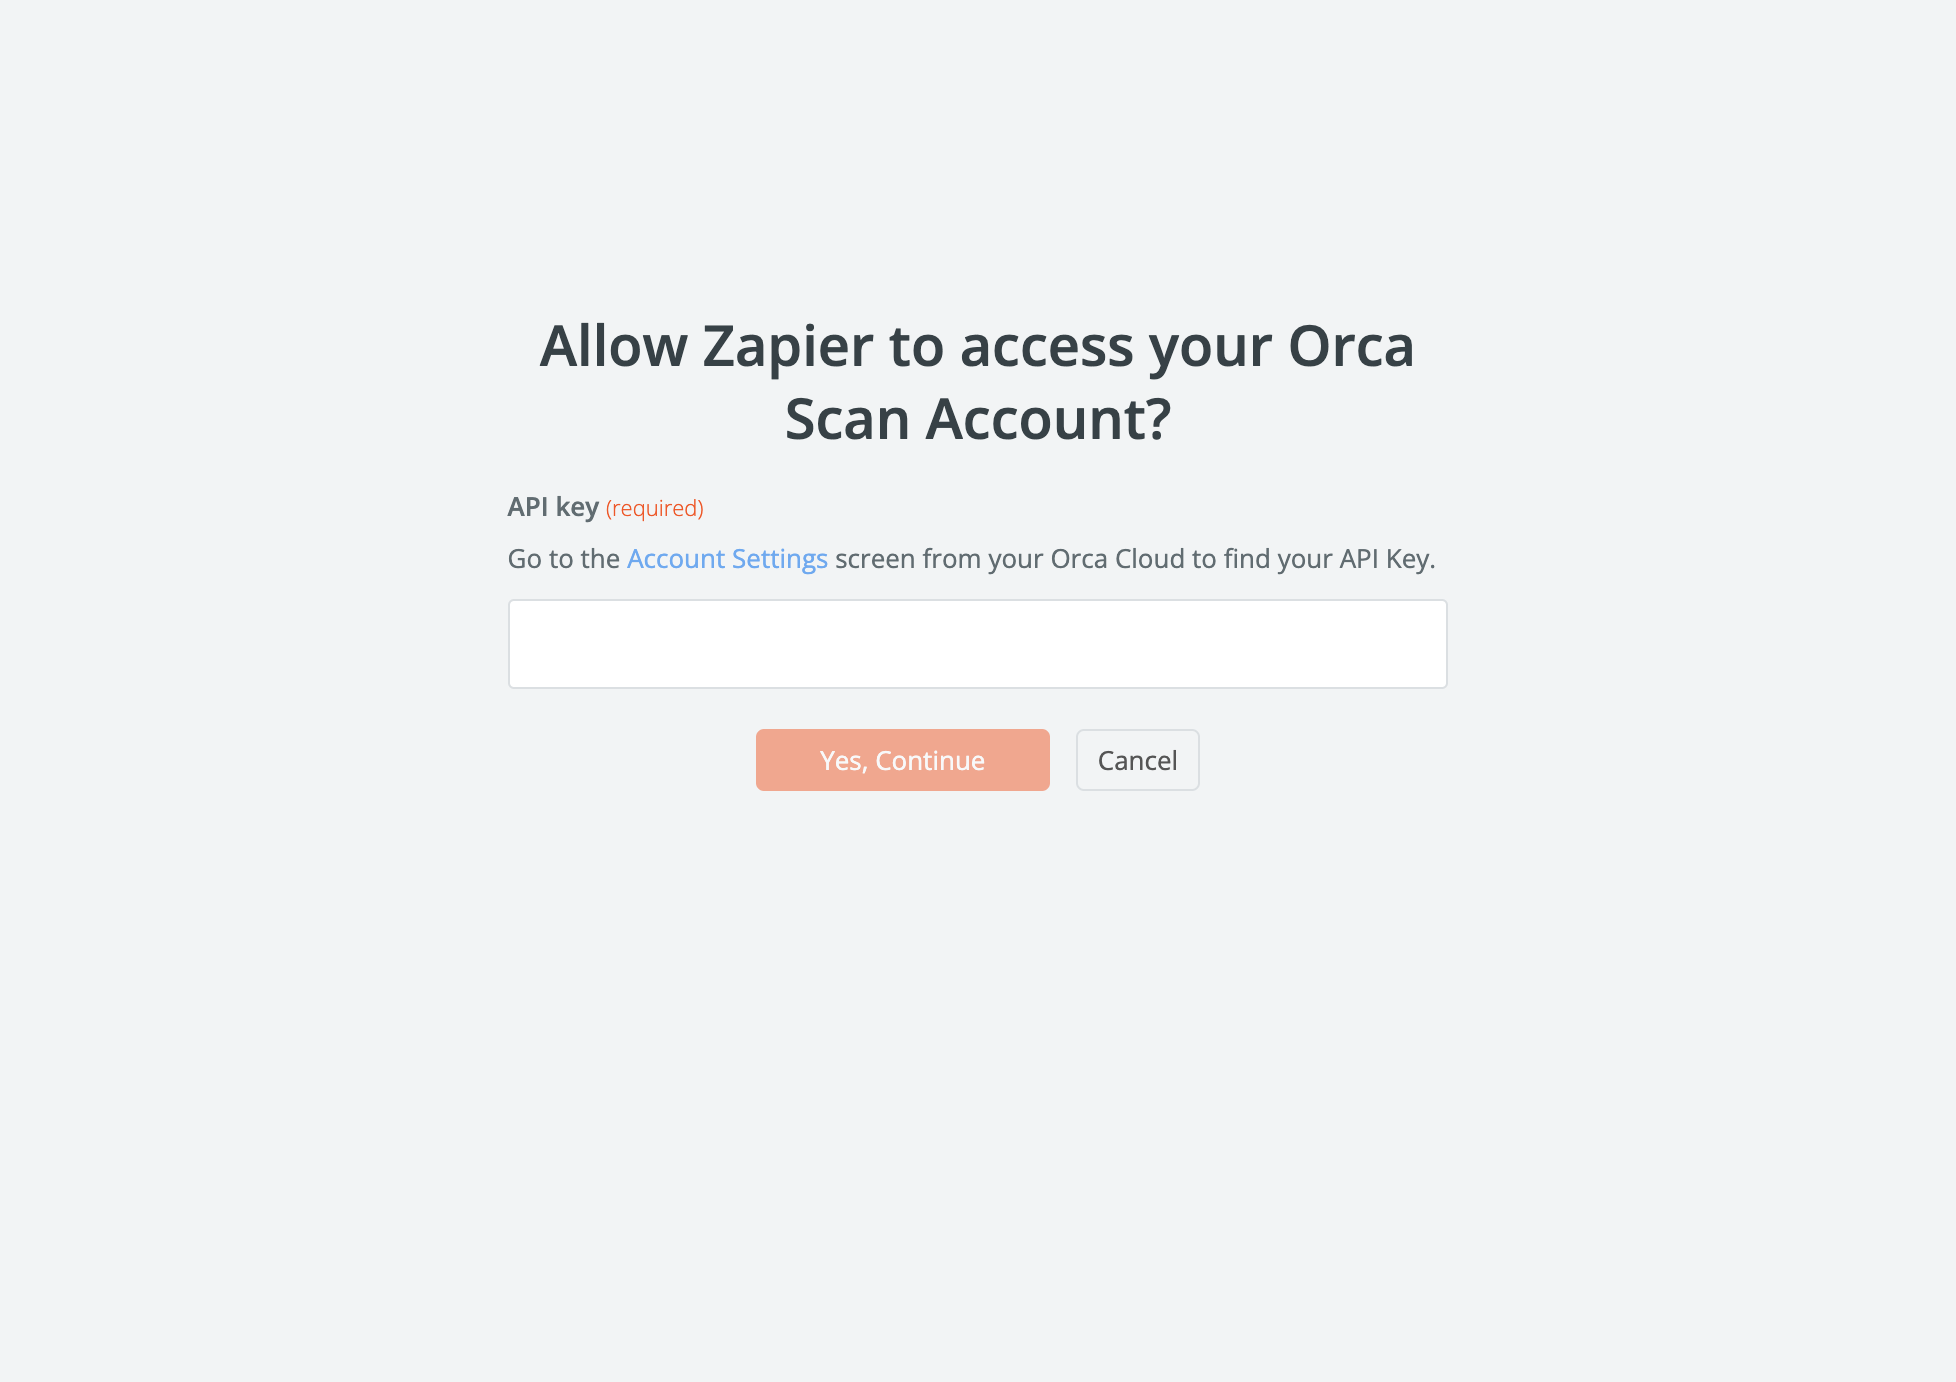
To authenticate the connection between Zapier and Orca Scan securely, you’ll be asked for your API key (please don’t share this with anyone). To find your API key, head over to the Orca Scan web app and go to your Account Settings page in the dropdown menu in the top right corner
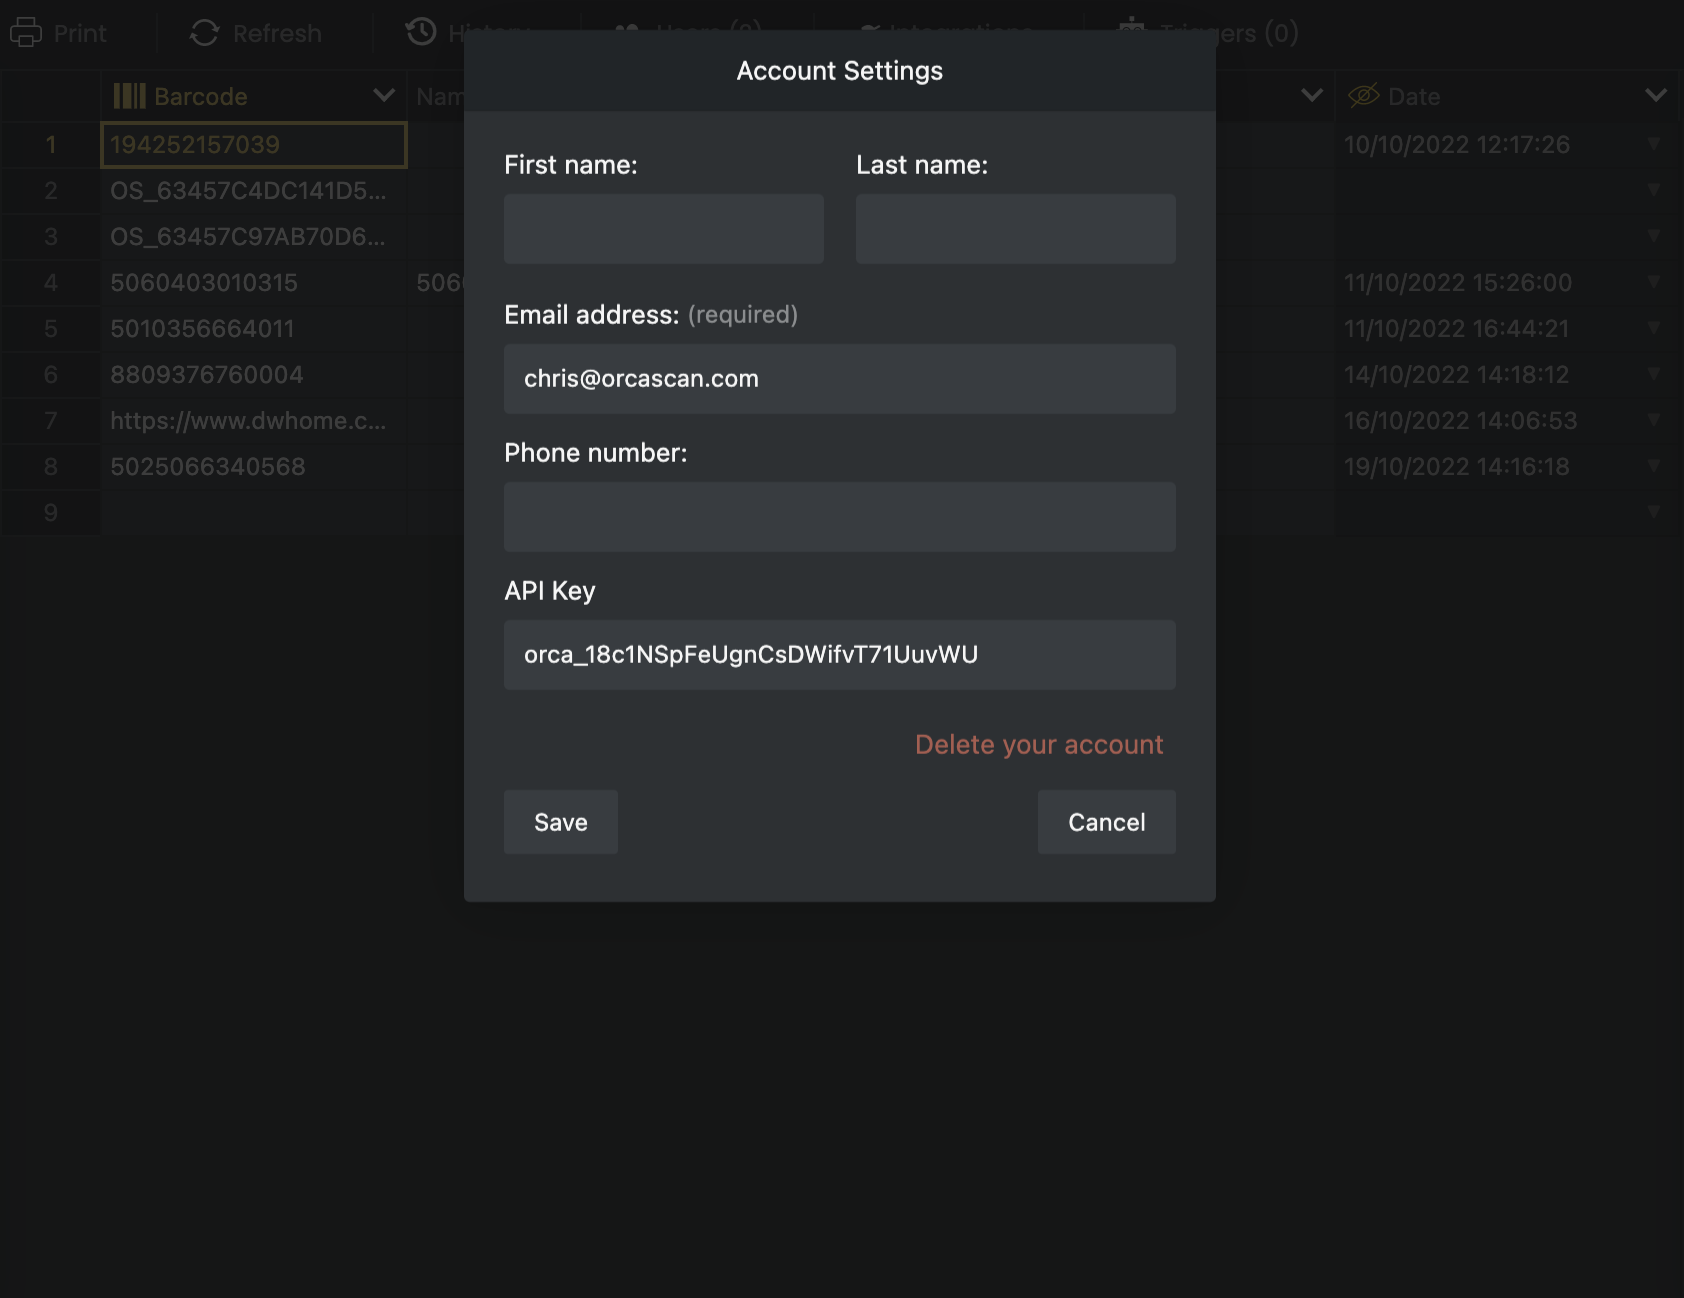
You’ve now found your API key; copy it onto your clipboard, then head back over to Zapier and paste it into the API key field to continue
Now that a connection has been securely authenticated, you can continue setting up the trigger
Note: If you have selected the New Row event or if you’ve chosen the New Sheet event trigger, you can skip straight ahead to test the trigger in Step 3
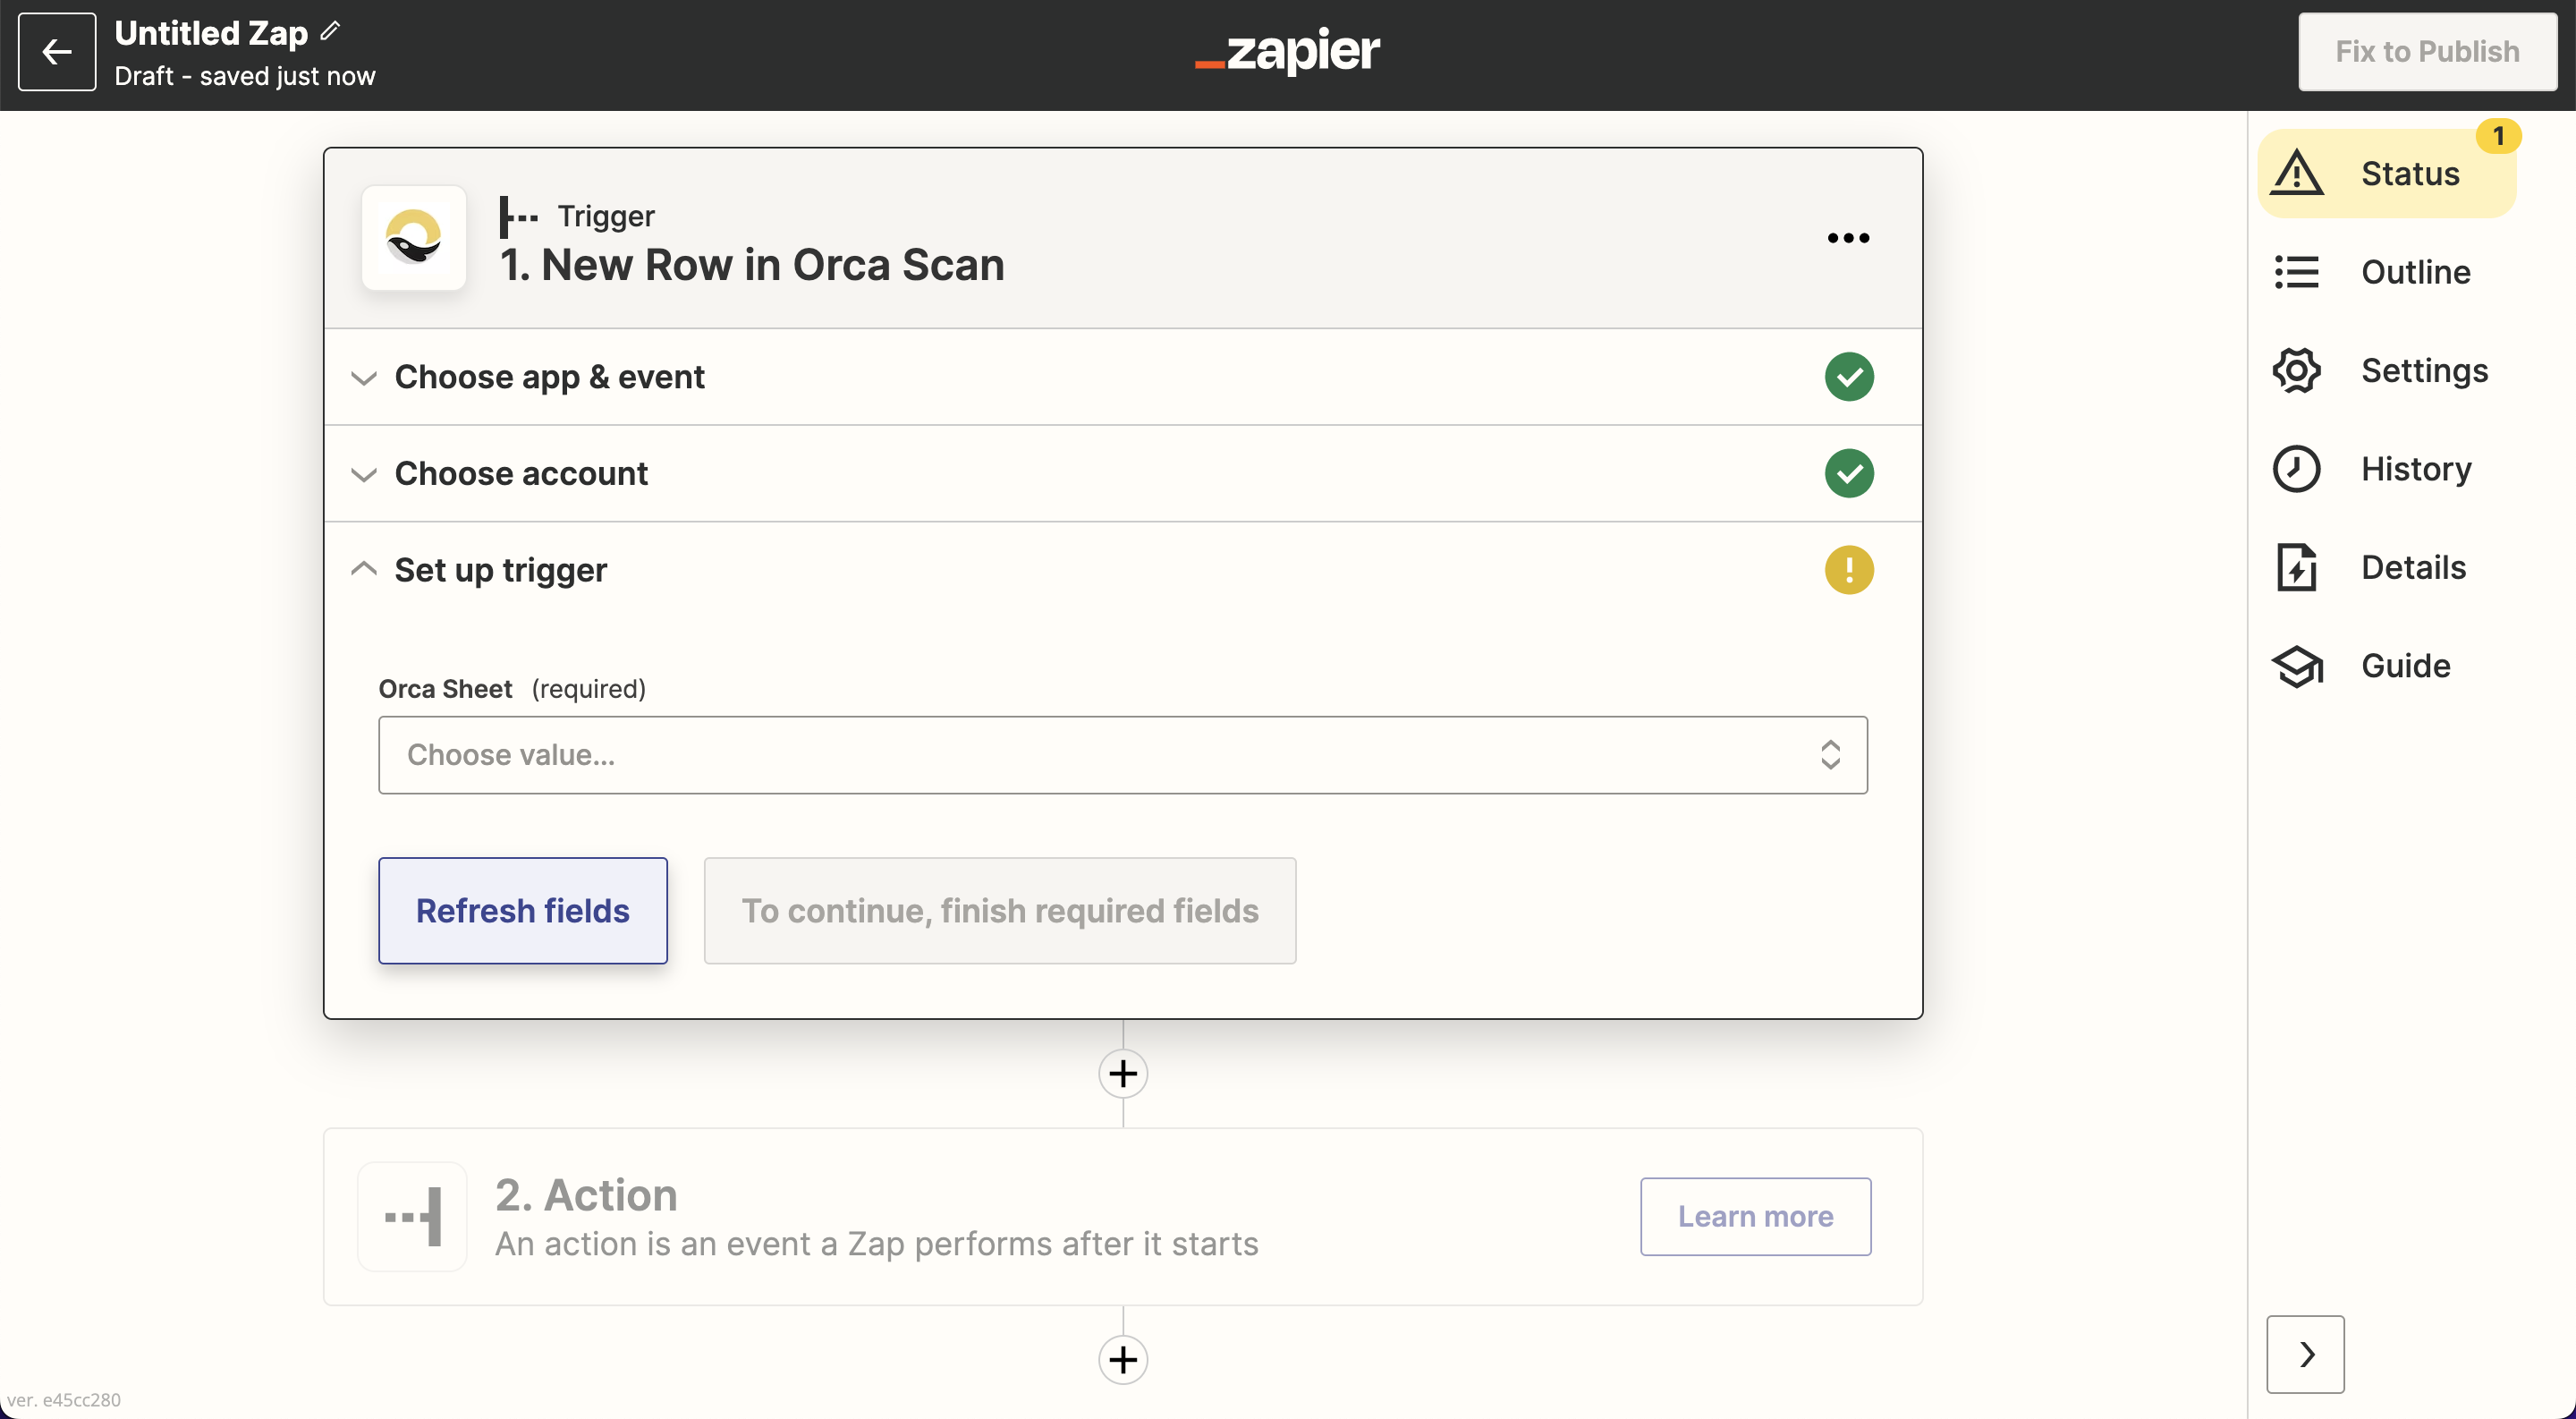
To complete the trigger, you now need to define which sheet Zapier should listen to for new events (i.e. new rows). Hit the dropdown menu to see a list of your sheets in Orca Scan, and select the one you want to use as a trigger (the name of the Orca Scan sheet is in bold)
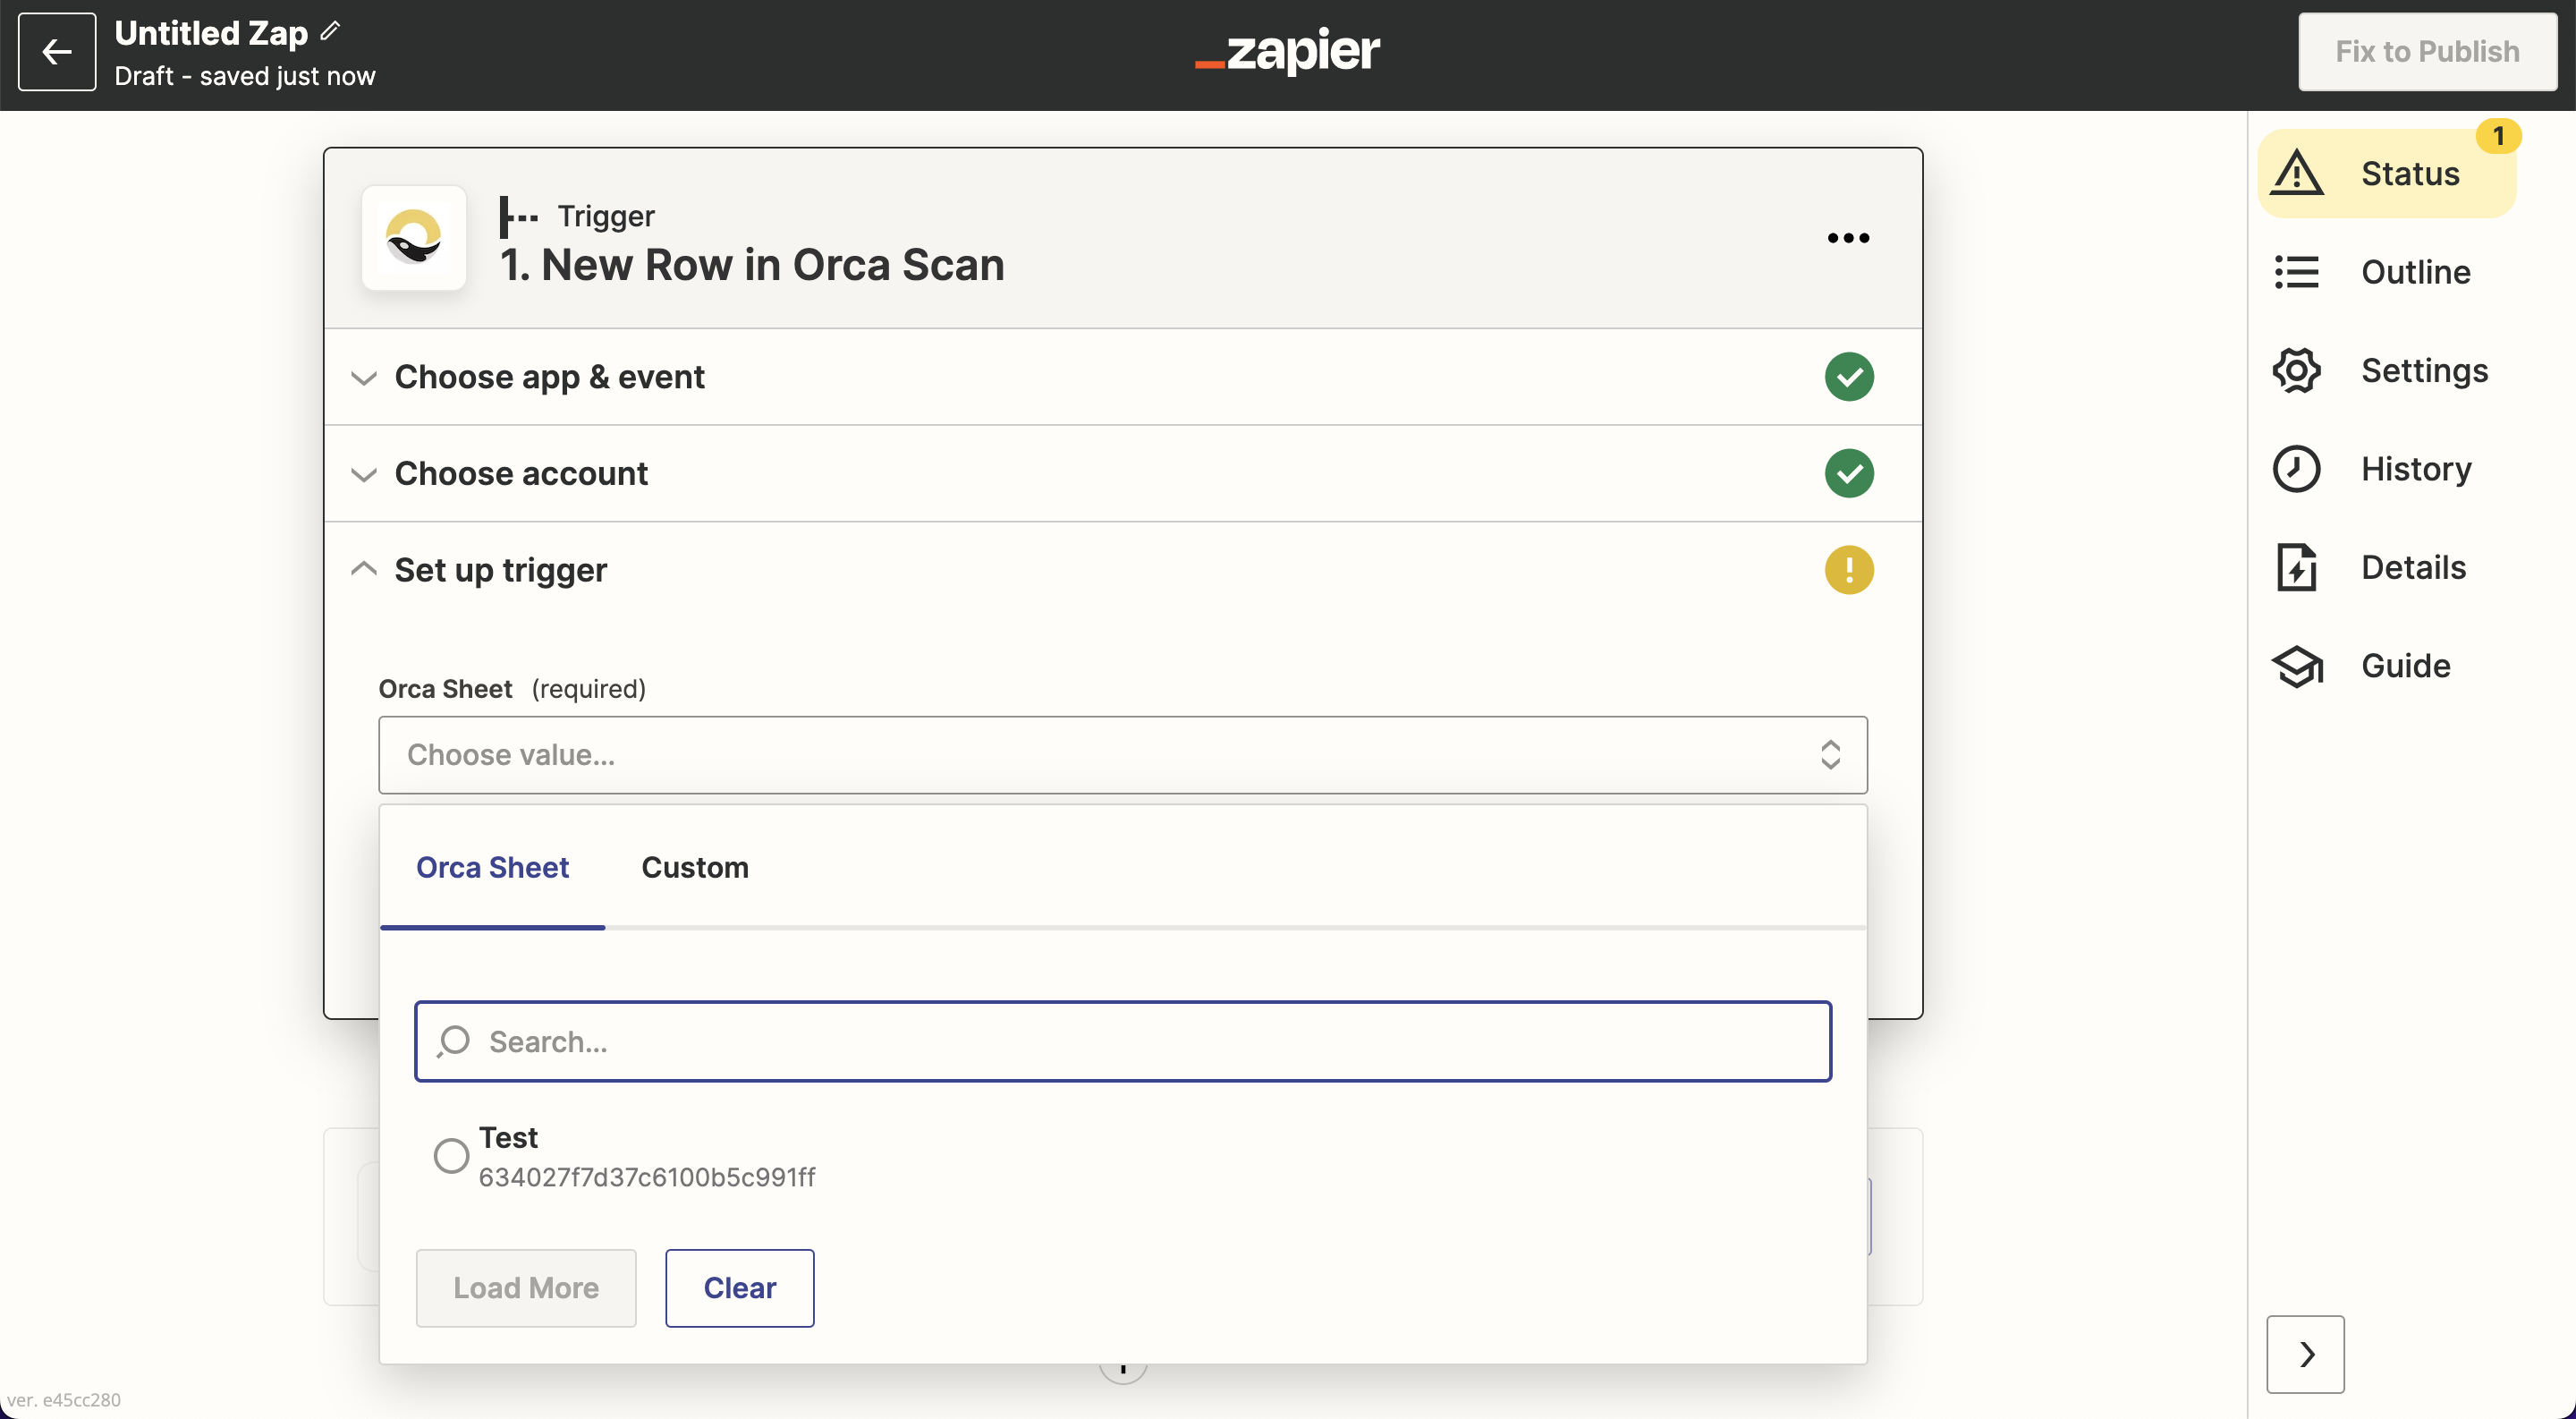
If you cannot see the Orca Scan sheet you want to use, find the Refresh fields button below the dropdown menu of sheets to refresh your list of sheets
3. Test the trigger and build your workflow
Once the trigger has been set up, you’ll now need to test the trigger to make sure it’s working correctly. Head to the Test trigger button to begin testing
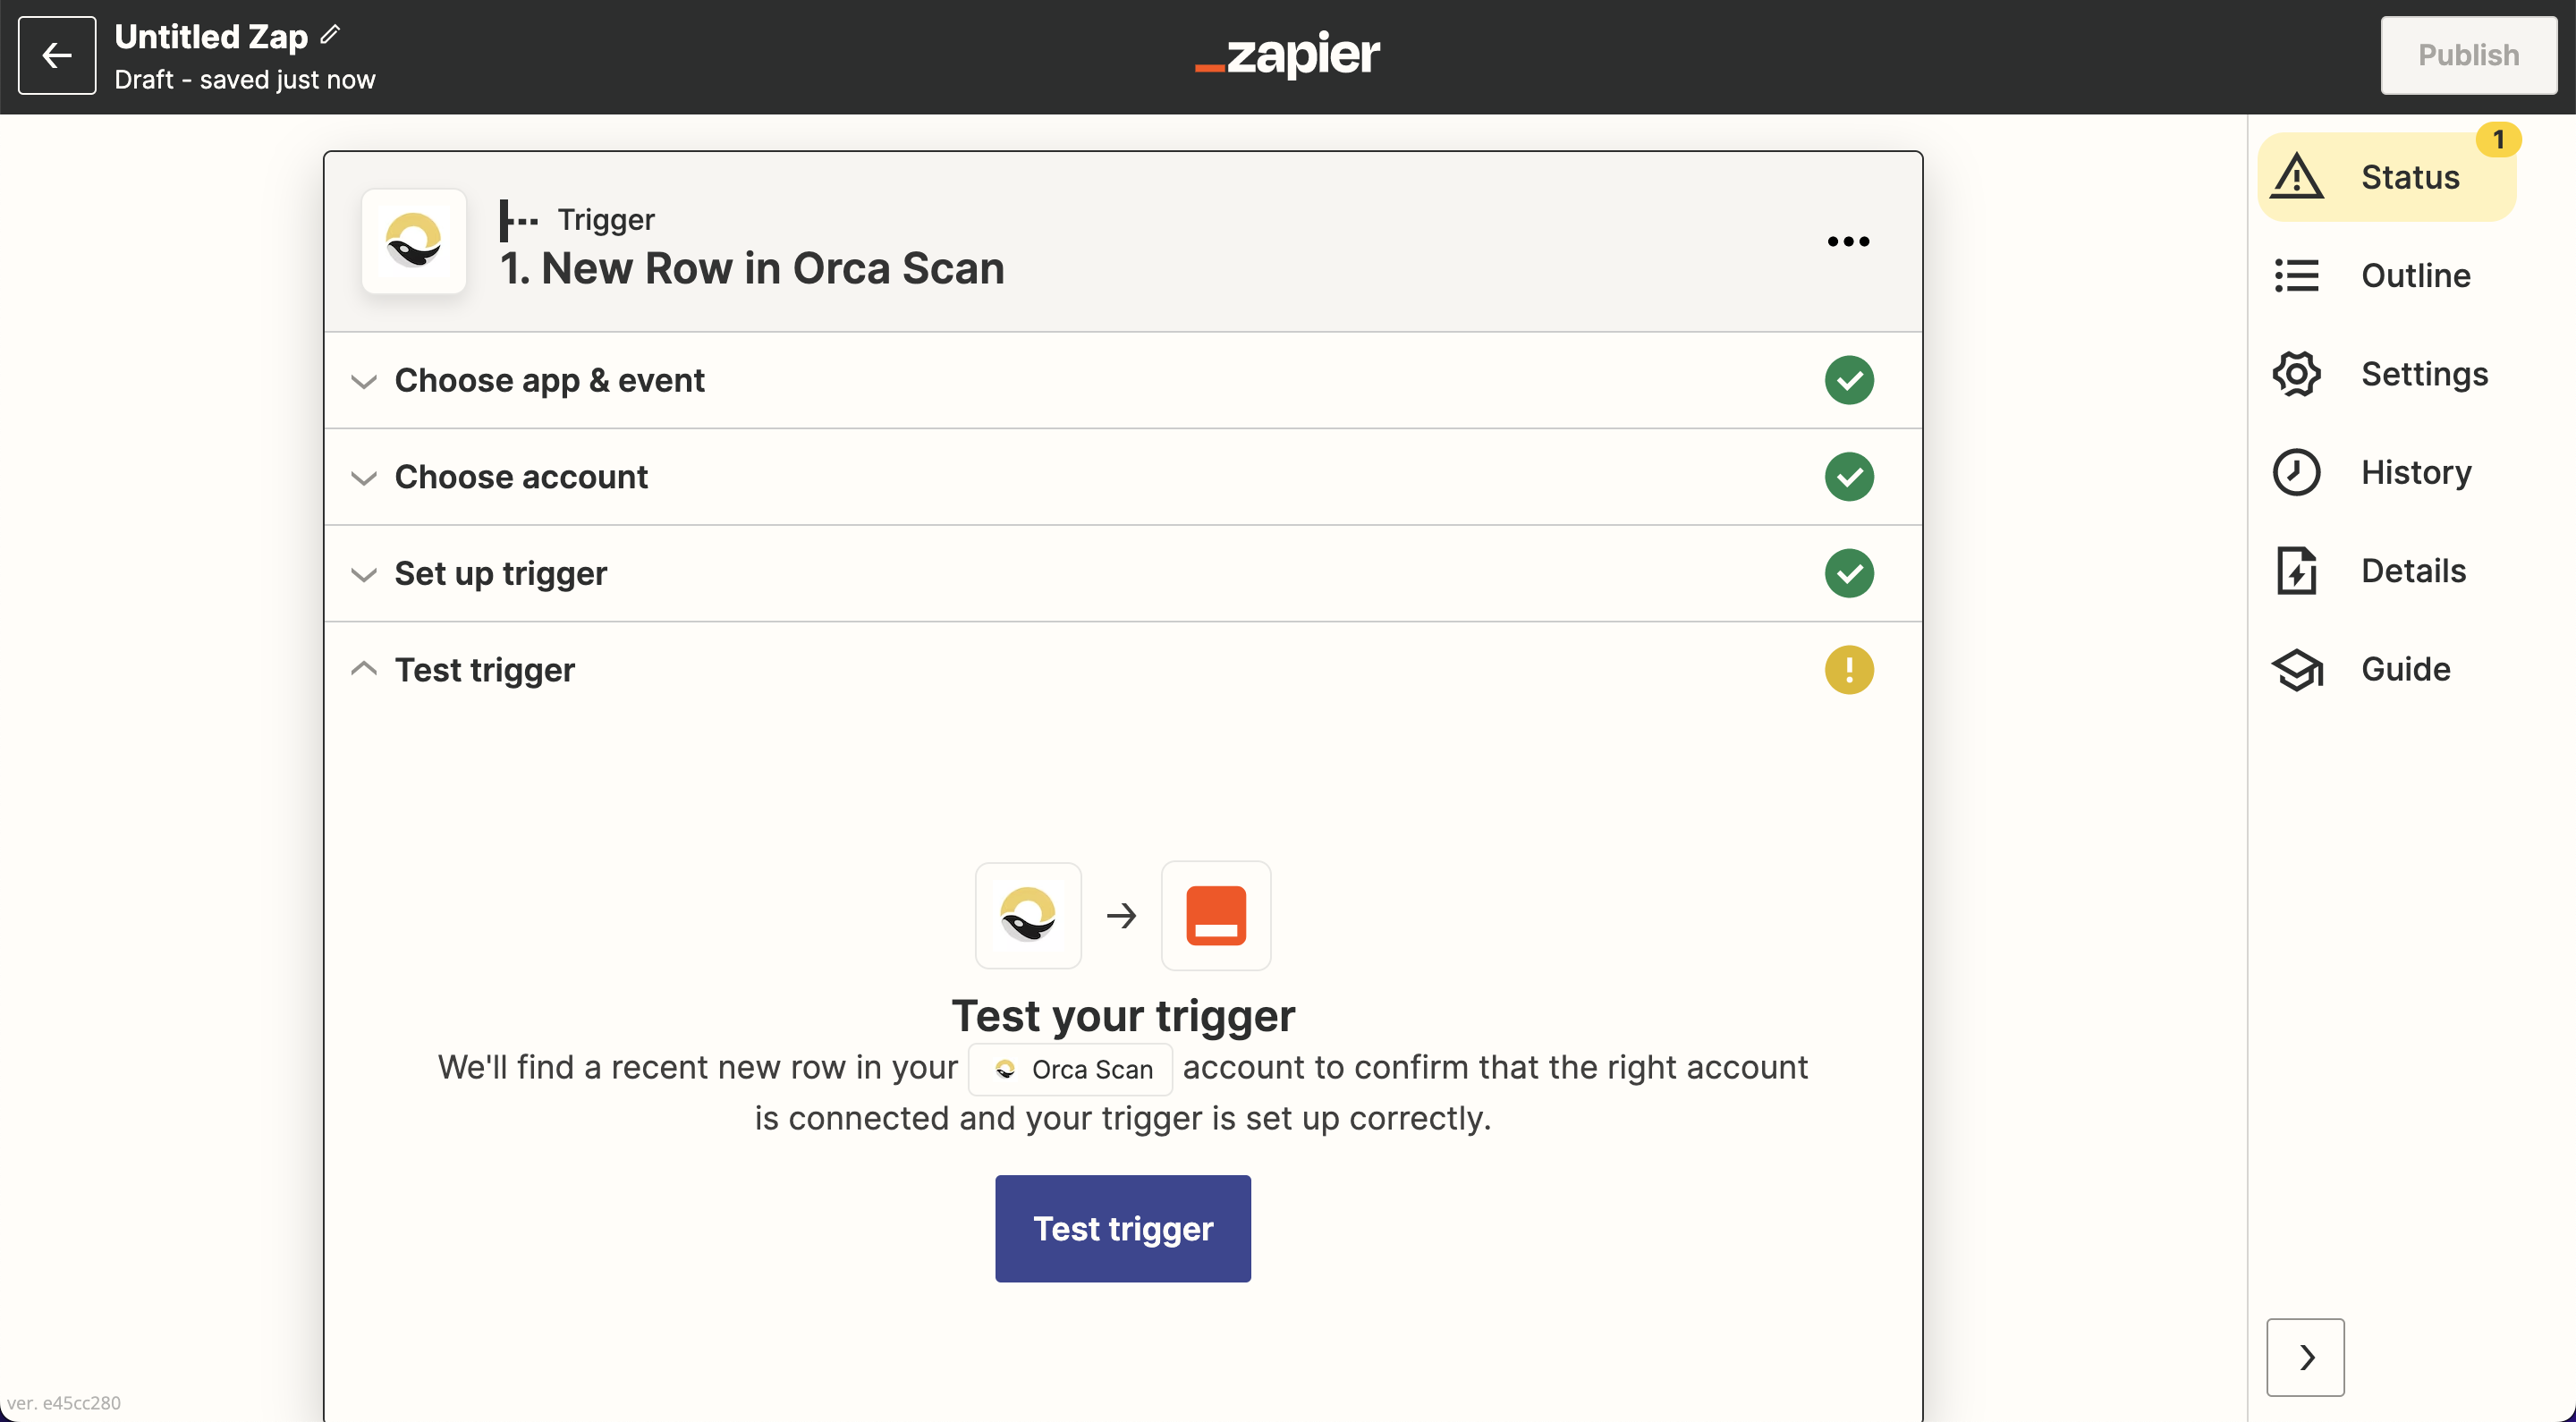
When you begin testing, Zapier will start to look for new events (a new row in the sheet you defined earlier or a new sheet that’s been created). Zapier will pull up the most recent event; if nothing can be found, try to scan an item using the Orca Scan app to add a new row or add a new sheet in the Orca Scan web app
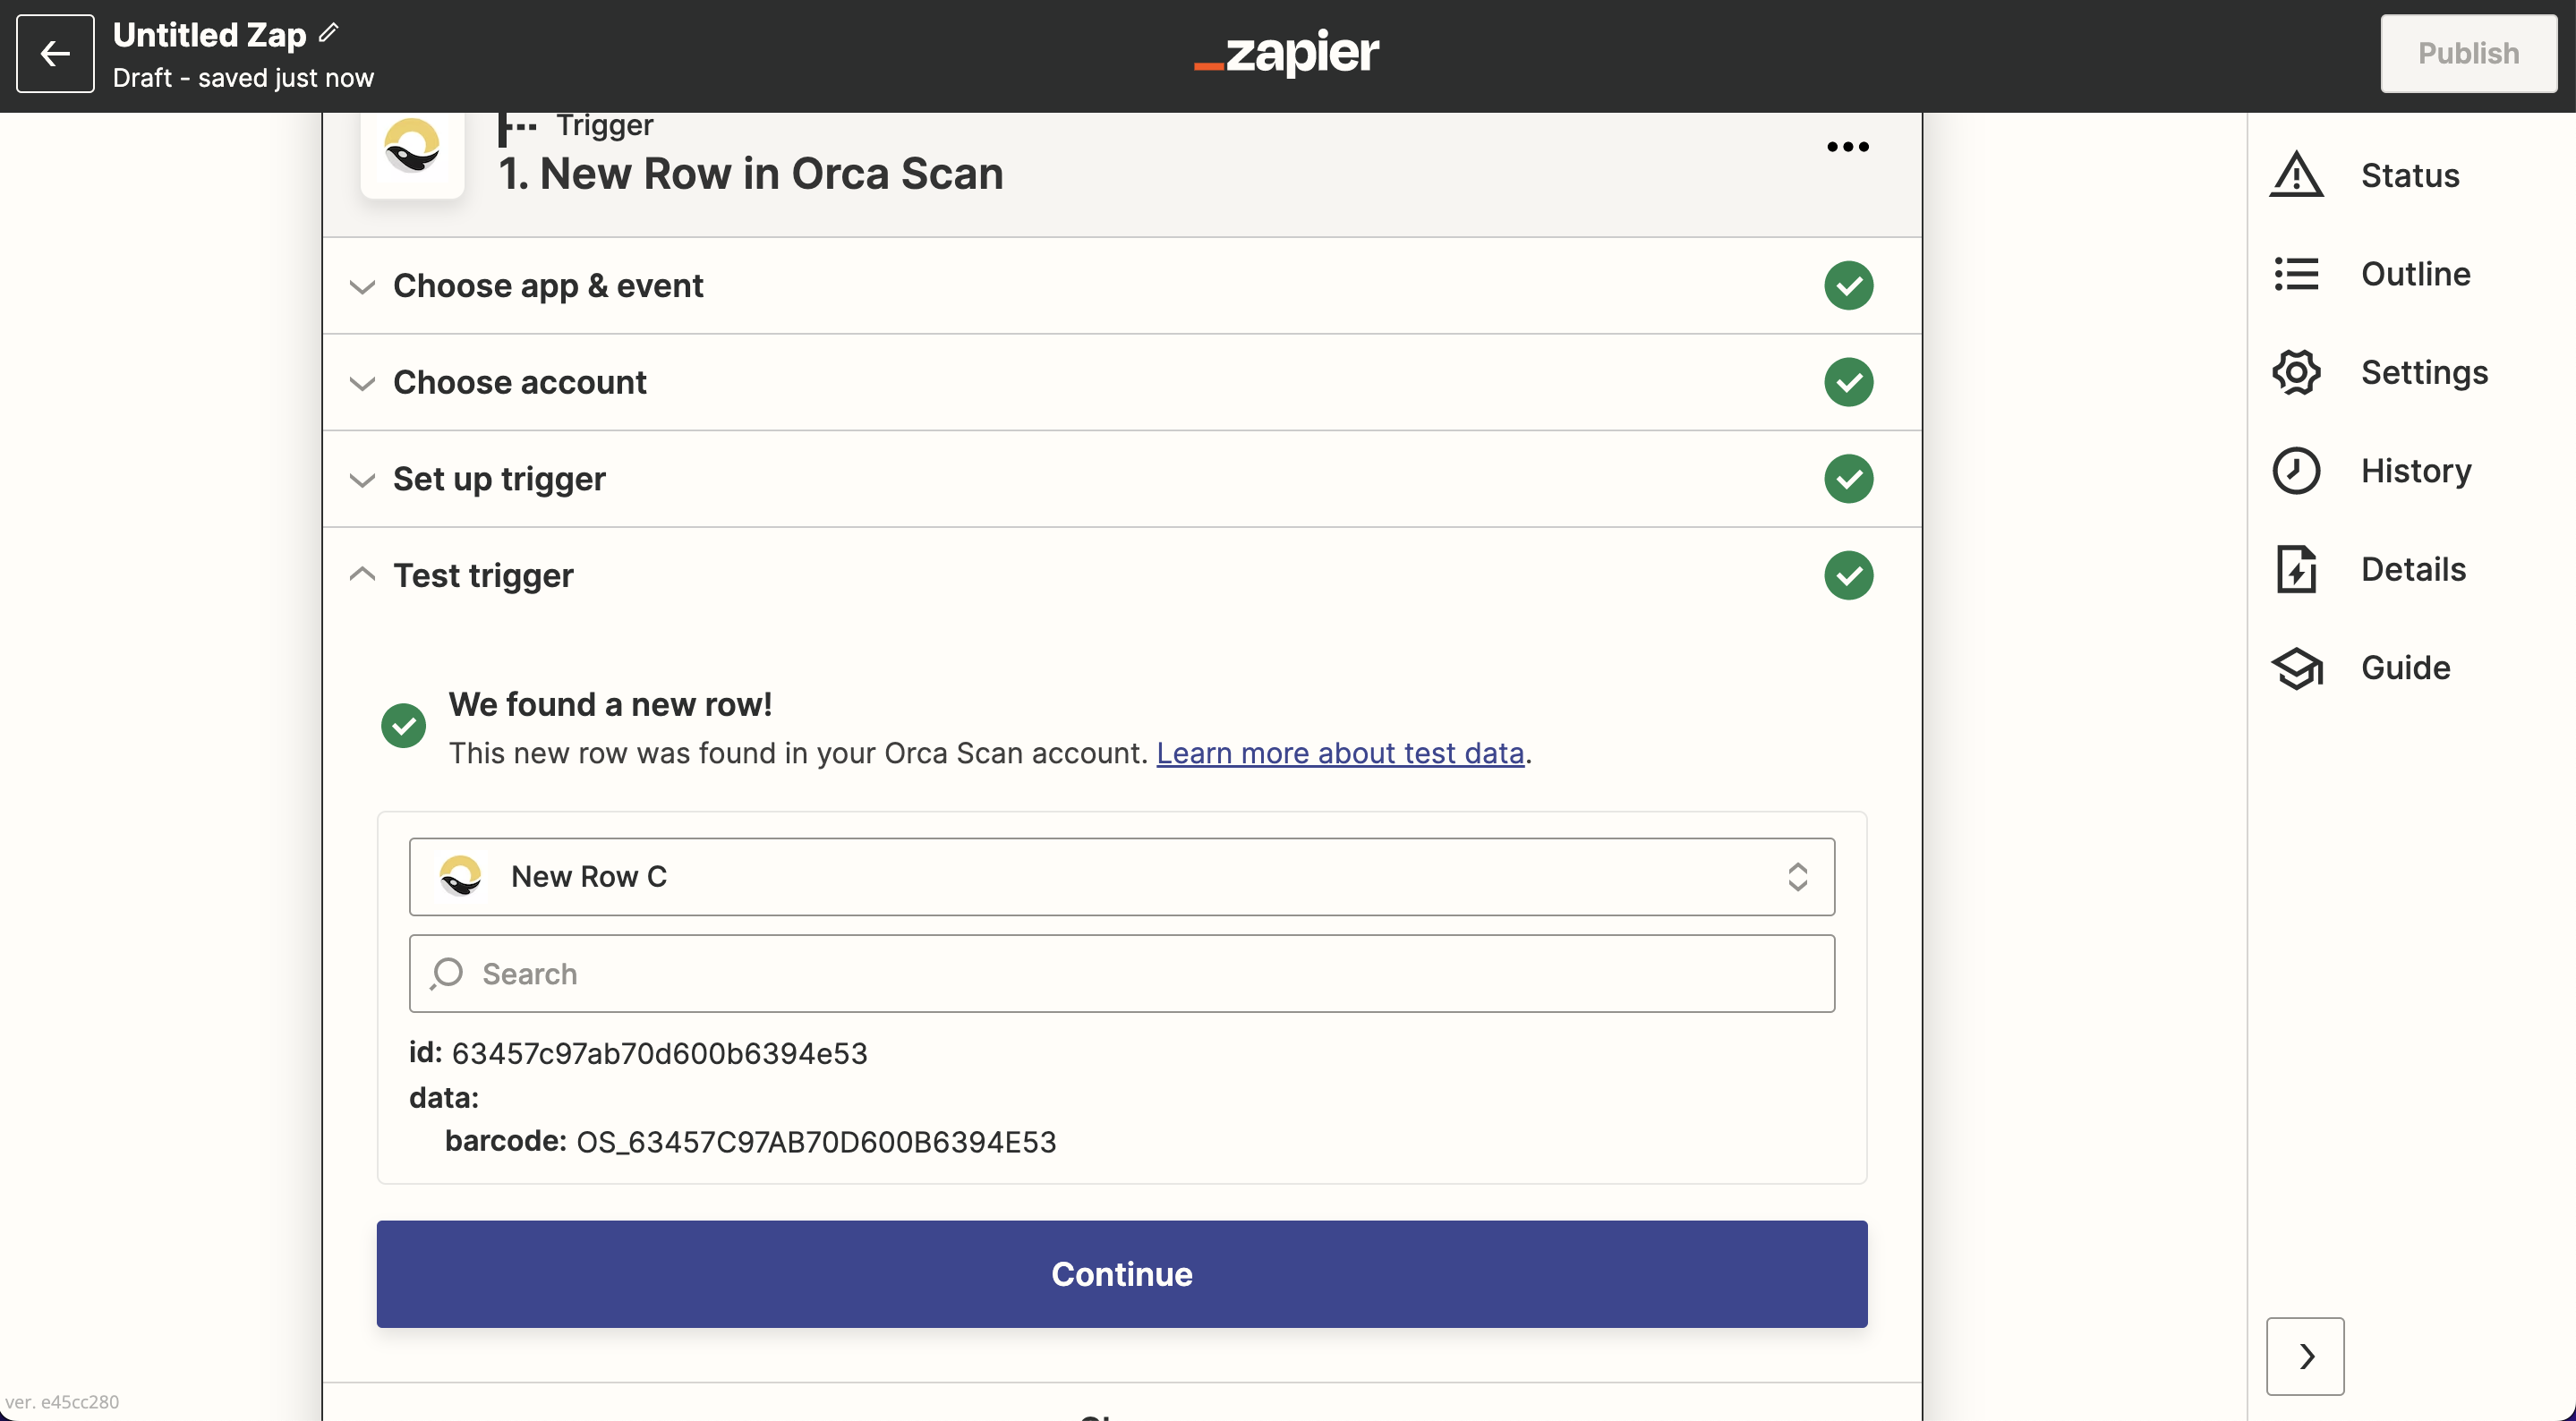
And, ta-da! You’ve now successfully created an Orca Scan trigger.
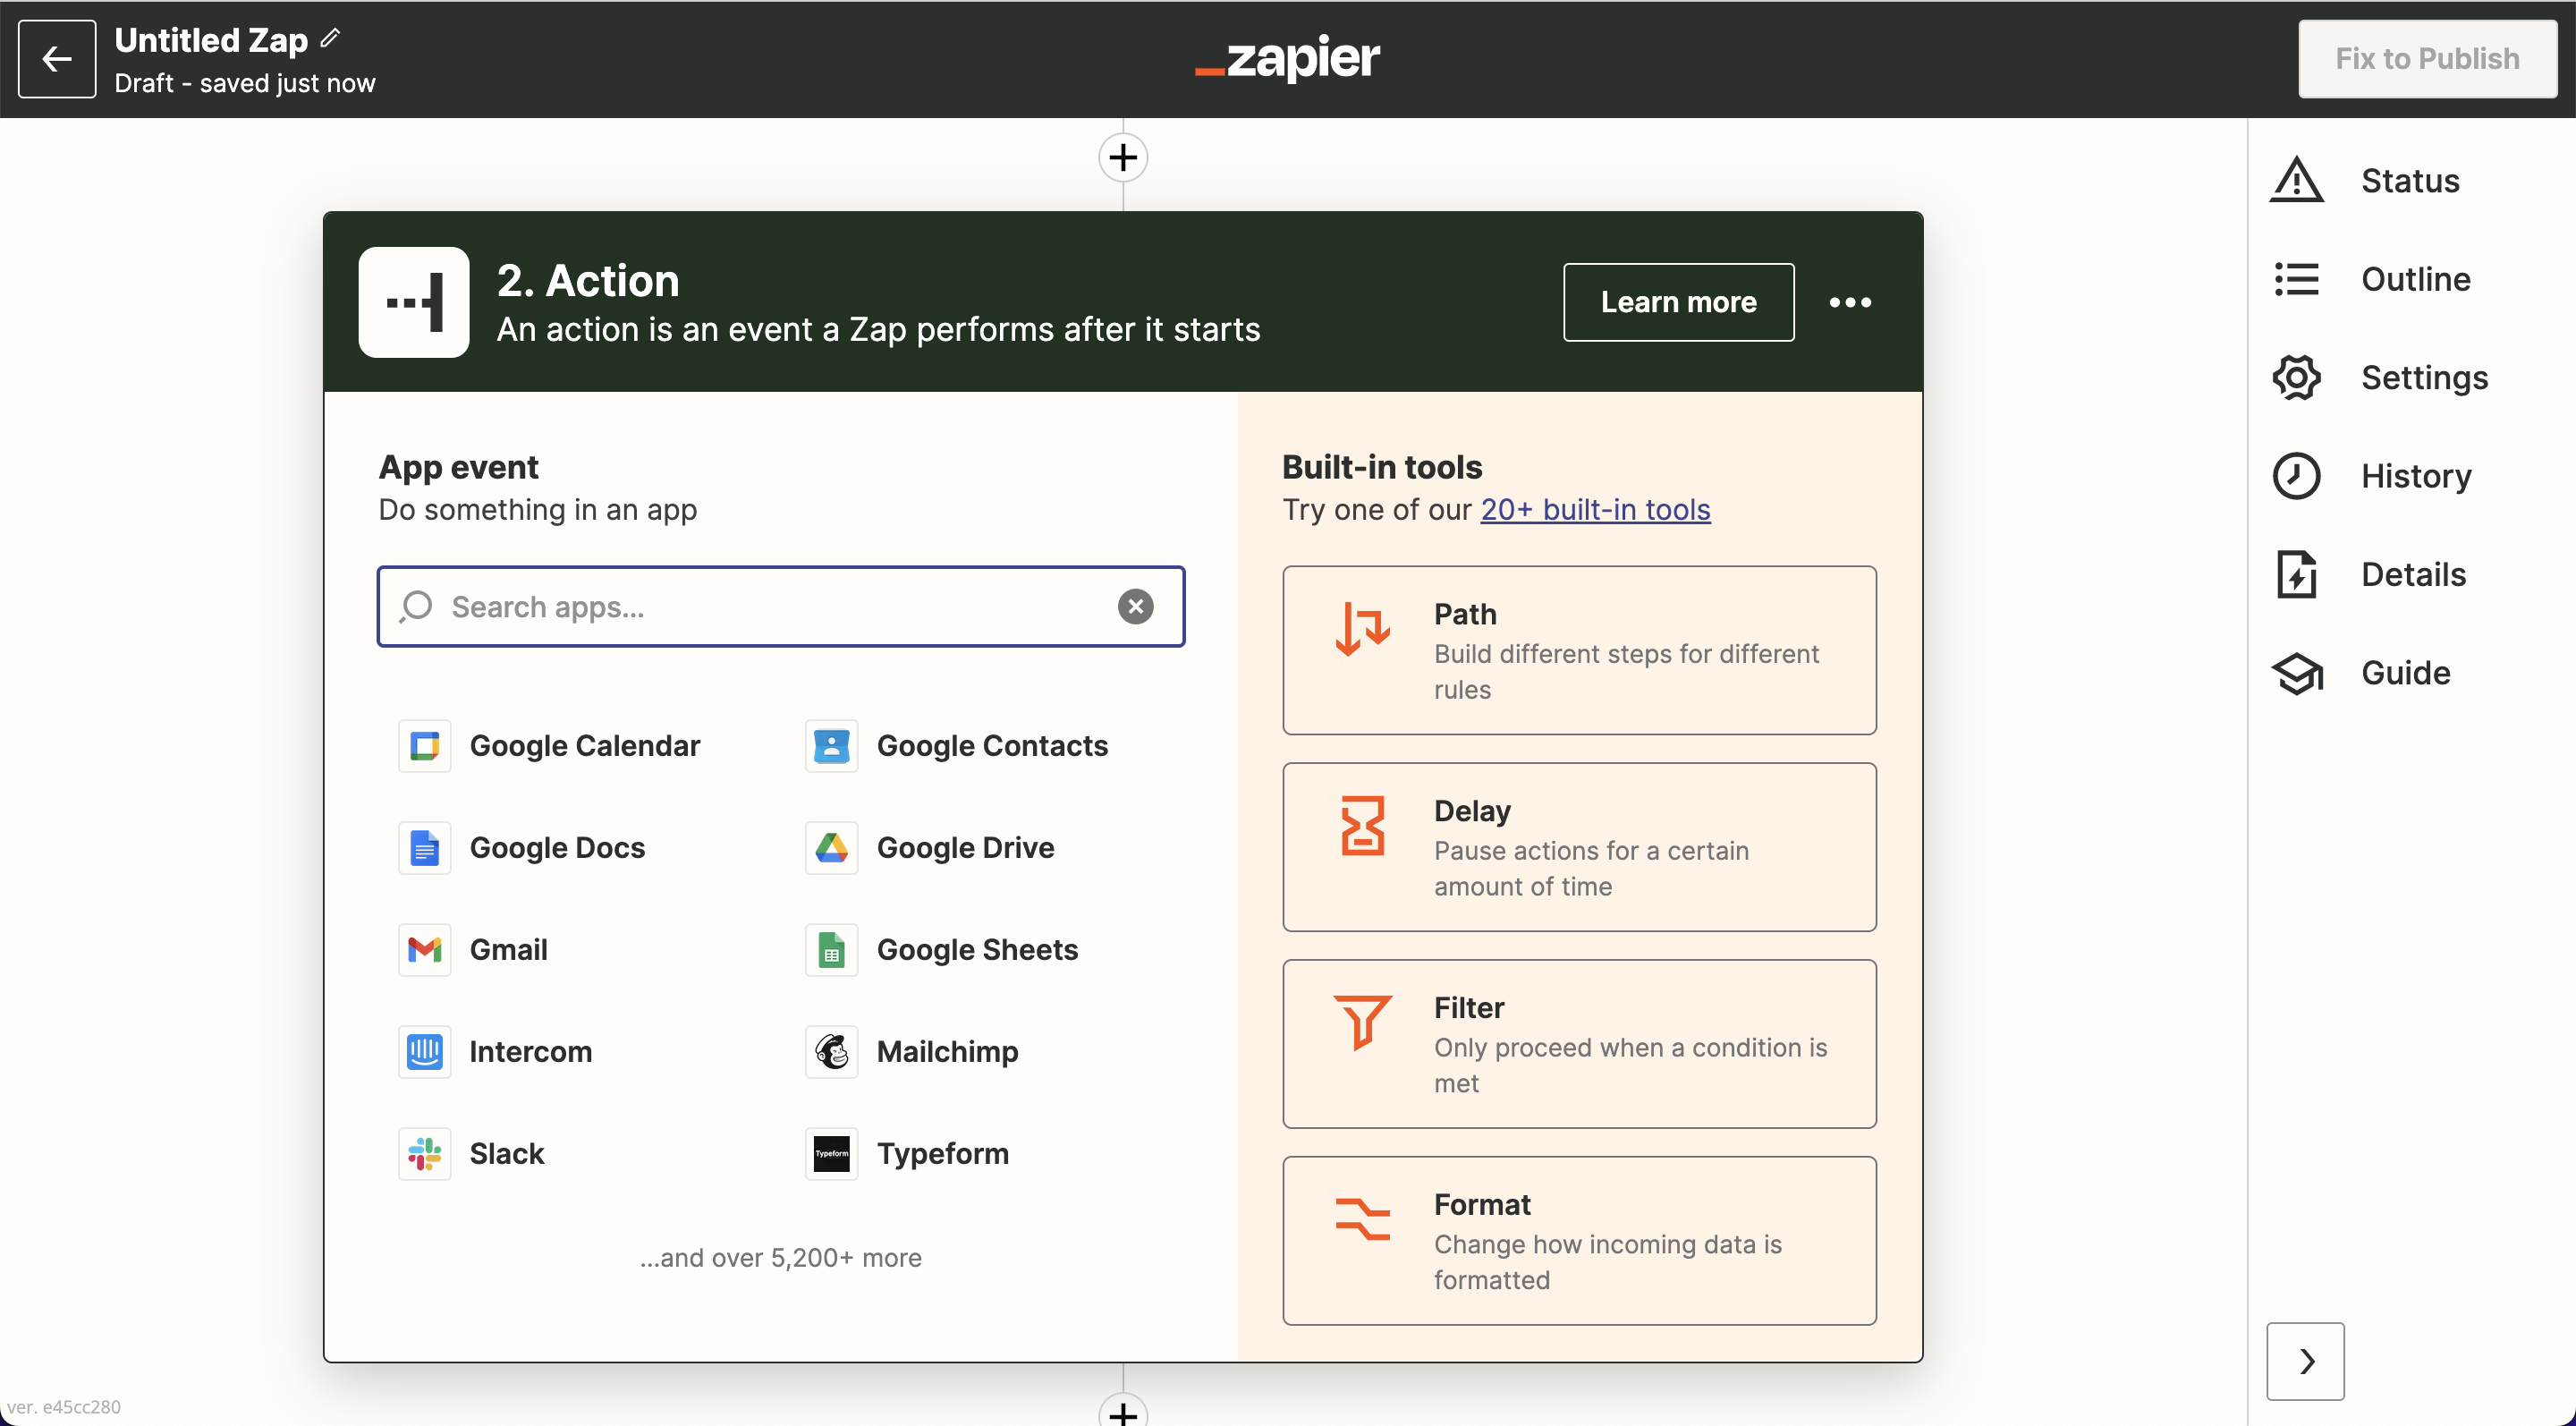
Now you can search through Zapier’s extensive library of apps and built-in tools to build out your workflow with the next set of actions, and, on a paid plan, you can take it even further by adding a series of actions after the Orca Scan trigger to create a multi-step zap
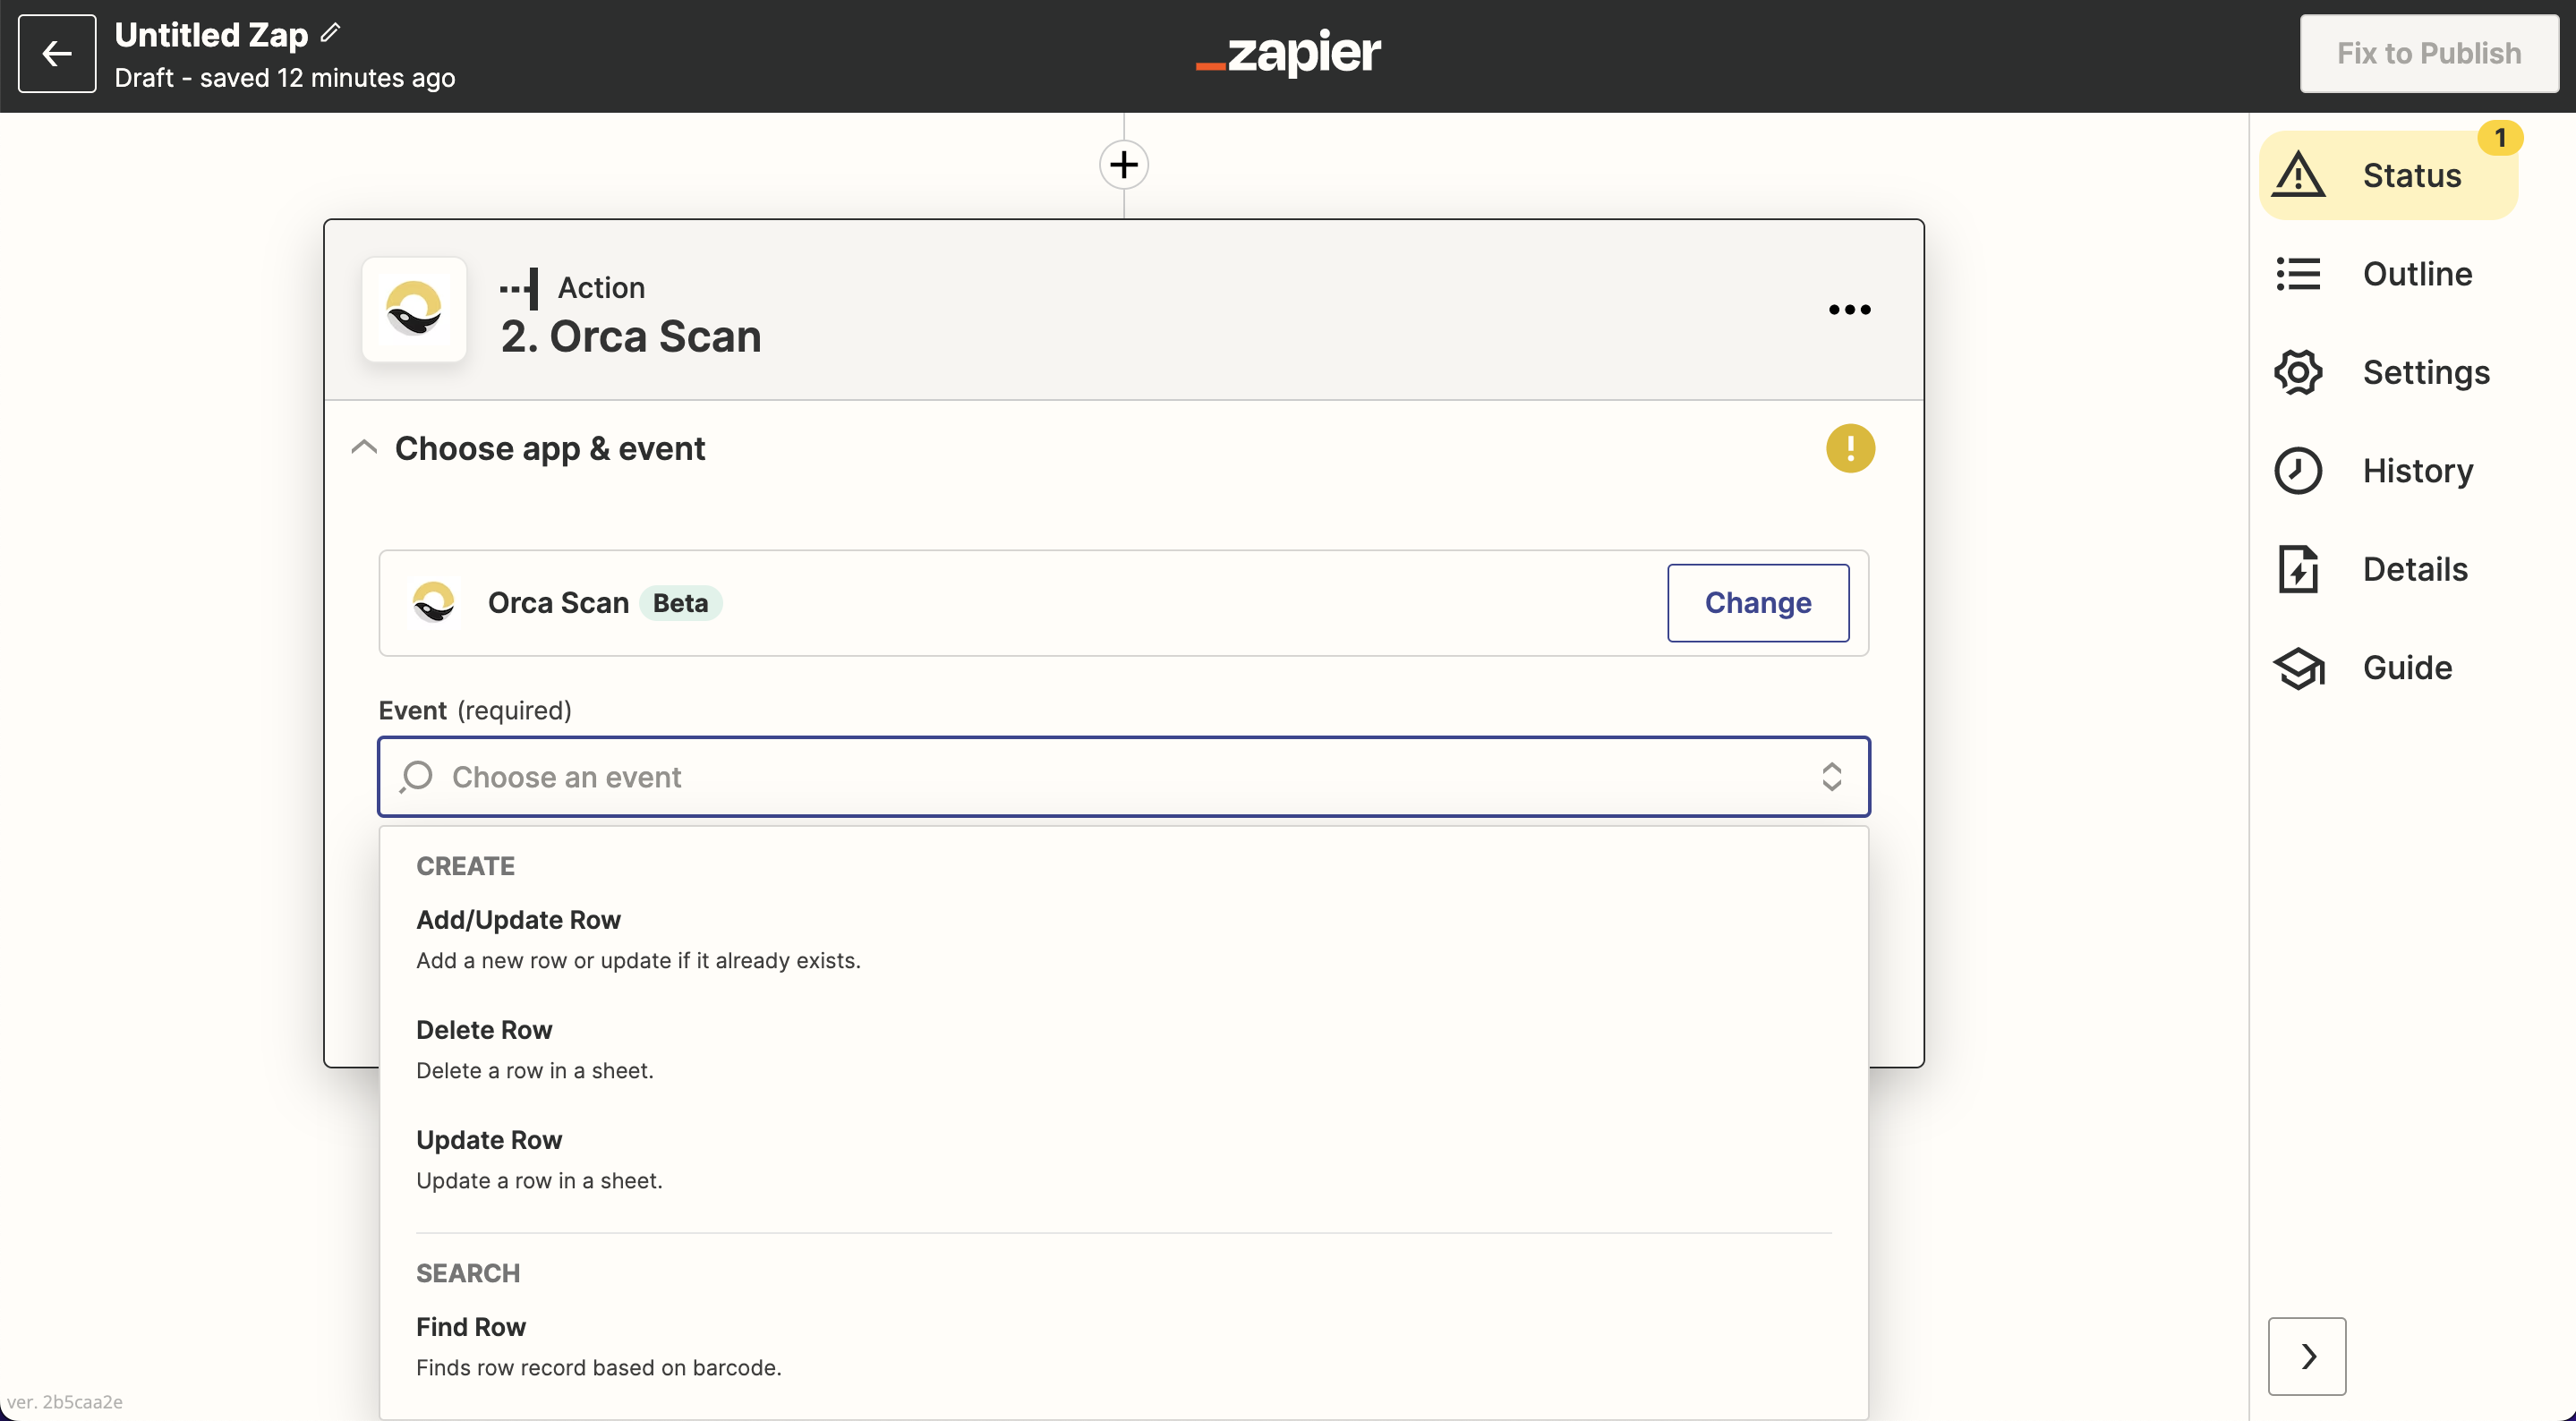
If you’ve created a trigger with another app in Zapier’s library (like you did earlier with Orca Scan), you can now use it to trigger events in Orca Scan.
The actions we’ve built are:
- Adding rows in Orca Scan
- Updating rows in Orca Scan
- Deleting rows in Orca Scan
- Finding rows in Orca Scan
Please check out Zapier’s help center for more support or troubleshooting any issues
Have a question about capturing barcodes using Zapier?
We’re always happy to help; chat with us live or drop us an email.
Request an integration
Need help getting Orca Scan working with your software? Request a Software Integration