With Orca Scan’s intuitive label designer, you can create barcodes, customise layouts, and print labels directly in the platform.
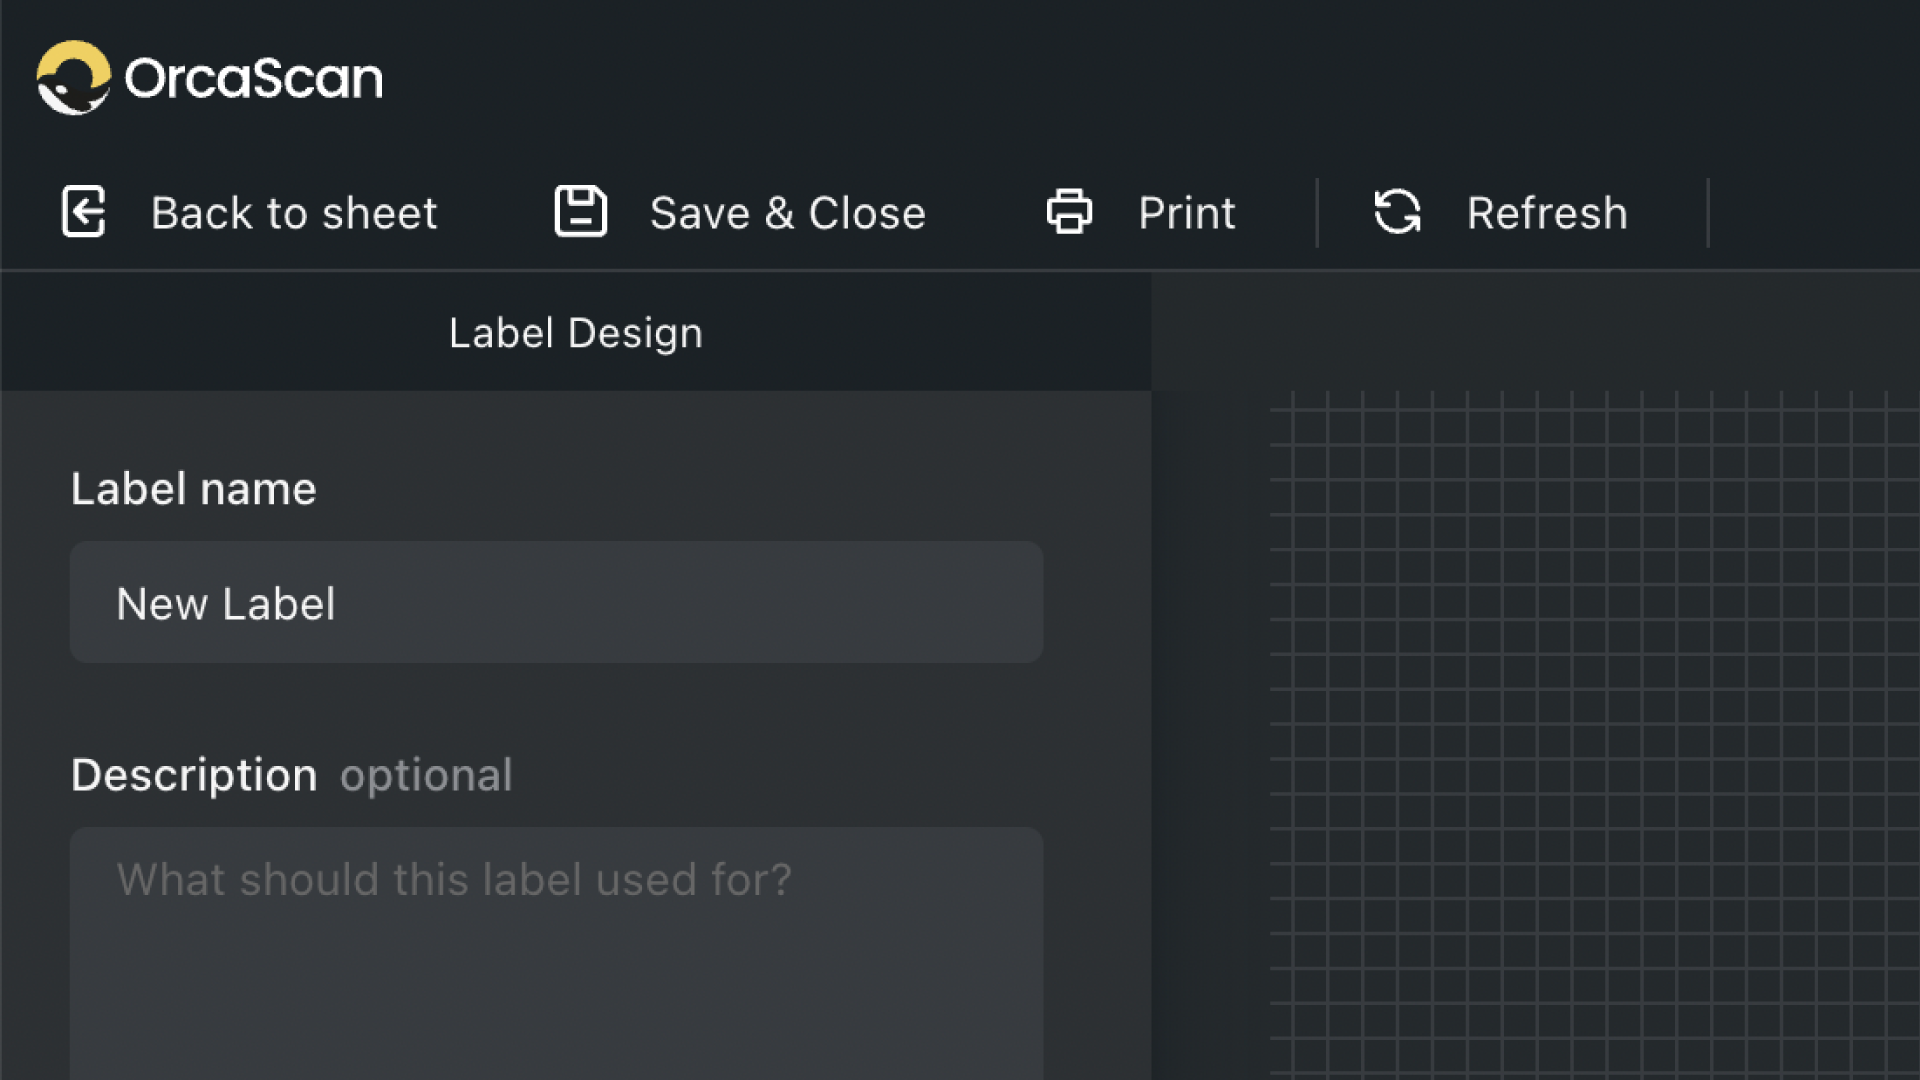
Open the Orca Scan Barcode Label Designer
- Log in to your Orca Scan account
- Select a sheet or create one if you haven’t already
- Click on the left-hand panel called Labels
- Choose from a list of pre-configured templates or click Create new label
Name Your Barcode Label
If you’re creating your own design, first, you should name your barcode label so you can find it easily later.
- On the left-hand panel, locate the Label name field
- Enter a meaningful name for your label, such as “Product QR Code” or “Shipping Label”
- Optionally, you can add a description to help your team understand its purpose
How to Design Barcode Labels: Customising Your Layout
Use the drag-and-drop functionality to create your label:
On the right-hand panel, select from the list of fields from your sheet (e.g., Barcode, Name, Job Title, etc.). Drag and drop the desired fields onto the label canvas
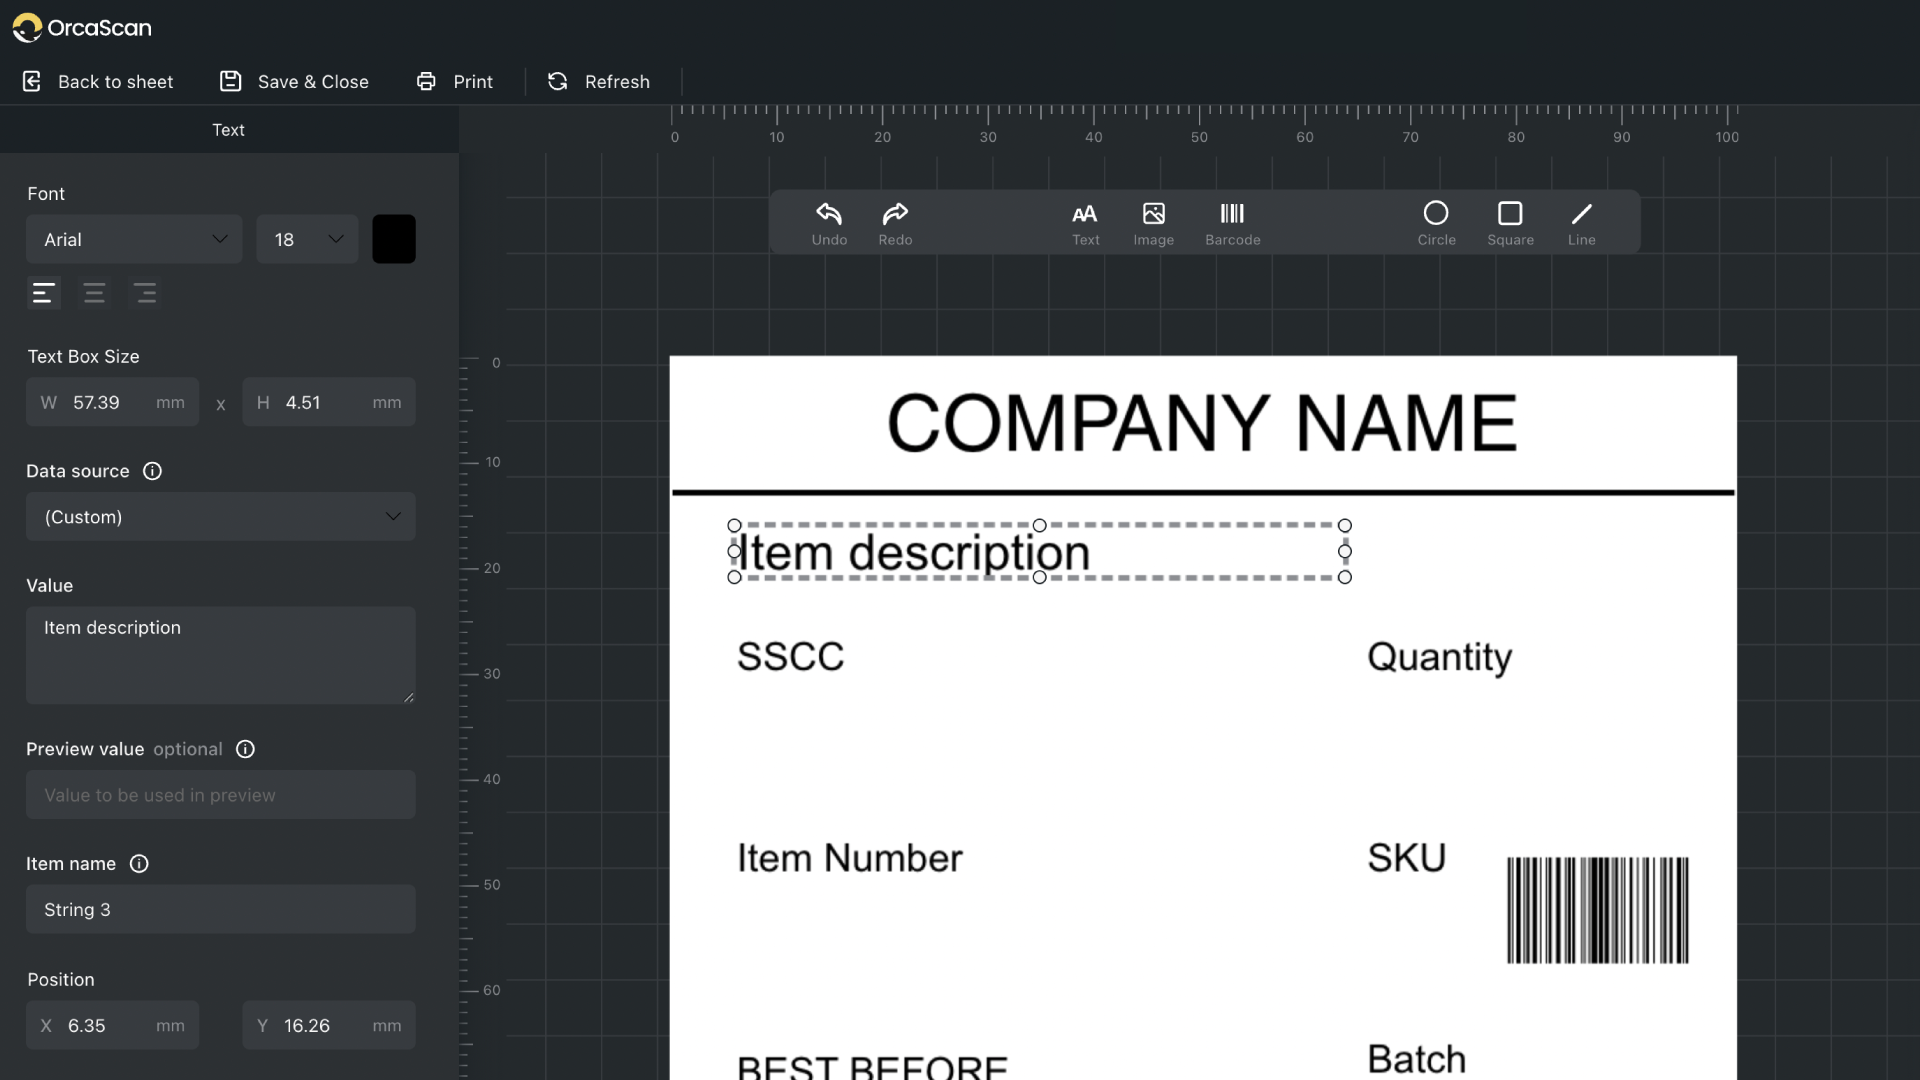
Customise the layout and style
Adjust Position: Select an element and drag it to your desired location on the canvas
Resize Elements: Use the handles that appear around a selected element to adjust its size
Tip: This functionality works best with Google Chrome. If you don’t see the handles around the selected element, you can use the measurements in the left-hand panel.
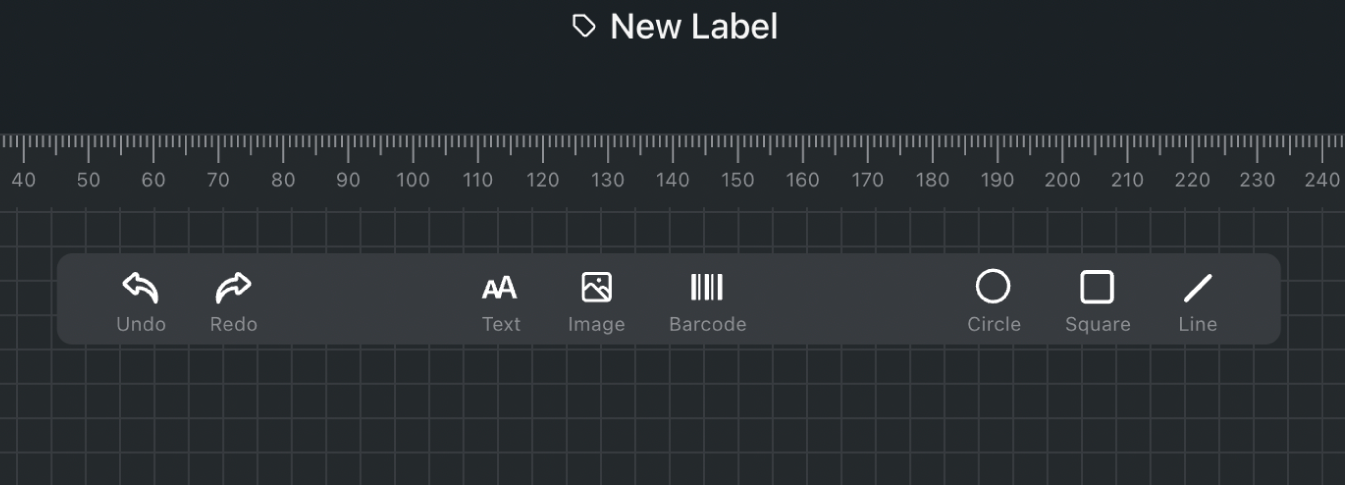
Add Elements: Use the toolbar to insert images, text, and shapes
Change Fonts and Colours
Click an element to see options in the left panel, like font style, size, text colour, and background colour
Tip: Use the rulers to align elements relative to one another. Hold Ctrl and scroll with your mouse wheel to zoom in for finer adjustments.
How to design a label to use with our Barcode Image API
Once you’ve created a custom label template with the Barcode Label Designer, you can use it with our Barcode Image API. To do this, you’ll need to grab the label’s ID. Here’s how:
- Visit
cloud.orcascan.com - Open the
Labelstab on the left hand side - Click
...on the label, and pressEdit - You can find the Label ID in the URL, in the format
cloud.orcascan.com/designer/{labelID}
Once you have your label ID, you can start generating barcode images using your template via our API. Just follow these steps:
- Visit
barcode.orcascan.com/?type={labelId} - Enter any variables from your sheet to the label by appending
&{variableName}={value} - Press enter to load the image
- Right click and save the image
Tip: You can only access the label ID for labels you’ve created yourself.
Recommended Label Suppliers for Your Barcode Labels
The barcode printing feature was developed using genuine DYMO and Avery labels, so we recommend working with compatible printers, including wireless label printers for flexible deployment. Another great provider is Camcode, and you can visit their page to learn more about Camcode Durable Asset Labels. Alternatively, you can purchase Avery labels at avery.com and DYMO labels at dymo.com.
Useful Keyboard Shortcuts
| Action | Description | Shortcut |
|---|---|---|
| Copy | Copies the selected text or item to the clipboard. | Ctrl+C |
| Paste | Pastes the copied item from the clipboard. | Ctrl+V |
Next steps:
- Supported Printers
- Scan barcodes directly to Excel
- Get started with the web app
- Learn about supported hardware scanners
Questions about barcode labels?
We’re always happy to help, chat with us live or drop us an email.