Columns added to your sheet via the web directly mirror the fields in the mobile app, allowing you to modify hundreds of devices remotely from any web browser. No coding needed.
Field types

You often want to capture additional data when a barcode is scanned (this could be a photos, GPS location or quantity scanned). To do this, simply add additional fields using the Orca Scan web or mobile app.
You can choose from the following field types:
| Field Type | Description |
|---|---|
| Attachment | Allows you to attach files, such as documents, pdfs, or other media |
| Currency | Allows you to store and display monetary values in your chosen currency (e.g. USD, EUR, GBP) |
| Date | Inserts a date value when tapping the calendar icon. You can configure the timezone format for each sheet |
| Date (automatic) | Inserts or updates the date value automatically on scan |
| Date Time | Inserts a date & time value when tapping the calendar icon |
| Date Time (automatic) | Inserts or updates the date and time value automatically on scan |
| Drop-down list | Lets you define a preset list of options that users can choose one option from |
| Has a normal text entry but will only accept the entry of an email format | |
| Formula | Automatically calculates and inserts the predefined formula |
| GPS location | Inserts the device latitude and longitude values when tapping the GPS icon |
| Number | Has plus and minus buttons to increase/decrease the quantity. Shows the deltas in yellow next to the quantity for ease of calculation |
| Number (auto-decrease) | Has the same attributes as the Number field but automatically decreases the quantity by -1 for every scan |
| Number (auto-increase) | Has the same attributes as the Number field but automatically increases the quantity by +1 for every scan |
| Photo | Allows you to take or upload a photo |
| Signature | Enables you to add a signature by drawing |
| Text | Can contain text and numbers of any form. It also includes a barcode icon to open the camera and scan a barcode into the field |
| True/false boolean | Displays as a YES / NO button and inserts a value of TRUE or FALSE in the final dataset |
| URL | Allows you to insert or link to a web address |
| Unique ID | Tapping on the # icon generates and inserts a unique identifier automatically |
| Created by | Displays the email address of the user that created the row |
| Created date | Displays the date in which the data was initially captured |
| Last Modified by | Displays the email address of the user to last update the row |
| Last Modified date | Displays the date in which the data was last modified |
Field settings
Each field also has additional settings that alter how they behave inside the mobile app. The options are:
| Setting | Description |
|---|---|
| Empty on scan | Clears the field upon scanning, making it easy to enter new values. This is useful when tracking entries with audit trails |
| Empty on edit | Resets the field when edited, allowing for new values to be entered without retaining previous data |
| Hidden in mobile | Hides the entire field from mobile users |
| Hidden in web | Hides the entire column from the web users |
| Read-only in mobile | The field is greyed out and mobile users are unable to edit the value |
| Read-only in web | The column is greyed out and web users are unable to edit the value |
| Required | Users must provide a value to save and continue |
| Auto focus | Upon scan, the app will go to this field and open the keyboard to prepare for entry. It allows you to control the flow of entries |
| Auto select value | Will mark an existing value with the cursor to quickly delete or overwrite |
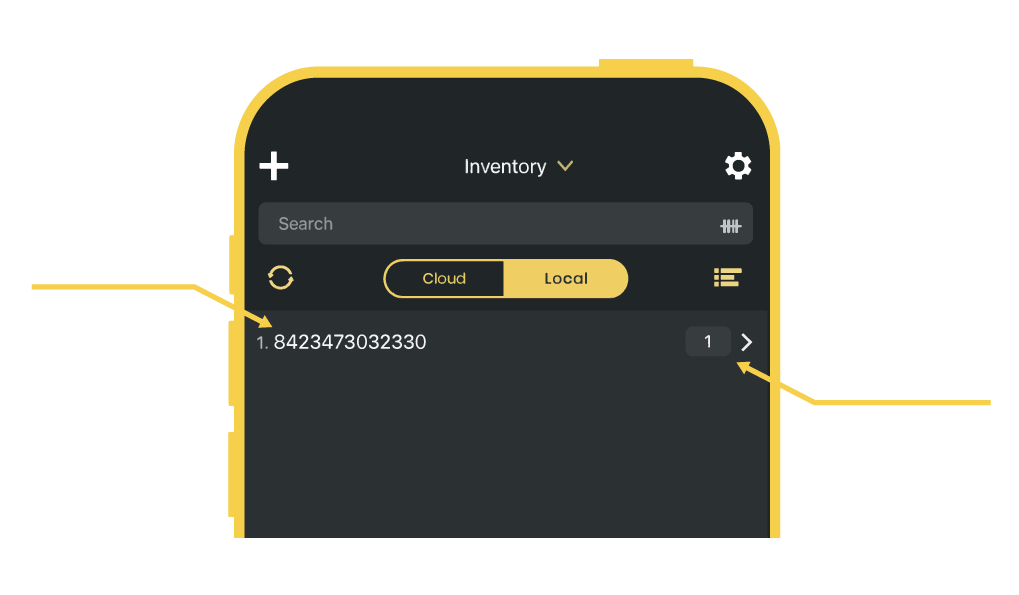
| Show in mobile list | Will display these values in the main list of items. Often, people will use descriptions rather than the actual barcode numbers |
| Searchable in mobile list | Allows users to search by this value in the mobile list |
| Lock Column | Secures the column’s configuration, preventing any changes to its settings or structure |
Minimum and Maximum Length
Set the character limits for text input by defining minimum and maximum lengths. This controls the input by requiring a specific number of characters and preventing excessively long entries, keeping values within the specified guidelines.
Default Value
Automatically fills the field with a pre-set value when the form loads. This is useful for common or expected inputs, allowing users to override if needed and helps to speed up data entry and ensures consistency.
You can also use this field to add Orca Scan Variables. These variables make it easy to extract data from a barcode and move it to another field automatically on scan.
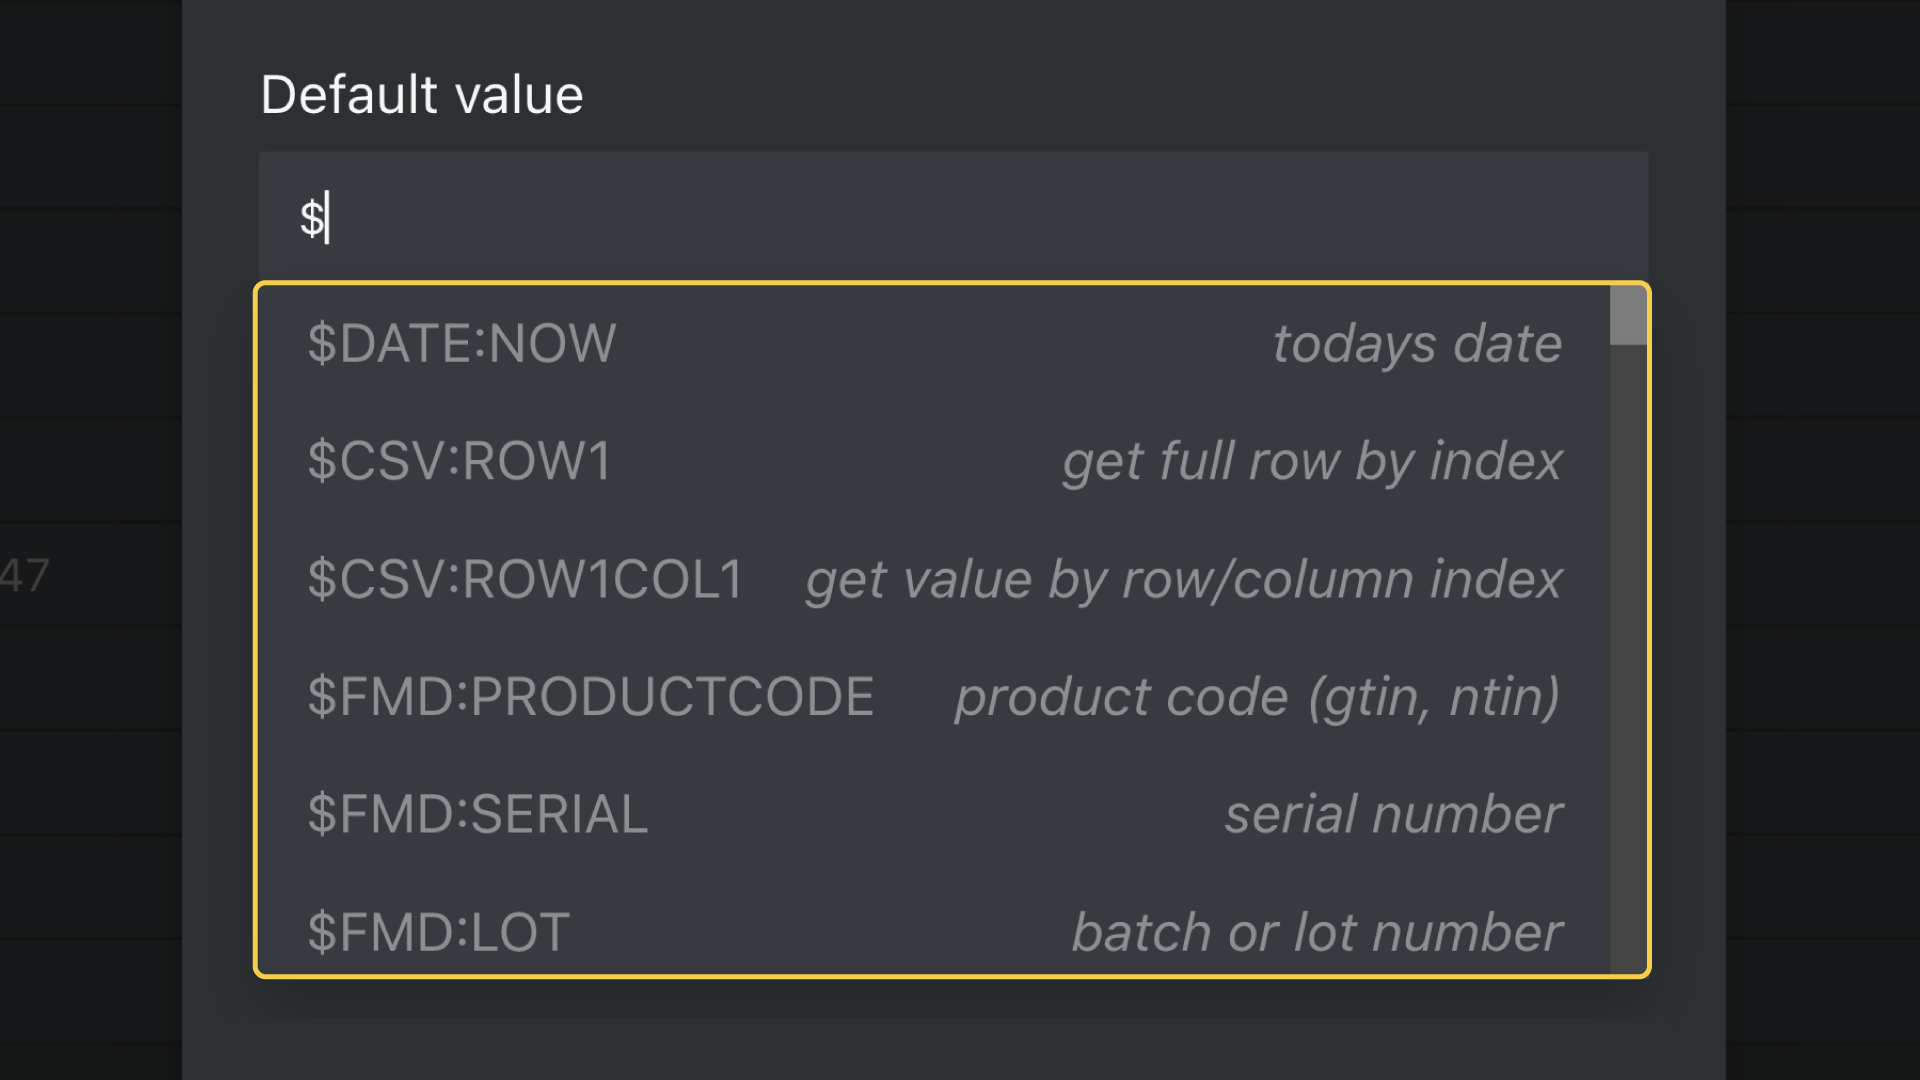
To learn more about Orca Scan Variables and how to optimise the scanning process, check out the variables guide.
Placeholder
Displays example text or a hint inside a field before any data is entered. This helps to guide users on what to input. The placeholder text disappears once the user begins to enter a value.
Hidden fields
The Hidden setting hides the field from mobile users. It’s useful when dealing with sensitive data or removing fields users don’t need to see.
For instance, many users hide the Barcode field as it is rarely important for the end-user to see it.
Read-only fields
The Read-only setting greys out the value in a field and keeps users from changing the values. This is useful when populating data only for informational purposes, like prices or descriptions.
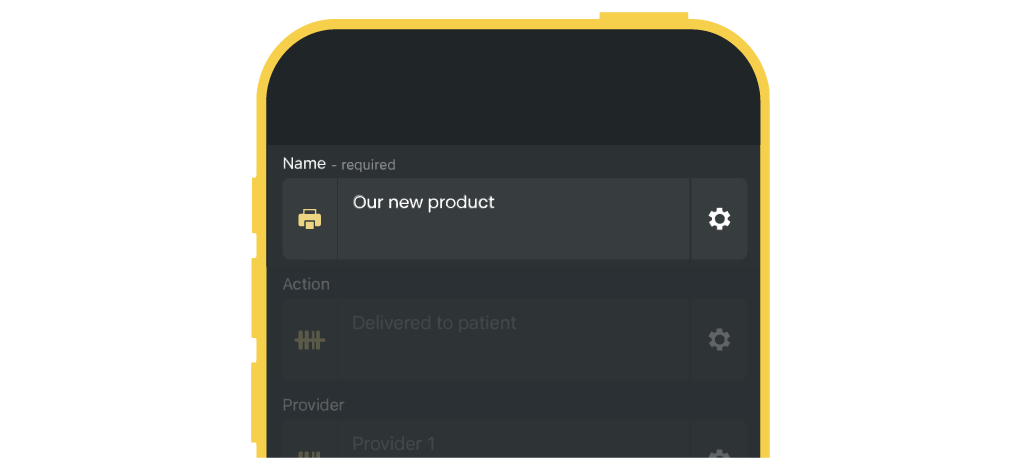
Show in mobile list
You can set which fields you would like to be displayed in the mobile list:
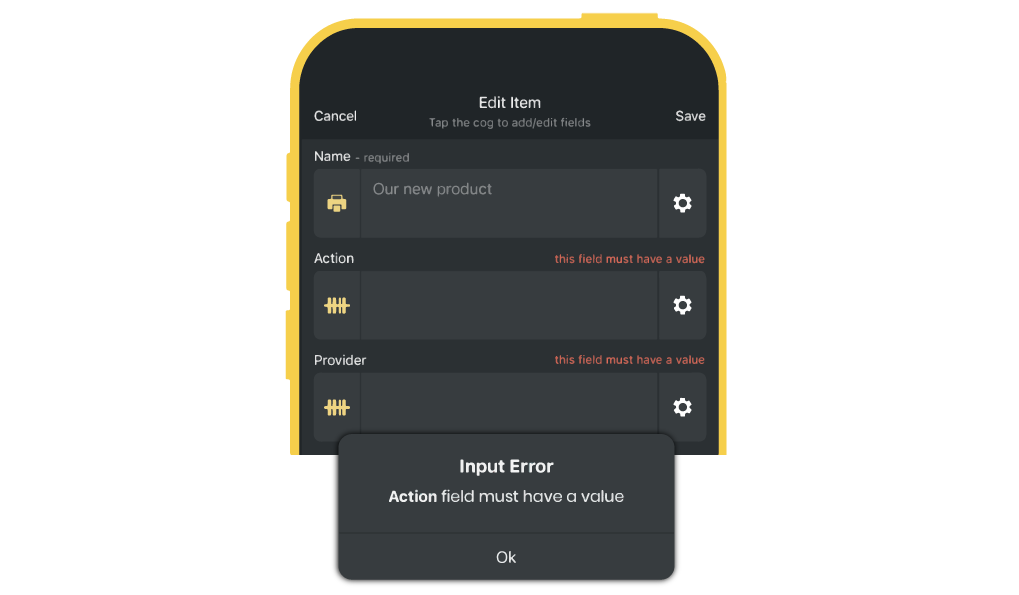
Required fields
Setting a field to required forces the user to enter a value before they can save and continue, a rule that applies to both individual entries and when using Orca Scan’s bulk update feature.
Important: This setting only applies when fields are empty. If users are scanning the same items repeatedly, consider enabling the Empty on scan setting to force the user to enter a new value on each scan.
Empty fields
The Empty on scan setting ensures that the data in the Cloud sheet is cleared for the mobile user.
It’s useful when a new entry is required by users that scan the same barcode. It’s often used with the Audit trail that logs all the entries in individual rows.
Conditional Field Settings Using Triggers
Orca Scan allows you to change field settings dynamically using Triggers. With triggers, you can show, hide, or require fields based on specific conditions, making your forms more responsive and tailored to your workflow.
Adding a Trigger Using the Web App
Trigger Activation in the Mobile App
Learn more about using triggers to optimise your workflow.
Next steps
Questions about configuring the fields?
We’re always happy to help, chat with us live or drop us an email.
